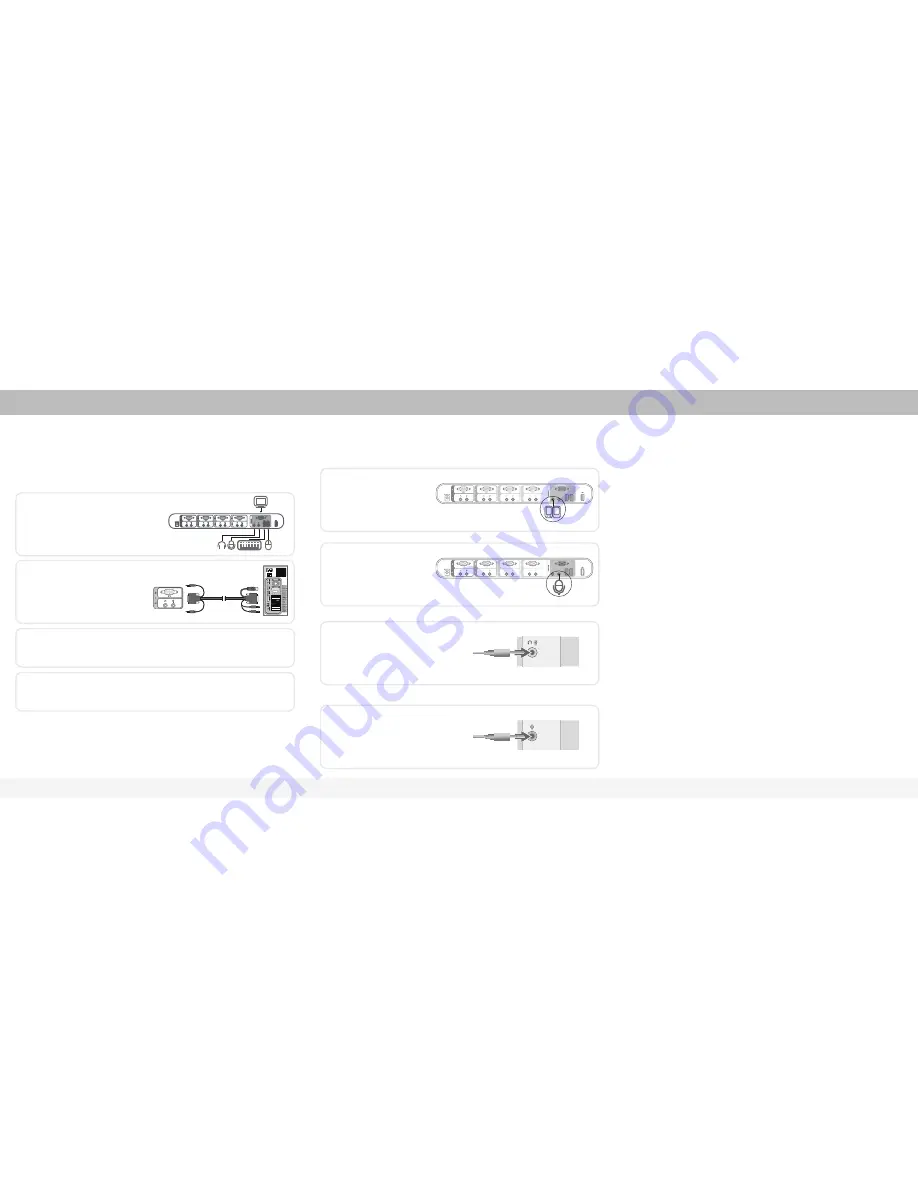
This section provides complete instructions for the hardware setup of a single KVM Switch.
(F1DS102L or F1DS104L)
Installing the KVM Switch
The KVM Switch is a plug-and-play device for installation. For a quick start on installation and
operation, please follow the instructions below for the setup sequence:
Connect the Audio
Once all cables have been connected, power up the KVM Switch followed by the CPUs that are
attached to the KVM Switch. All computers can be powered on simultaneously. The KVM Switch
emulates a mouse and keyboard on each port and allows your computer to boot normally. Your
KVM Switch should now be ready for use.
NOTE:
Speakers and microphones are not required for use of your KVM Switch.
Single-Switch Installation
Audio and Microphone Connections
Powering Up the Systems
Step 1.
Connect the shared keyboard, monitor, and
mouse (also speaker set and microphone) to the
console port of the KVM Switch.
NOTE:
Since the USB interface is hot-pluggable, you don’t have to turn off the computer before making connections
to the KVM Switch.
Step 3.
Power up your KVM Switch by connecting the external power adapter to it.
Step 4.
Power up the connected computers one by one. After your computers are powered up, the
keyboard and mouse will be recognized and now you can begin operating the KVM Switch.
Step 2.
Connect each of your computers to the
KVM Switch, using the USB KVM cable, and
audio and mic cables.
Step 1.
Using the audio cable attached to
your speakers, connect the male
3.5mm plug to the lime audio jack in
the “Console” section of the
KVM Switch.
Step 2.
Using the mic cable attached to
your microphone, connect the male
3.5mm plug to the pink mic jack in the
“Console” section of the KVM Switch.
Step 3.
Using the SOHO USB Cable Kit, connect one
end of the lime male 3.5mm plug to the speaker
jack of your sound card or computer, and
connect the other end to the audio jack of the
KVM Switch.
Step 4.
Using the KVM Cable, connect one end of the
pink male 3.5mm plug to the mic jack of your
sound card or computer, and connect the other
end to the pink mic jack of the KVM Switch.


