Connecting the Hardware
NOTE:
A standard Belkin network cable cannot be used to directly connect two computers.
A specially wired cable called a crossover cable is needed to allow you to connect
two computers without the use of a network hub or switch. Belkin crossover cables
are yellow (Belkin part number A3X126-XX-YLW-M).
Make sure you have
the following:
Gigabit USB 2.0
Network Adapter
Installation
CD
System Requirements
PC-compatible desktop or notebook computer with one available
USB slot running Windows
®
98SE, Me, 2000, XP, or 2003
Quick Setup
Make sure you have the following
1
1.
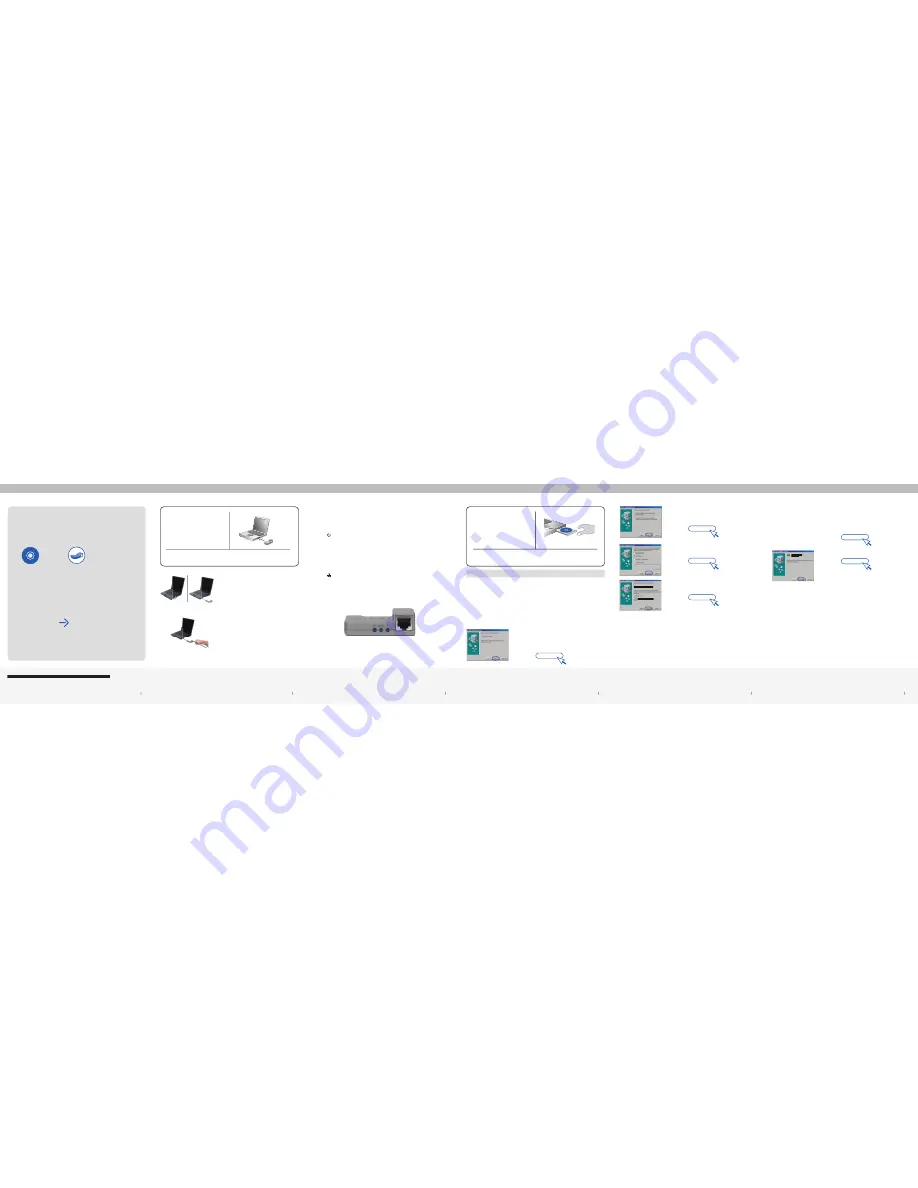
Connect
1.1
Plug the Adapter directly into an available
USB port on your computer or by using a
Belkin USB extension cable.
1.2
Connect one end of your CAT5 cable into the
rear of the Adapter.
1.3
Connect the other end of the CAT5 cable into
an available Gigabit Ethernet or Fast Ethernet
port on your router, switch, or any other
networking device.
Understanding LED Behavior
There are three LEDs on the Belkin Gigabit USB 2.0 Network Adapter
and their behavior is described as follows:
This LED lights up as soon as the Adapter is plugged
into an empty USB slot and starts receiving power through
the USB port.
This LED remains lit solid when connected to a
Gigabit Ethernet 1000Mbps router, switch, or any other
networking device. This LED blinks when connected to a
Fast Ethernet 100Mbps router, switch, or any other
networking device.
This LED is lit as soon as the link is established
between the Adapter and any other 10Mbps, 100Mbps, or
1000Mbps networking device using a CAT5 cable. This LED
blinks representing data flow when there is Tx or Rx activity
across the link.
Install
4
Connect
3
Connect
2
2.1
You may need your Windows 98SE
CD-ROM to complete the installation of
the Adapter. If prompted, please locate
the CD and place it into your computer’s
CD-ROM drive.
Note:
Belkin
cannot
provide the Windows files you need to
complete the installation.
2.2
Connect the Adapter as described in the
section “Connecting the Hardware”.
2.3
Windows will automatically detect that
a new device has been connected. The
screen on the left will appear. Insert the
Adapter’s CD into your CD-ROM drive.
Click “Next”.
2.4
When prompted, “What do you want
Windows to do?,” select “Search
for the best driver for your device.
(Recommended)” and click “Next”.
2.5
In the following window, place a
check mark next to “CD-ROM drive”.
Click “Next”.
2.6
Windows will find the appropriate drivers
and the following screen will appear.
Click “Next”.
Install
5
Install
6
NOTE:
If you use Windows 98SE, Me, 2000, XP, or 2003, please go to the color-coded
section that corresponds to your operating system.
Windows 98SE:
Next
(click)
2.7
Windows may ask you to insert your
Windows 98SE CD-ROM. If so, insert your
Windows 98SE CD-ROM and click “OK”.
If asked to specify where the CD-ROM is,
type “D:\Win98”, where “D:\” is the drive
letter of your CD-ROM drive. Click “OK”.
2.8
When the following screen appears,
click “Finish”.
2.9
Windows may ask you to restart the
computer. Click “Yes” to restart your
computer. When your computer restarts,
the Adapter will be ready to use.
2.
Install
Installing the Gigabit USB 2.0 Network Adapter
NOTE:
2.0 specifications. To achieve maximum networking speeds, this device must
be connected to a USB 2.0 host port on a PC-compatible desktop or notebook
computer. Connection of this device to a USB 1.1 host port will yield a lower speed.
Next
(click)
Next
(click)
Next
(click)
OK
(click)
Finish
(click)
����������
����������
����������


