Introduction 1
Specifi cations 2
Installation 3
����
����
���������
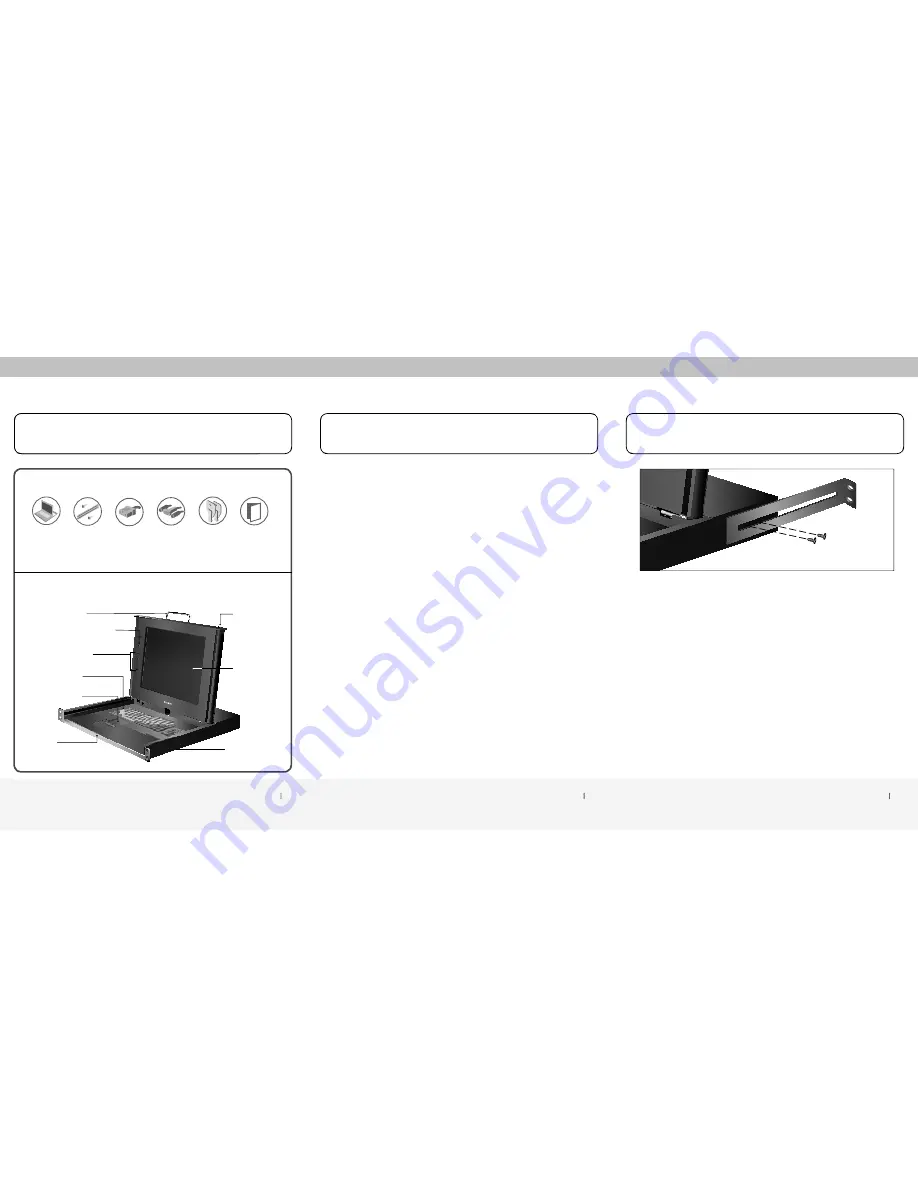
Key-Locking
Mechanism
105-Key
Keyboard (PS/2)
Power Switch with Status LED
Dual-Rail System
17" TFT/LCD
Active-Matrix
Color Panel
LCD
Front-Panel Controls
Touch Pad (PS/2)
Stow-Away
Handle
Fold-Down Handle
Part No.:
F1DC100R
Enclosure:
Heavy-duty steel
Power:
100–240VAC @ 50–60Hz, auto-switching
Dimensions:
19 (W) x 1.75 (H) x 17.5 (L) in. (483 x 44.5 x 445mm)
Weight:
25.1 lbs. (11.4kg.)
Display Type:
17" TFT/LCD active-matrix, color
Resolution:
Up to 1280x1024@65Hz
Video Type:
VGA
Contrast Ratio:
350:1
Brightness:
250 cd/m2 typical
Pixel Pitch:
0.264 (H) x 0.264mm (W)
Panel Color:
16.2 million display colors
Viewing Angle:
115° (Horiz.)/90° (Vert.)
Keyboard Type:
Laptop-style, integrated, high-quality, 105-key keyboard with
touch pad
Operating Life
of Individual Keys:
8 million cycles
CPU Port Type:
HDDB15 (VGA), miniDIN6 (PS/2)
CPU Platforms:
VGA, PS/2
Keyboard Output:
miniDIN6 (PS/2)
STEP 1:
Remove the contents from the box.
STEP 2:
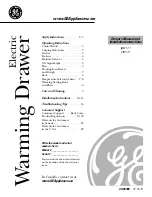
Install the rack-mount brackets to the LCD Rack Console.
STEP 3:
Mount the LCD Rack Console to your rack or cabinet.
STEP 4:
Connect the IEC power cable to an active power outlet.
STEP 5:
Connect your VGA and PS/2 cable kit to the LCD Rack Console.
STEP 6:
Connect your VGA and PS/2 cable kit to your KVM switch or server.
STEP 7:
Power up the LCD Rack Console.
STEP 8:
Power up your KVM switch or server.
Introduction
Introduction
1. Specifi cations
2. Installation
����
����
���������
Package Contents
This booklet will guide you through the basic steps needed to install the OmniView
17" LCD Rack Console.
Quick
Installation
Guide
Two Keys
VGA and PS/2
Cable Kit
IEC Power Cable
Rack-Mount
Brackets with
Screws
OmniView
17" LCD
Rack Console
Display Diagram


