57
NV9601
User’s Guide
Press selection button 7 to cancel your entry and return to the main menu.
Press selection button 8 to save the new panel ID and leave menu mode, returning to
normal operating mode.
The panel submenu also shows the panel’s IP address.
The panel acquires its IP address through DHCP on the system controller’s panel/router
network unless someone in your administration has used the Static Panel Configura-
tion Utility to force the panel to have a static IP address.
Illumination
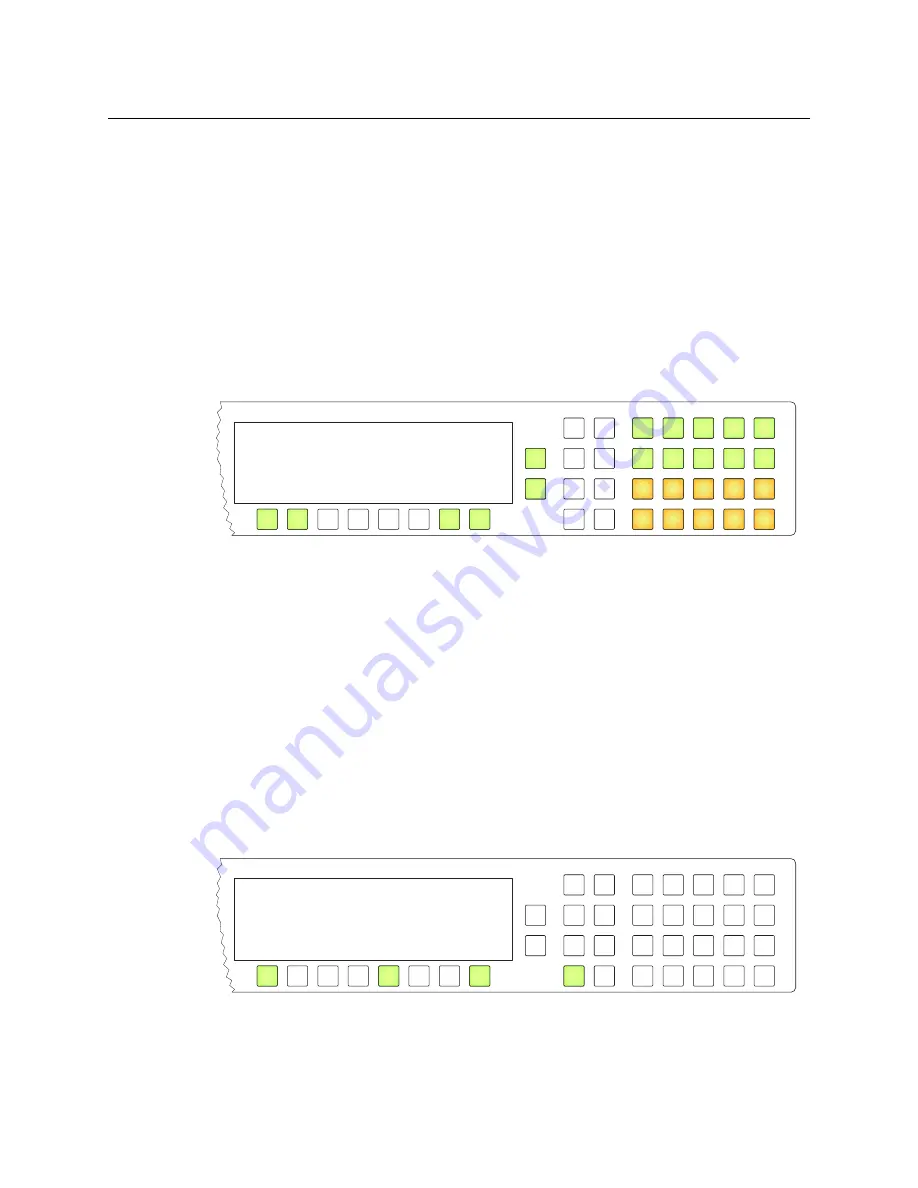
Press selection button 4, corresponding to ‘Illumination’ to view and change button
brightness. The illumination submenu appears:
Press selection button 1 to enable changes to the low-tally illumination level.
Press selection button 2 to enable changes to the high-tally illumination level.
Press the ‘Page Up’ or ‘Page Down’ buttons to change the illumination values in increments
of 10%. The right-hand array of 20 buttons shows the illumination level for green and for
amber.
The illumination levels are constrained so that high-tally is always brighter than low-tally.
The defaults are 40% for low-tally and 100% brightness for high-tally.
Press selection button 7 to cancel your entry and return to the main menu.
Press selection button 8 to save the new levels and return to the main menu.
Salvo
From the main menu, press selection button 5, corresponding to ‘Salvo’ to view the salvo
submenu:
The salvo submenu lets you create and delete
local salvos
. A local salvo is one that you
create by recording actions that you perform at your panel. After recording the salvo, you
must name and store the salvo.
Menu Use 40% Low 1
Illumination Arrows 100% High 2
Cancel 7
Save 8
Menu Start Salvo Record 1
Salvo Pause Salvo Record 2
Save Salvo 3
Cancel Salvo Record 4
Clear Local Salvo 5
Exit 8
Summary of Contents for Grass Valley NV9000
Page 1: ...www grassvalley com User s Guide VERSION 2 4 UG9601 04 2015 07 02 NV9601 NV9000 CONTROL PANEL...
Page 6: ...vi Notices...
Page 72: ...62 Operation Test...
Page 76: ...66 Technical Details Drawings Fig 6 1 Front View of the NV9601 3 00 76 2 3 47 88 1 19 0 482 6...
Page 78: ...68 Technical Details Drawings...


