31
iTX Playout Appliance 2
Installation and Service Manual
12 Align the bracket with above its location within the chassis, ensuring that both cards’
connectors are align with the motherboard’s connectors. Press down on the bracket to
ensure proper connection.
13 Lock the card bracket to the chassis by pressing down on the two small levers , or by
fastening the four screws.
14 Replace the cover of the chassis and reinstall the unit.
Replacing the SDI Video I/O Card (Corvid 44 / 88)
The following procedure applies only to iTX Playout Appliance 2 units that are equipped
with the AJA Corvid 44 or 88 card -- GVSP-3TB-WIN-4IO, GVSP-3TB-WIN-8IO or GVSP-4TB-
WIN-8IO.
To remove and replace the video I/O card (Corvid 44 / 88):
1 Power down the system and remove power from the unit.
2 Disconnect all of the cables from the unit’s rear panel.
3 Remove the unit from the rack and place on a solid, flat surface.
4 Remove the top cover from the chassis.
5 On the right-side of the chassis’ rear panel, lift the two small levers to unlock the card
bracket from the chassis.
If your chassis model does not have these levers, remove the four screws (2 on rear, 2 on
top) that secure the card bracket to the frame.
6 If the graphics card is a NVIDIA Quadro P4000, unplug the graphics card cable that is
connected to the
GPU PWR
connector on the chassis’ motherboard.
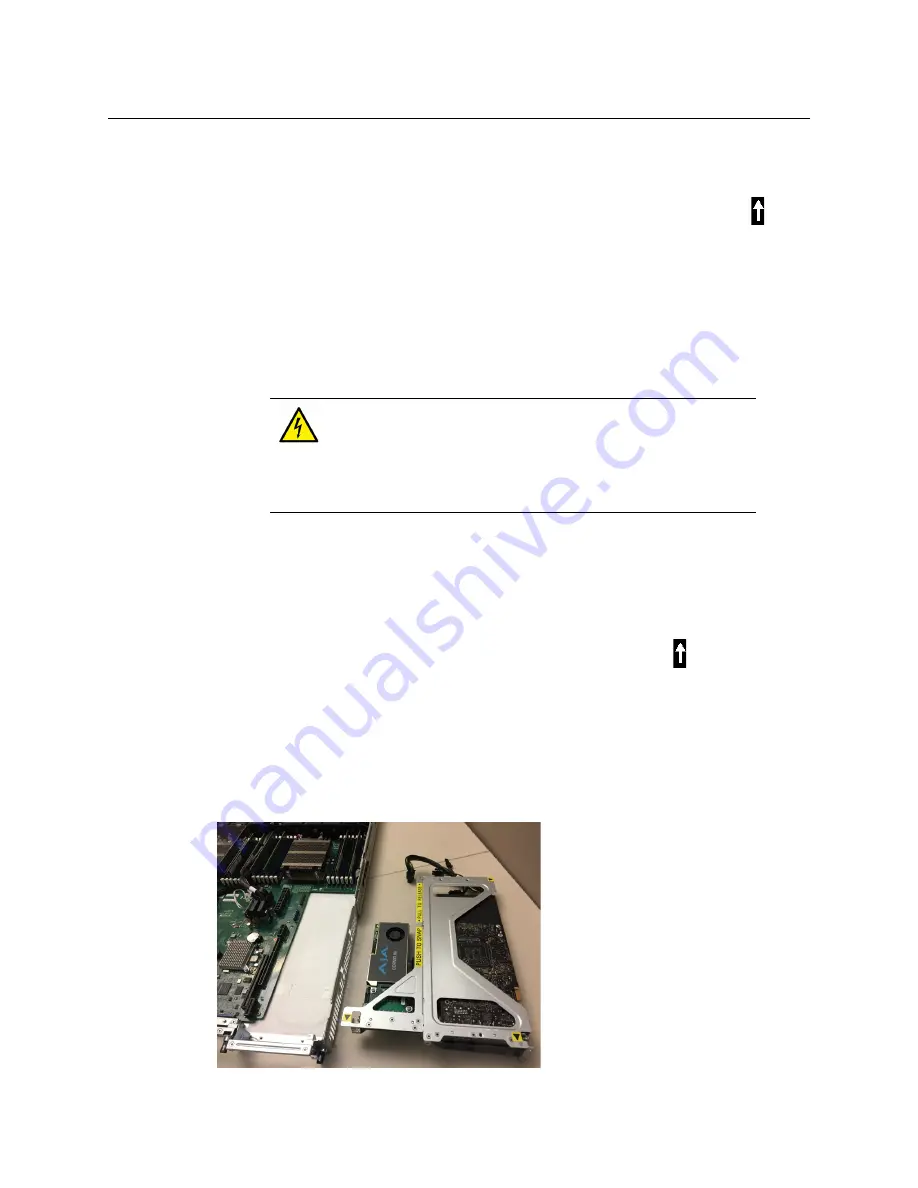
7 Carefully lift the bracket upwards to remove the entire bracket from the chassis. The
graphics card, video card and network adapter card remain attached to the bracket.
WARNING
- Power Disconnection
The system must be disconnected from all sources of power and the
power cord removed from the power supply module(s) before
accessing the chassis interior to install or remove system components. his
unit has more than one power supply connection. All connections must be
removed to de-energize the unit.


