INTERVAL
™
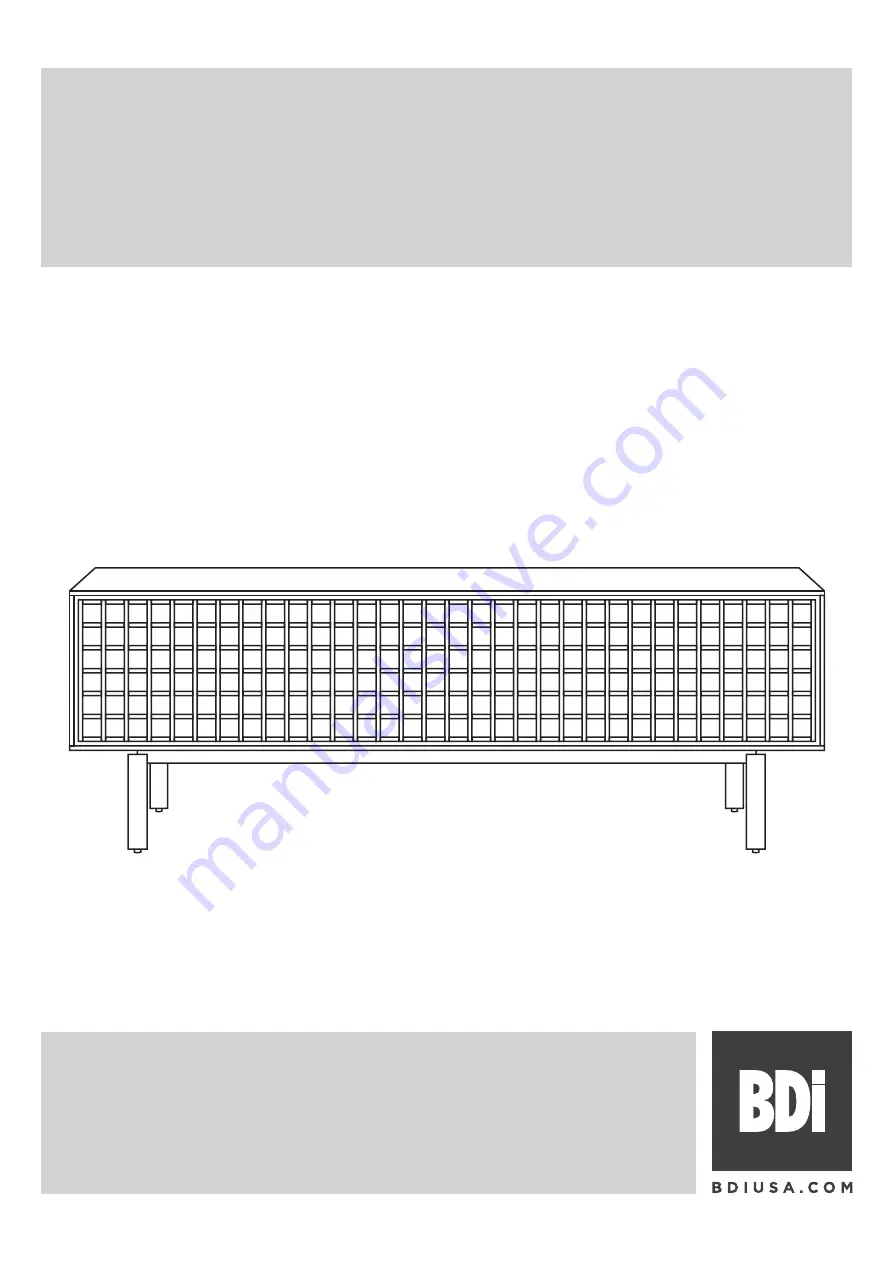
7247 & 7249
CABINET
DESIGN AL GLASS AND MATTHEW WEATHERLY
LET’S GET STARTED.
INSTRUCTION MANUAL
Page 1: ...INTERVAL 7247 7249 CABINET DESIGN AL GLASS AND MATTHEW WEATHERLY LET S GET STARTED INSTRUCTION MANUAL ...
Page 2: ......
Page 3: ...ent This manual will provide you with assembly instructions and other helpful information to ensure that you get the most out of your product Please save it for future reference Your Interval Cabinet has been engineered for simple assembly Please follow these directions carefully to prevent any damage Should you need further assistance contact BDI at customerservice bdiusa com ENJOY ...
Page 4: ...ieces please contact BDI Customer Service at customerservice bdiusa com PART T2 DESCRIPTION Leveler Wrench QUANTITY 1 PART H5 DESCRIPTION TV Safety Strap QUANTITY 1 PART T1 DESCRIPTION Hex Wrench QUANTITY 1 PART H4 DESCRIPTION KLEET Cord Wrap QUANTITY 2 PART H1 DESCRIPTION M6 x 20mm Screw QUANTITY 8 PART C1 DESCRIPTION Base Leg QUANTITY 2 PART C2 DESCRIPTION Base Spanner QUANTITY 2 PART H2 DESCRIP...
Page 5: ...usa com HARDWARE AND COMPONENTS HARDWARE AND COMPONENTS PART C3 DESCRIPTION Cabinet 7247 or 7249 shown QUANTITY 1 PART C5 DESCRIPTION Side Shelf QUANTITY 2 PART C4 DESCRIPTION Glass Shelf QUANTITY 1 PART C6 DESCRIPTION Removable Back Panel QUANTITY 2 ...
Page 6: ...A COM INTERVAL 7247 7249 ASSEMBLY PART DESCRIPTION QTY T1 HEX WRENCH 1 H1 SCREW 8 Attach C1 Base Legs to C2 Base Spanners using 8 H1 Screws Tighten with T1 Hex Wrench STEP 1 ASSEMBLE BASE C1 C1 C2 C2 H1 H1 H1 ...
Page 7: ...T DESCRIPTION QTY T1 HEX WRENCH 1 H2 SCREW 8 With help from another person carefully rotate the C3 Cabinet backwards onto its top panel Be careful not to rest the cabinet on its door Attach the Base to the C3 Cabinet using 8 H2 Screws Tighten with T1 Hex Wrench 2 PERSON TASK C3 H2 H2 H2 H2 H2 H2 H2 ...
Page 8: ... base as shown Install the H3 Shelf Pins by screwing them into the threaded inserts on the inside of the cabinet Install the H3 Shelf Pins for the C5 Center Shelf in their top most positions if you plan to use a soundbar that is wider than the middle section of the cabinet 2 PERSON TASK PART DESCRIPTION QTY H3 PINS 14 H3 H3 H3 H3 H3 H3 C3 ...
Page 9: ... INSTALL SHELVES Carefully place the C4 Center Shelf into the C3 Cabinet The C4 Center Shelf may be adjusted by unscrewing the shelf pins and repositioning them Carefully place the 2 C5 Side Shelves into the C3 Cabinet The C5 Side Shelves are not adjustable C4 C3 C3 C5 C5 ...
Page 10: ...ack panel into the top groove then drop the bottom edge into the bottom groove Your Interval Media Cabinet comes with 2 H4 KLEET Cord Wraps which can be used for cord management A H5 TV Safety Strap is included To secure your TV to the cabinet unravel the bundle and follow the instructions on the hang tag C6 C6 1 2 H4 H4 H5 Use the KLEET for wire management TV Safety Strap ...
Page 11: ... level Adjust one or more of the levelers using T2 Leveler Wrench to attain a level stance PART DESCRIPTION QTY T2 LEVELER WRENCH 1 Your Interval Media Cabinet features a push to open drop down soft open door It is intended to be opened by gently pushing on the top of the door in the center 2 section of the door ...
Page 12: ...the wrench clockwise to lift the door up turn the wrench counter clockwise to lower the door Adjust both mechanisms equally until the open door is level with the ground If you wish to adjust the push latch twist the plunger while it s in the extended position Turning it clockwise will adjust the push latch in and turning it counter clockwise will adjust the push latch out This will adjust the clos...
Page 13: ...ef video for the simple method www bdiusa com glass WOOD Wood surfaces should be cleaned with a slightly damp not saturated cloth or paper towel Do not use glass cleaner on wood If moisture remains dry the surface with another cloth If needed a gentle non abrasive cleanser may be used but be sure to wipe away all cleaner residue and dry the surface with a cloth BDI s wood finishes feature natural ...
Page 14: ...rranted for three 3 years from the date of purchase as shown on your sales receipt The warranty period starts from the date of purchase This warranty extends only to the original purchasers who acquire new products from BDI Authorized Resellers Any product part or component must have been assembled installed used and maintained according to BDI s published instructions to be eligible for warranty ...
Page 15: ... FROM FURNITURE TIP OVER TO HELP PREVENT TIP OVER n Install tip over restraint n Place heaviest items in lower compartments n Never allow children to climb or hang on drawers doors or shelves n Never open more than one drawer at a time USE OF TIP OVER RESTRAINT MAY REDUCE BUT NOT ELIMINATE THE RISK OF TIP OVER ...
Page 16: ...tive product configurations are protected by US and international patents trade dress and or copyright laws Interval BDI are trademarks of Becker Designed Inc All rights reserved 2022 BDI V 03 30 2021 Made in China ...