SKY5287
Ver. 1
INSTRUCTION
MANUAL
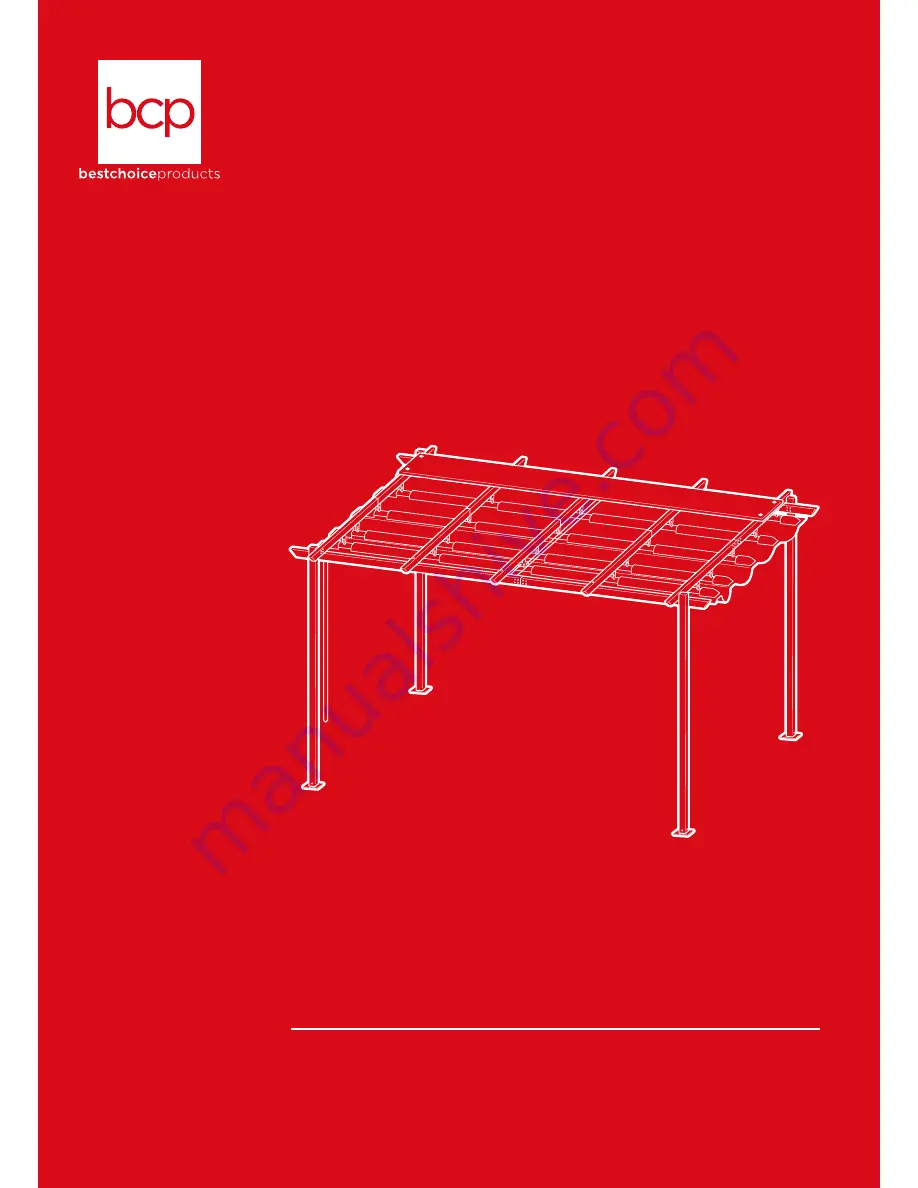
10-foot x 10-foot Pergola
Page 1: ...SKY5287 Ver 1 INSTRUCTION MANUAL 10 foot x 10 foot Pergola ...
Page 2: ...crews and knobs are secure every 90 days Fasten screws loosely during assembly Do not firmly tighten screws until item is fully assembled Do not use or store this item in the proximity of open flame or flammable combustible chemicals Be aware that some parts are heavy and have sharp edges If any parts are missing broken damaged or worn stop using this product until repairs are made and or factory ...
Page 3: ...E II 1 PC 1 PC 5 PCS RIGHT FRAME I 9 10 RIGHT FRAME II 11 TRACK 12 1 PC COLUMN WITH HOOK 1 PC 5 PCS 5 PCS LONG REAR FRAME 13 14 ROOF FRAME I 15 ROOF FRAME II 16 7 PCS CONNECTING PLATE 17 3 1 PC COLUMN I 2 PCS 1 PC 1 PC COLUMN II 1 2 LONG FRONT FRAME 3 SHORT FRONT FRAME 4 4 PCS 1 PC 1 PC FOOT 18 COVER 29 ROOF 30 ...
Page 4: ... Attach the front frame pieces to the connecting plate with eight part 19 screws Repeat with the part 5 short rear frame and part 14 long rear frame 2 Attach the rear frame to a part 1 column I and part 2 column II with eight part 20 screws 4 PRODUCT ASSEMBLY 17 3 5 1 2 4 14 x16 x2 19 x8 20 5 14 ...
Page 5: ... 2 13 x8 20 5 12 9 8 Slide a part 17 connecting plate into a part 8 left frame I and part 9 left frame II Attach the left frame pieces to the connecting plate with eight part 19 screws Attach a part 12 track with six part 26 screws Repeat with the part 10 right frame I and part 11 right frame II x12 x2 26 x16 19 17 x2 10 11 ...
Page 6: ...eet with eight part 19 screws 18 x16 20 x8 x4 19 12 x18 26 6 Slide a part 17 connecting plate into a part 6 middle frame I and part 7 middle frame II Attach the middle frame pieces to the connecting plate with eight part 19 screws Attach a part 12 track with six part 26 screws Repeat to build an additional two middle frames 17 7 6 x24 x3 x3 x3 x3 19 ...
Page 7: ... 7 7 Attach the three middle frames with six part 21 screws PRODUCT ASSEMBLY 8 Slide five part 15 roof frame I into five part 16 roof frame II x6 21 16 x5 15 x5 ...
Page 8: ...e roof frames fifteen part 22 nuts Attach four part 25 eye bolt wheels and a part 27 eye bolt plate to a roof frame with five part 22 nuts PRODUCT ASSEMBLY 10 Secure the five roof frames to the part 30 roof with the attached adhesive strips Arrange roof frames according to the following diagram 27 24 30 x5 22 x25 25 x19 ...
Page 9: ...he wheels into the tracks on the left right and three middle frames to attach the roof Secure the five part 24 eye bolts to the frames with five part 23 screws and five part 22 nuts PRODUCT ASSEMBLY x5 23 x5 22 24x5 ...
Page 10: ...the part 28 string to the part 27 eye bolt plate Follow steps to route the string through the pulleys PRODUCT ASSEMBLY INSIDE VIEW INSIDE VIEW 2 1 6 3 4 5 7 Tie the end of the string back onto the eye bolt plate ...
Page 11: ... 11 13 Attach the part 29 cover with four part 19 screws PRODUCT ASSEMBLY x4 19 29 NOTE Secure string slack on the hook ...
Page 12: ... of an error by Best Choice Products then Best Choice Products will provide a pre paid shipping label via email Boxes for return shipping will not be provided by Best Choice Products and is the customer s responsibility to either use the original shipping boxes or purchase new boxes Pictures may be required for some returns to ensure an item is not damaged prior to its return Items returned are no...