Configuring the Camera
BASLER A102
k
4-3
DRAFT
4.1.3 Configuration Tool Basics
The RAM memory in the camera contains the set of parameters that controls the current operation
of the camera. This set of parameters is known as the Work Set (see Section
). The CCT+ is
used to view the present settings for the parameters in the Work Set or to change the settings.
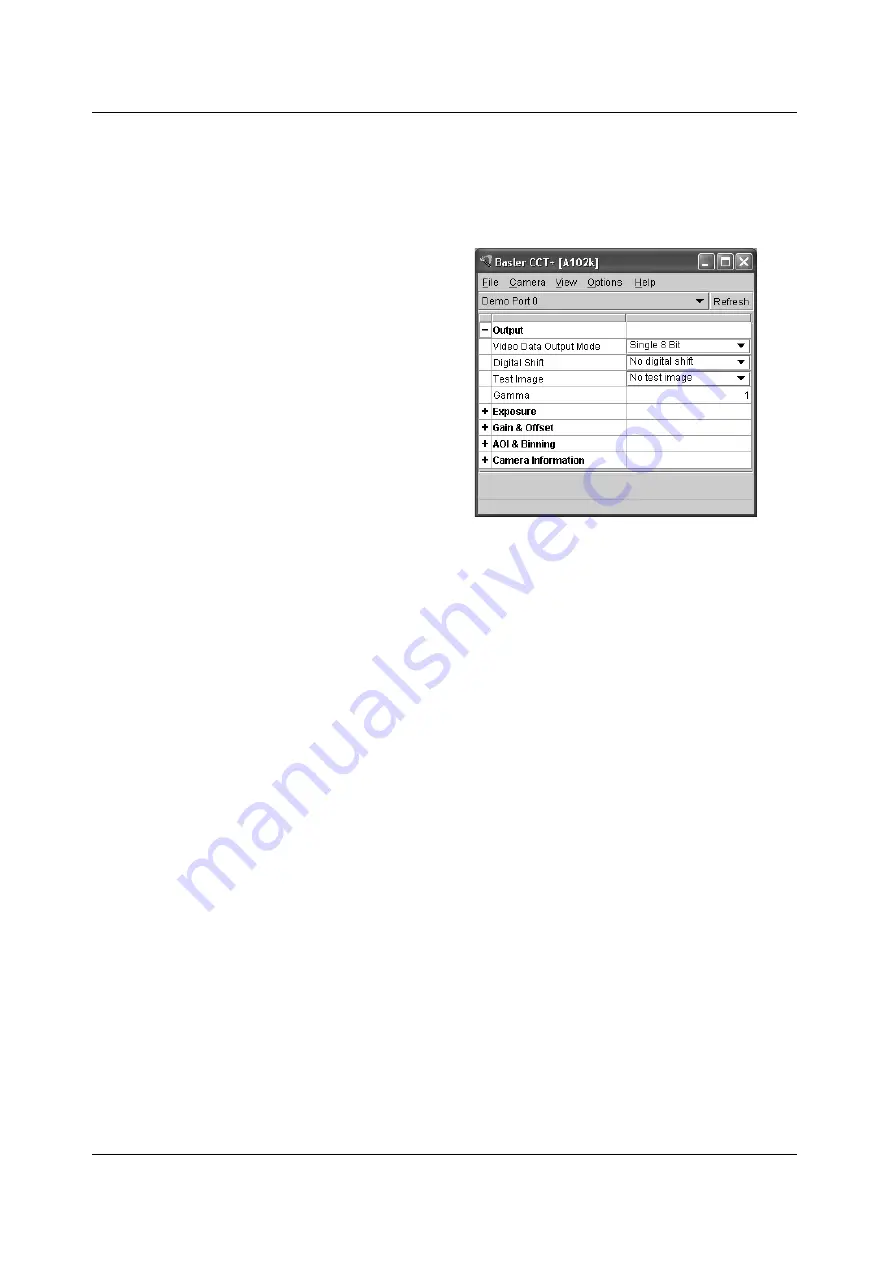
When the CCT+ is opened and a port is
selected, it queries the camera and displays
a list of the current settings for the
parameters in the Work Set.
To simplify navigation, parameters are
organized in related groups. For example,
all parameters related to the camera output
can be found in the Output group.
When you click on the plus or minus sign
beside a group (+ or -), the parameters in
this group will be shown or hidden,
respectively.
To get an overview of all parameters
available on the connected camera,
maximize the CCT+ window and click the +
sign beside each group.
The camera parameter names always appear in the left column of the list. The current setting for
each parameter appears in the right column.
By default, a
Parameter Description
window is displayed. In this window, you can find basic
information on the selected parameter and if present, on the dependencies that may exist between
the selected parameter and other parameter(s).
If you make a change to one of the settings, that change will instantly be transmitted from the
CCT+ to the camera’s Work Set. Because the parameters in the Work Set control the current
operation of the camera, you will see an immediate change in the camera’s operation.
By default, the CCT+ automatically updates the displayed settings every 5 seconds. The feature
behind this behavior is called Auto Refresh. If
Auto Refresh
is not enabled, the display will not
update when a camera setting is changed using another tool, when power to the camera is
switched off and on, or when the connected camera is exchanged while the CCT+ is displaying
the camera settings. To manually refresh the display, you can use the
Refresh
button in the top
right corner of the tool.
Figure 4-1: Output Group
Summary of Contents for A102K
Page 4: ......
Page 16: ...Introduction 1 8 BASLER A102k DRAFT...
Page 36: ...Camera Interface 2 20 BASLER A102k DRAFT...
Page 38: ...Operation and Features 3 2 BASLER A102k DRAFT Figure 3 1 A102k Sensor Architecture...
Page 112: ...Configuring the Camera 4 34 BASLER A102k DRAFT...
Page 118: ...Mechanical Considerations 5 6 BASLER A102k DRAFT...
Page 130: ...Feedback iv BASLER A102k DRAFT...


