FW 10
370224
Original-Gebrauchsanleitung
V2/0920
Page 1: ...FW 10 370224 Original Gebrauchsanleitung V2 0920...
Page 2: ...ormity 35 3 Transport packaging and storage 36 3 1 Delivery check 36 3 2 Packaging 36 3 3 Storage 36 4 Technical data 37 4 1 Technical specification 37 4 2 Overview of parts 38 5 Installation and oper...
Page 3: ...essible for anyone carrying out the installation servicing maintenance or cleaning Please keep these instructions and give them to future owners of the device 1 Safety This device is designed in accor...
Page 4: ...less such persons are under the care of a person responsible for their safety or have received instructions regarding appropriate use of the device Children should be observed to ensure that they are...
Page 5: ...or alterations to the device that are not explicitly approved by the manufacturer may be undertaken DANGER Electric shock hazard To avoid the hazard results please follow the instructions below Never...
Page 6: ...lectrical or mechanical modifications the electric shock hazard will occur Do not use any acid agents and make sure no water ingresses the device Never operate the device with moist hands or standing...
Page 7: ...is not possible check that they have not been damaged and that they are properly assembled Activate the unit only when it is fully and properly assembled Familiarize yourself with the recommendations...
Page 8: ...r other hard elements seeds pits etc remain during processing fragments of them may be ejected from the unit and cause injury Always keep the unit and work area clean and tidy Remove all liquids that...
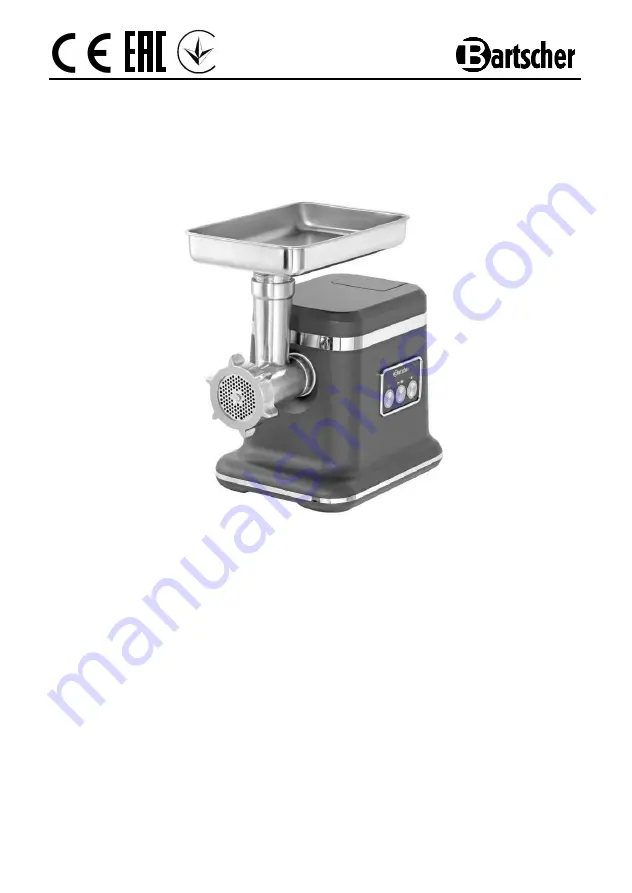
Page 9: ...for its intended purpose and according to the instructions included in this manual The meat grinder is intended for grinding and mixing appropriate food products meat vegetables stuffing sausages pres...
Page 10: ...by violation of advice concerning operation and cleaning use other than designed alterations made by user use of inadequate spare parts We reserve the right to make technical changes for purposes of...
Page 11: ...er The outer and inner packing material should be removed completely from the device before installation If you liked to dispose the packing consider the regulations applicable in your country Supply...
Page 12: ...al changes Accessories The following accessories are included 1 four bladed stainless steel knife 3 stainless steel perforated plates 3 mm 4 8 mm and 8 mm for mincing and mixing ingredients 1 sausage...
Page 13: ...38 4 2 Overview of parts...
Page 14: ...surface must be level dry resistant to moisture easily accessible and sufficiently spacious Never place the unit on a flammable surface Do not place the unit near sources of open flame electric ovens...
Page 15: ...e first use Unpack the unit and remove all packing material Ensure that all parts and equipment are present Tip The plunger is hollow on the inside Some ccessories sausage stuffer kebbe accessory and...
Page 16: ...perforations for hard ingredients and thick sausage stuffing medium perforations for softer ingredients small perforations for small mincing e g meat pockets kebbe 1 First place the screw shaft with p...
Page 17: ...nel of the screw housing Carefully push the meat through the grinding funnel of the screw housing using only the supplied plunger 7 After processing is finished turn the unit off press Start Stop butt...
Page 18: ...e casing over the sausage stuffer Tie off the end 9 Turn the unit on using the power ON OFF switch and press the Start Stop button Reduce the motor s speed as necessary press once on the control panel...
Page 19: ...ning it counter clockwise until a click is heard 6 Place the tray on the grinding funnel of the screw housing 7 Insert the cookie press forms into the guide and select the desired shape 8 Place the pr...
Page 20: ...ning it three times through the grinder following the instructions in Mixing and mincing first through the medium perforated plate then twice through the small perforated plate Mix the ground meat in...
Page 21: ...e desired length approx 7 8 cm 14 After preparing the kebbe turn the unit off press Start Stop button and power ON OFF switch Remove the unit s plug from its socket 15 Fill the tubes with stuffing and...
Page 22: ...of the unit see fig right Connect the unit to its socket turn it on again press power ON OFFswitch and then Start Stop button If the overheating safety mechanism activates again contact a service age...
Page 23: ...turn it off press Start Stop button then power ON OFFswitch Wait until the motor is completely still then remove the unit s plug from its socket Leave the device to cool down completely The device is...
Page 24: ...grinding funnel If necessary use a wood or plastic spoon Cleaning the unit and accessories ATTENTION Never wash the unit or its parts in a dishwasher o Disassembled parts of the unit should be washed...
Page 25: ...ld at the bottom of the unit 7 Possible Malfunctions Malfunction Cause Solution Plug is in socket but motor does not function Safety fuse has been triggered The power ON OFF switch is off The Start St...
Page 26: ...Stop button to turn off the motor Remove the blockage following the instructions in Freeing chocked ingredients The motor is working too slowly Too much food in the screw housing Plunger pressed too...
Page 27: ...the device at the dedicated local collection point separately from household waste NOTE Electric devices should be used and disposed of properly to prevent the impact on the environment Disconnect the...