


9. GUI – System Settings
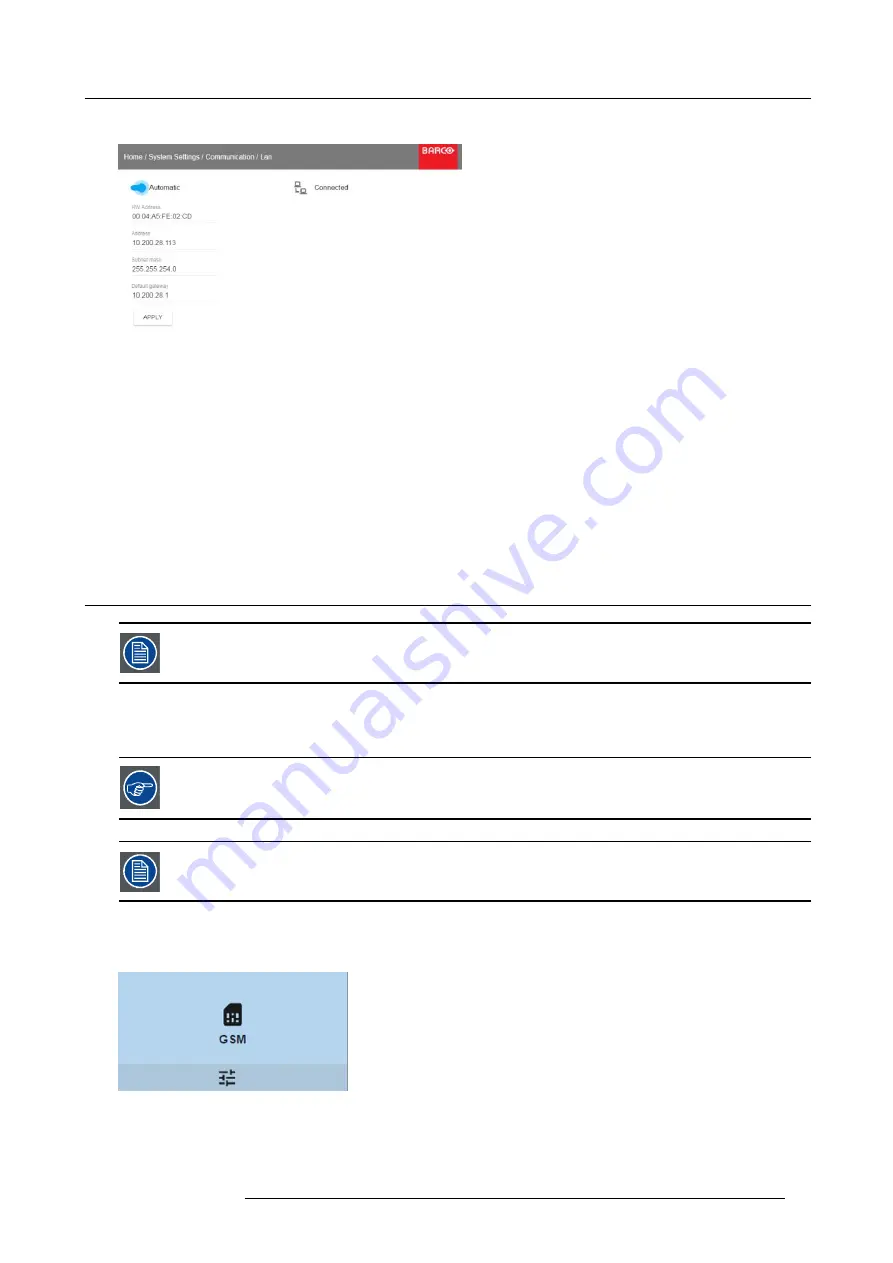
The LAN menu is displayed
Image 9-4
LAN menu
2. Disable Automatic. Put the switch to the left. The switch becomes gray.
3. Use the
▲
or
▼
key to select
Address
and press
OK
button to activate the input box.
4. Use the
▲
or
▼
key to change the selected character.
Use the
◄
or
►
key to select another character.
Note:
Digits can be entered with the digit keys on the remote control or the local keypad. When a digit is entered in that way,
the next character will be selected automatically.
5. Repeat steps 4 and 5 for the Subnet mask and Default Gateway.
6. Select
APPLY
and click
OK
to con
fi
rm all changes.
When the connection is established, it is indicated with the connection symbol and the indication
Connected
.
9.2
GSM con
fi
guration
Only possible when a GSM module with SIM card is installed in the projector.
What can be done ?
To con
fi
gure the projector software with the installed SIM card, a correct PIN code (4digits) must be entered.
As the PIN code cannot be checked with the one on the SIM card, ensure to enter the correct PIN code.
When your SIM card is blocked, you have to remove the SIM card from the GSM module and to insert the SIM
card in a mobile phone so that you can enter the PUK code to unblock the SIM card.
How to activate
1. In the main menu, select
System Settings
→
Communication
→
GSM
.
Image 9-5
Communication menu, GSM
R5906151 XDL 17/04/2018
81
Summary of Contents for XDL-4K75
Page 1: ...XDL User Manual R5906151 00 17 04 2018...
Page 4: ......
Page 16: ...1 Safety 12 R5906151 XDL 17 04 2018...
Page 22: ...2 Pulse Remote Control Unit 18 R5906151 XDL 17 04 2018...
Page 46: ...5 Graphic User Interface GUI 42 R5906151 XDL 17 04 2018...
Page 58: ...7 GUI Image 54 R5906151 XDL 17 04 2018...
Page 82: ...8 GUI Installation 78 R5906151 XDL 17 04 2018...
Page 96: ...9 GUI System Settings 92 R5906151 XDL 17 04 2018...
Page 98: ...10 Status menu 94 R5906151 XDL 17 04 2018...
Page 104: ...11 Maintenance procedures 100 R5906151 XDL 17 04 2018...


