


R5906151 /02
XDL
93
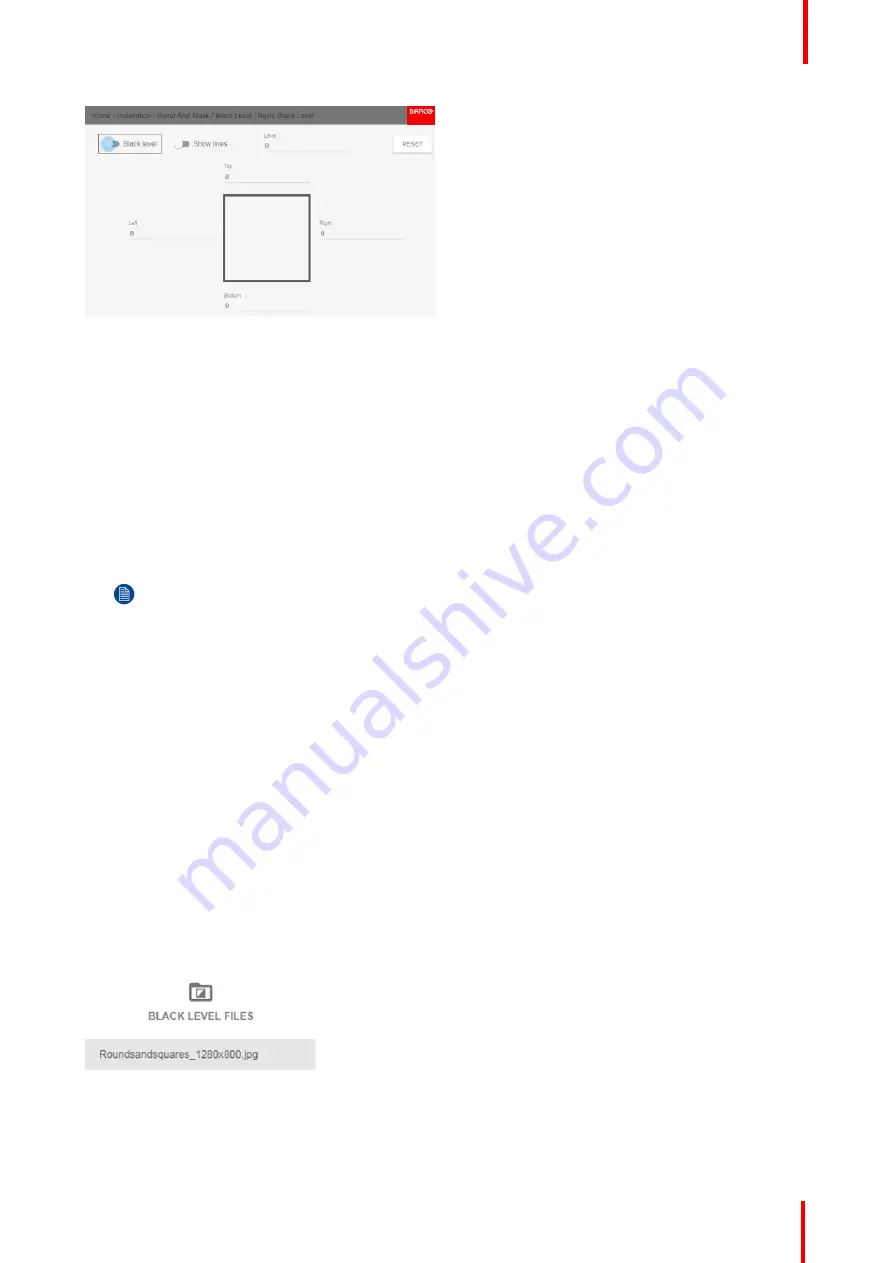
Image 8-52: Basic Black Level menu
2.
Enable the
Black level
button. If you want a visual aid, enable the
Show lines
button as well.
3.
Move the cursor to the side where the overlapped area occurs (left/right/top/bottom) and press enter.
4.
Adjust the level with the arrow keys and press enter when the desired black level zone is reached.
or
enter the black level value with the numeric keys in the remote control.
5.
Move the cursor to
“
Level
”
, press enter and adjust this level until the black level equals the level in the blend
zone.
This value can also be entered by the numeric keys on the remote control.
6.
Repeat the same procedure for any other projector connected to this projector, but on the opposite side.
Note:
Do not forget to disable the
Show lines
button after you achieved the desired blend zone.
8.5.4 Black Level Files
About custom Black Level Files
Next to setting your specific Black Level Adjustment in the GUI, you can also upload or download a custom
Black Level adjustment file in png, jpeg or tiff format to/from the projector.
To upload or download Black Level adjustment files you can use Projector Toolset or upload/download the
Black Level adjustment file in the format of an XML file. Alternatively, you can contact the
“
file endpoint
”
directly via the curl program or some other tool that supports http upload.
For more information on uploading/downloading Black Level files using the Projector Toolset, refer to the
Projector Toolset user manual.
For more information on uploading/downloading Black Level files using curl or other tools that supports HTTP
upload, refer to the Pulse API Reference Guide.
How to activate an uploaded Black Level adjustment file?
1.
In the main menu, select
Installation
→
Blend and Mask
→
Black Level
→
Black Level Files
.
Image 8-53: Black Level menu, Black Level Files
The Black Level Files menu is displayed.
Summary of Contents for XDL-4K30
Page 1: ...ENABLING BRIGHT OUTCOMES User Manual XDL ...
Page 8: ...R5906151 02 XDL 8 ...
Page 28: ...R5906151 02 XDL 28 Pulse Remote Control Unit ...
Page 42: ...R5906151 02 XDL 42 Input Communication ...
Page 53: ...53 Overview Overview Navigation Test Patterns R5906151 02 XDL Graphic User Interface GUI 5 ...
Page 62: ...R5906151 02 XDL 62 GUI Source ...
Page 72: ...R5906151 02 XDL 72 GUI Image ...
Page 122: ...R5906151 02 XDL 122 GUI System Settings ...
Page 138: ...R5906151 02 XDL 138 Specifications ...
Page 142: ...R5906151 02 XDL 142 Environmental information ...
Page 143: ...143 R5906151 02 XDL Overview video timings for video interfaces C ...
Page 152: ...R5906151 02 XDL 152 Overview video timings for video interfaces ...
Page 153: ...153 R5906151 02 XDL DMX chart D ...
Page 163: ...R5906151 02 XDL 163 ...
Page 164: ...Barco NV President Kennedypark 35 8500 Kortrijk Belgium www barco com R5906151 02 2018 11 07 ...


