


7. Advanced
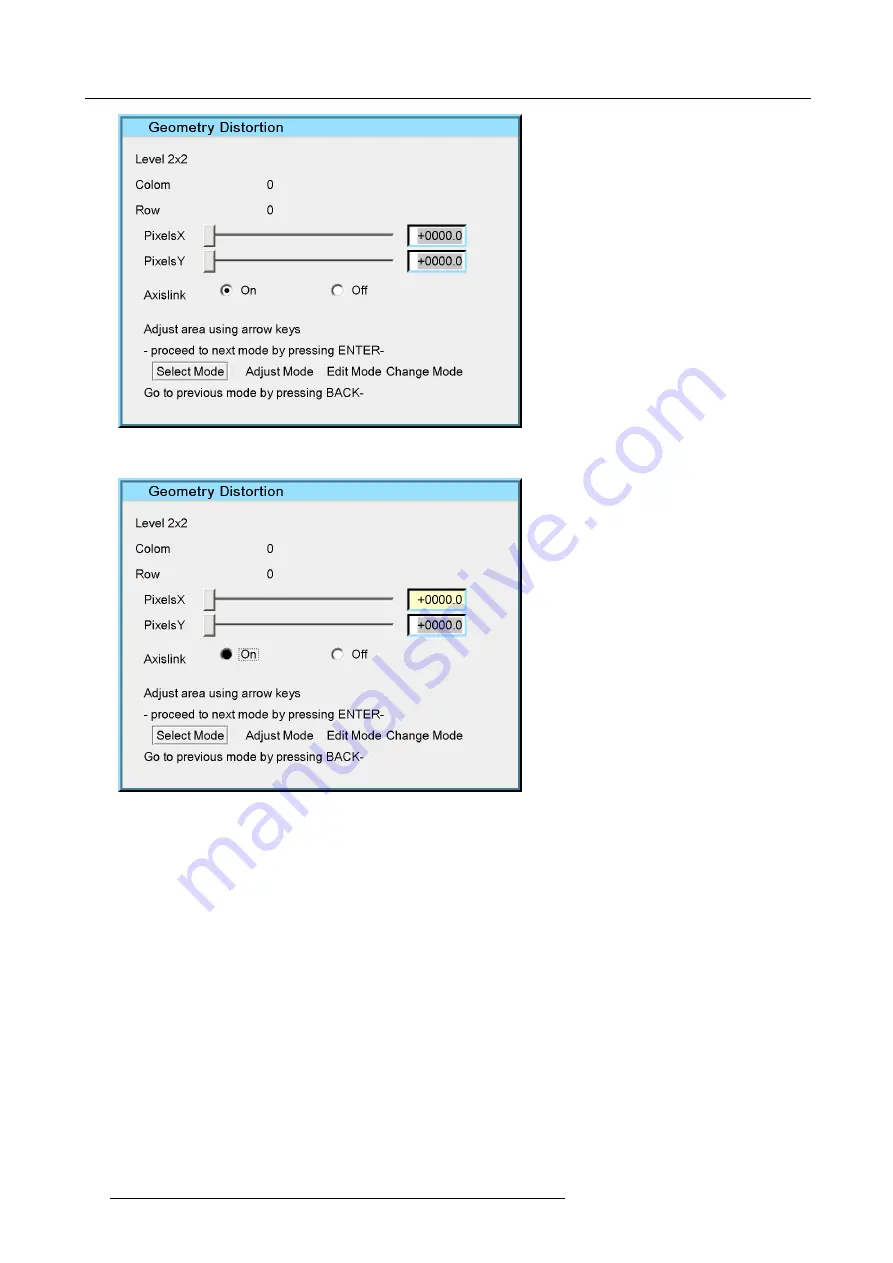
Image 7-71
3. Use
↑
and
↓
to select the
AxisLink
radio buttons
Image 7-72
4. Use
←
and
→
to select the
ON
or
OFF
radio buttons
5. Press
ENTER
to enable/disable the selected radio button
6. Press
BACK
to return to the
Geometry Edit
menu.
7.5.6.6
Shift Adjustment
What can be done with the Shift adjustment ?
With the Shift adjustment it is possible to shift the whole image. This is considered as a displacement of the 4 corner points of the
2x2
mode. The same dialog box is used as for the geometry edit.
How to use the Shift adjustment?
1. Start up the Geometry
Edit
menu
2. Press
↓
to select
Shift ....
3. Press
ENTER
A dialog box is displayed. Note that In the shift adjustment, the
Adjust
mode is selected by default (instead of the
Select
mode
for the other geometry adjustments).
4. Press
ENTER
to go to the
Edit Mode
90
R59770330 SIM 7QP SERIES 08/12/2014
Summary of Contents for SIM 7QP HB
Page 8: ...Table of contents 4 R59770330 SIM 7QP SERIES 08 12 2014...
Page 12: ...1 Introduction 8 R59770330 SIM 7QP SERIES 08 12 2014...
Page 38: ...4 Installation 34 R59770330 SIM 7QP SERIES 08 12 2014...
Page 52: ...5 Setup 48 R59770330 SIM 7QP SERIES 08 12 2014...
Page 82: ...7 Advanced Image 7 50 Image 7 51 Image 7 52 78 R59770330 SIM 7QP SERIES 08 12 2014...
Page 139: ...7 Advanced Image 7 157 R59770330 SIM 7QP SERIES 08 12 2014 135...
Page 168: ...7 Advanced 164 R59770330 SIM 7QP SERIES 08 12 2014...
Page 182: ...8 Maintenance 178 R59770330 SIM 7QP SERIES 08 12 2014...
Page 188: ...10 Environmental information 184 R59770330 SIM 7QP SERIES 08 12 2014...
Page 194: ...C GLD alignment 190 R59770330 SIM 7QP SERIES 08 12 2014...
Page 198: ...D Image files 194 R59770330 SIM 7QP SERIES 08 12 2014...
Page 200: ...Glossary 196 R59770330 SIM 7QP SERIES 08 12 2014...
Page 204: ...Index 200 R59770330 SIM 7QP SERIES 08 12 2014...


