


13. Display Setup
3. Press
↓
to pull down the
Display setup
menu.
4. Use
↑
or
↓
to select
Textbox
.
5. Press
→
to pull down the menu.
6. Use
↓
or
↑
to enable/disable the textbox.
7. Press
ENTER
.
Image 13-2
To enable the menus and dialog boxes again, press the TEXT button on the RCU.
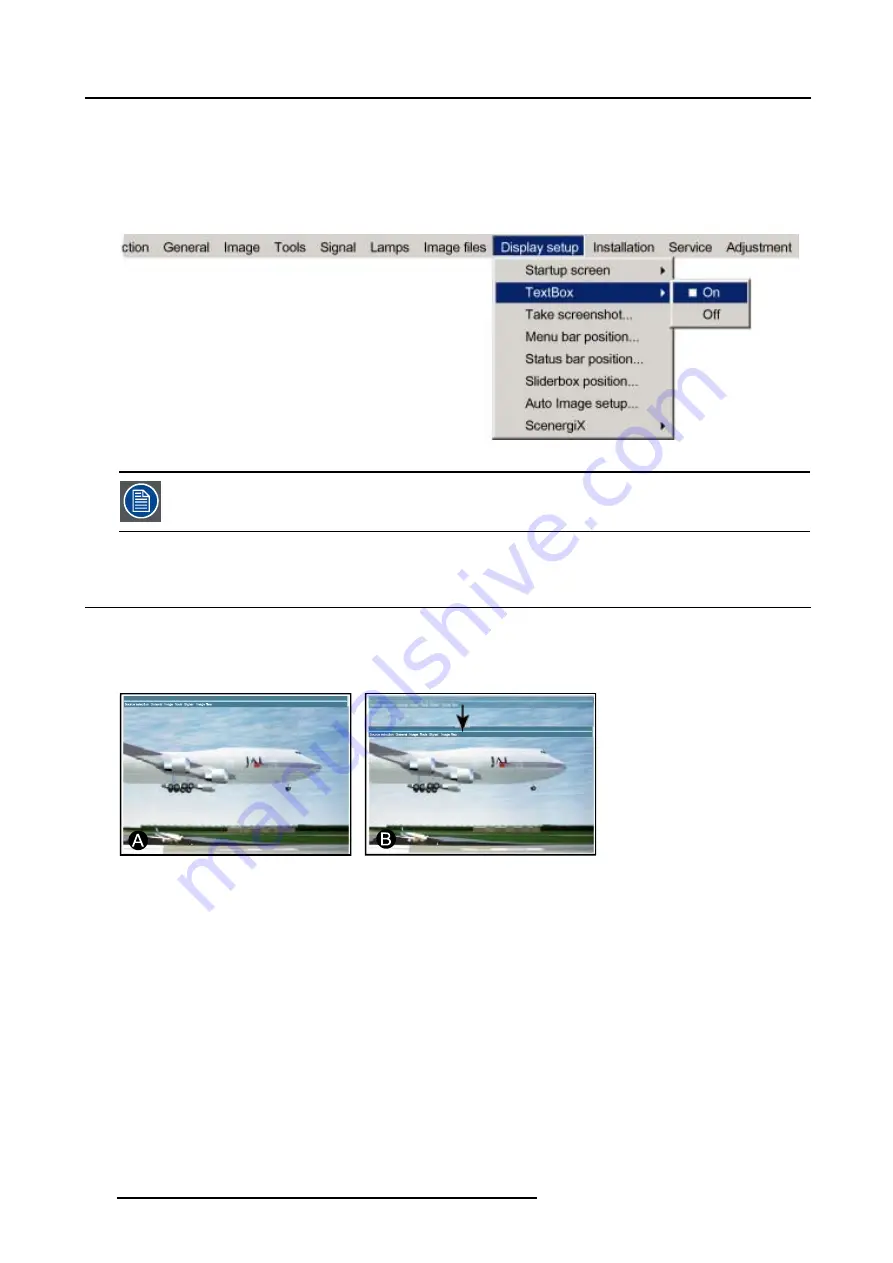
13.3 Menu bar position
What can be done ?
The menu bar can be centered vertically. The range is from the top of the screen to the middle of the screen.
This is useful in applications where the top image content is not displayed (e.g. due to blanking).
Image 13-3
Menu bar move
A
Normal position
B
New position
How to center the menu ?
1. Press
MENU
to activate the menu bar.
2. Press
→
to select the
Display setup
item. (image 13-4)
3. Press
↓
to pull down the
Display setup
menu.
4. Use
↑
or
↓
to select
Menu bar position menu
.
5. Press
ENTER
.
6. Use
↑
or
↓
to position the menu bar.
120
R5976816 RLM R6+ PERFORMER 02/06/2006
Summary of Contents for RLM R6+ Performer R9010270
Page 1: ...RLM R6 Performer Owners manual R9010270 R5976816 03 02 06 2006...
Page 4: ......
Page 8: ...Table of contents 4 R5976816 RLM R6 PERFORMER 02 06 2006...
Page 14: ...1 Packaging and Dimensions 10 R5976816 RLM R6 PERFORMER 02 06 2006...
Page 54: ...5 Getting used with the menu structure 50 R5976816 RLM R6 PERFORMER 02 06 2006...
Page 60: ...6 Source selection 56 R5976816 RLM R6 PERFORMER 02 06 2006...
Page 64: ...7 General Menu Image 7 7 60 R5976816 RLM R6 PERFORMER 02 06 2006...
Page 94: ...8 Image Menu Image 8 52 90 R5976816 RLM R6 PERFORMER 02 06 2006...
Page 104: ...9 Tools Menu 100 R5976816 RLM R6 PERFORMER 02 06 2006...
Page 134: ...13 Display Setup 130 R5976816 RLM R6 PERFORMER 02 06 2006...
Page 144: ...14 Installation menu 140 R5976816 RLM R6 PERFORMER 02 06 2006...


