Hardware Reference User
Manual
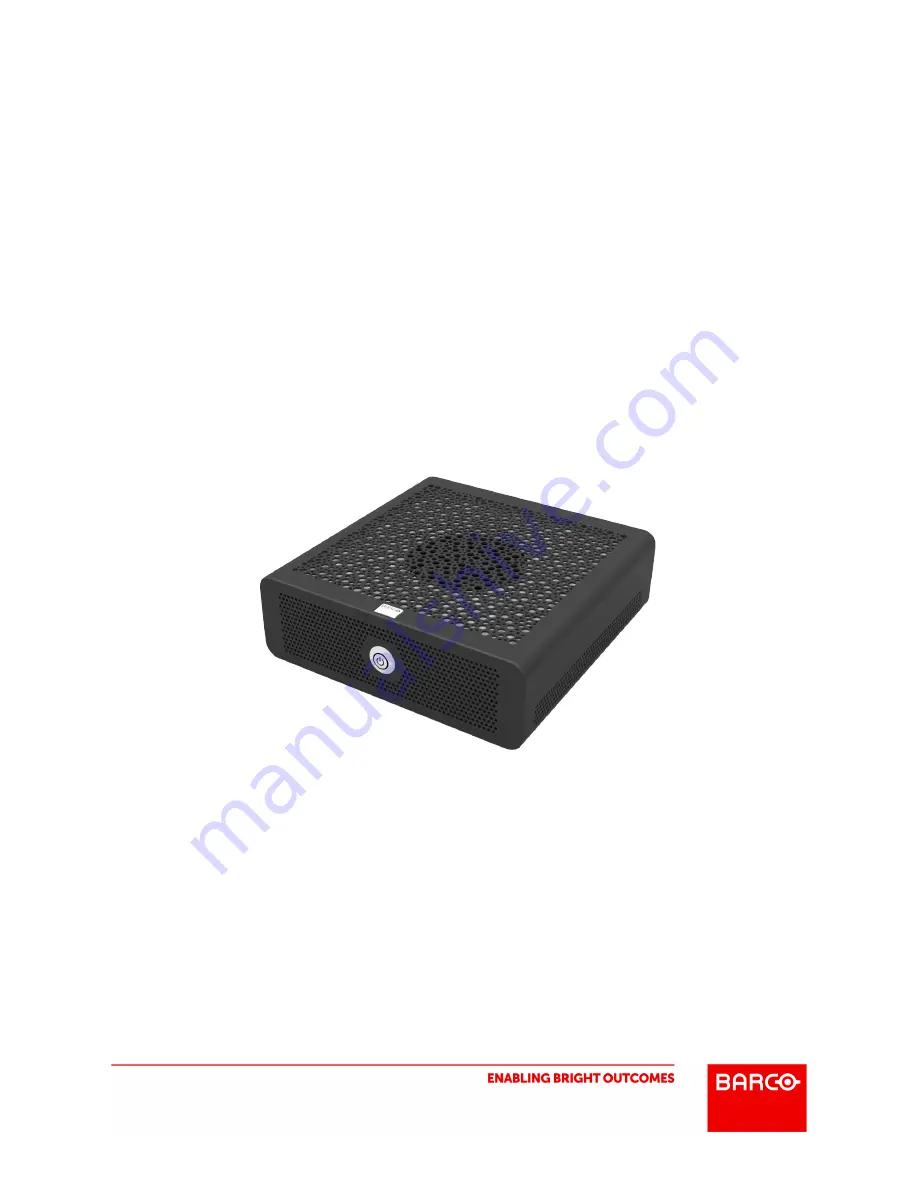
Model P110 Based Appliances
R591686
Revision 01
Page 1: ...Hardware Reference User Manual Model P110 Based Appliances R591686 Revision 01 ...
Page 2: ...e von uns überlassen werden deren Verwertung und Mitteilung ihres Inhaltes an Dritte ist nicht gestattet soweit dies nicht ausdrücklich zugestanden ist Urhe berrechte insbesondere auch solche an Software werden nur insoweit übertragen als es für die Erreichung des speziellen Vertragszwecks erforderlich ist Zuwiderhandlungen können zu Schadensersatz verpflichten Alle Rechte aus der Erteilung eines ...
Page 3: ...7 Importer s contact information 5 2 Model P110 6 2 1 P110 front view 7 2 1 1 Power button 7 2 1 2 Activity status LED 7 2 2 P110 rear view 8 2 2 1 Interfaces 8 2 3 P110 cooling concept 9 2 4 Mounting options 10 2 4 1 Horizontal setup 10 2 4 2 Vertical setup 11 2 4 3 Mounting brackets 12 2 4 4 VESA mount 12 2 4 5 19 mount 12 2 5 Installing replacing the hard drive 13 3 Connecting P110 14 3 1 Conne...
Page 4: ...0 Contents P II Hardware Reference User Manual P110 Document No R591686_01 www barco com 5 2 Turkey RoHS compliance 20 5 3 EurAsian Conformity EAC 20 6 China RoHS compliance 21 7 Factory Address 22 8 Contact 23 ...
Page 5: ...Courier bold font 1 1 2 Symbols The following symbols may be used in this document Their meaning is explained in the following table Symbol Description This icon specifies passages concerning solely the distributed system Failure to observe instructions marked by this icon may result in damage to the equipment Failure to observe instructions marked by this icon may result in electrical shock and d...
Page 6: ...110 Document No R591686_01 www barco com Symbol Description Additional notes Further information Tips Important notes 1 2 Online manuals Further documentation about your Barco product can be downloaded from the secured Barco website at www barco com mybarco ...
Page 7: ...equired to take adequate measures FCC compliance statement This equipment has been tested and found to comply with the limits for a Class A digital device pursuant to part 15 of the FCC Rules These limits are designed to provide reasonable protection against harmful interfer ence when the equipment is operated in a commercial environment This equipment generates uses and can radiate radio frequenc...
Page 8: ...t not be used to power the unit For a replacement power cord contact your dealer Slots and openings in the cabinet and the sides are provided for ventilation to ensure reliable operation of the unit and to protect it from overheating these openings must not be blocked or covered The open ings should never be blocked by placing the product on a bed sofa rug or other similar surface This product sho...
Page 9: ... configuration Vertical stand and mounting brackets Part number MAC address and serial number labels Quick Start Guide Safety Manual Never leave the USB stick in the USB port Booting the system while the USB stick is still connected will restart the installation If this case simply wait until the installation is completed Your data or customized settings will not be lost 1 5 Made in information Th...
Page 10: ...ng various appliances The notion of an appliance is used in this context for market or use case specific software packages running on this model P110 hardware P110 controller This reference manual is mainly about the model P110 hardware For the latest information on the appliance check the product page on the secured Barco website http www barco com mybarco ...
Page 11: ...D Switching off the P110 will not disconnect all parts from the power supply To power down the whole device short press the power button then unplug the power plug when the LED is signalling OFF state 2 1 2 Activity status LED Signalling Function No light System is switched OFF or has no power Blue light System is ON Flashing white Access to SSD Blinking blue regularly 50 on 50 off System is in sl...
Page 12: ...appliance dependent DP 2x Display Port 1 2 interfaces HDMI supported via adapters COM1 RS323 interface DVI DVI D Single Link interface GbE I210 Gigabit Ethernet interface GbE I219 LM Gigabit Ethernet interface USB 3 0 4x USB3 0 interfaces Line OUT Can also be configured in Bios as Headphone out Line IN Can also be configured in Bios as Mic in or Rear Speaker Out S PDIF Digital audio interface DC I...
Page 13: ...anual P110 Document No R591686_01 www barco com 2 3 P110 cooling concept The following image shows the air flow into and out of the P110 Air intake blue Air output red To protect the P110 from overheating the air vents must be kept free of obstructions ...
Page 14: ...lable It depends on the appliance type whether the required brackets for a specific mounting option are included or available as an optional accessory 2 4 1 Horizontal setup The P110 can be placed on and operated from a desk Turn the device upside down Attach the provided rubber feet to all 4 edges of the device P110 bottom view with rubber feet attached ...
Page 15: ...ached to the bottom of the vertical stand With the 2 provided TX8 screws the vertical stand can be mounted on either side of the P110 Put the device on its side Mount the vertical stand on the device using the 2 provided TX8 screws Attach the provided rubber feet to all 4 edges Attaching P110 vertical stand P110 vertical stand with rubber feet attached To protect the P110 from overheating the air ...
Page 16: ... on top of a surface Brackets for mounting P110 below a surface To protect the P110 from overheating the air vents must be kept free of obstructions at all times 2 4 4 VESA mount A VESA mount to attach the P110 controller to the back of a display can be purchased separately For instructions on the VESA mount please refer to the Quick Start User Guide supplied with the mount 2 4 5 19 mount A 19 mou...
Page 17: ...ped by accessing the 2 5 slim type hard drive bay Pull out the cable from the DC in connection to disconnect the P110 controller from the power supply before you remove or insert a hard drive Unscrew the cover using a TX8 screw driver Remove the cover P110 bottom view with hard drive bay Slide the SSD to the rear to disconnect it Remove the SSD from the bay Disconnecting the hard drive Proceed in ...
Page 18: ...110 To prevent damage of the P110 do not connect your device to the power supply until all other cables have been connected 3 1 Connecting the display P110 controller can be connected to a display via DisplayPort cables or via HDMI cables by using Display Port to HDMI adapters P110 rear view DisplayPort to HDMI adapter ...
Page 19: ...board and mouse extension optional A keyboard extension not provided allows for a remote positioning of keyboard and mouse The extension consists of two extension boxes and two connection cables The image below shows the parts and the cabling of the keyboard extension Keyboard and mouse extension Remote extension box REX 4 Local extension box LEX 1 RJ45 connection cable 3 USB cable 2 Plug the keyb...
Page 20: ...t No R591686_01 www barco com 3 3 Connecting audio Should you wish to connect audio to your P110 use the audio connectors on the rear if any Note that audio jacks Line in Line out are configurable for Mic in Headphone or Rear speaker out P110 rear view Line IN Line OUT S PDIF ...
Page 21: ...he video data This would be your video network or video LAN Prior to connecting your video LAN to the P110 controller s for the first time consult the respective software user manual for instructions on the required initial configuration The latest editions of our user manuals can be found on the secured Barco website www barco com mybarco Network and data cable connections can be made while the s...
Page 22: ...ied to your building The P110 is designed to operate with single phase power systems having a grounded neutral conductor To reduce the risk of electrical shock do not plug into any other type of power system Plug the DC power connector of the power supply into the DC in connection of your P110 Tighten the thumb screw P110 rear view and external power supply Connect the external power supply to a p...
Page 23: ...l power supply 72 5 174 A for 100 240 VAC max Mains power cords depending on configuration CEE 7 NEMA 5 15 GB 2099 power consumption Switched off mode Sleep mode Idle mode max operating mode 0 25 W 1 5 W 11 W 120 W operating conditions Altitude 0 40 C 32 104 F at 5 80 humidity non condensing 60m to 5 000 m 197 to 6 562 ft Non operating conditions Altitude 20 60 C 4 150 F at 5 95 humidity non conde...
Page 24: ... city office or your municipal waste disposal service For details please visit the Barco website at http www barco com en AboutBarco weee 5 1 Disposal of batteries This product contains batteries covered by the Directive which must be collected and disposed of separately from municipal waste If the battery contains more than the specified values of lead Pb mercury Hg or cadmium Cd these chemical s...
Page 25: ...Barco P110 China RoHS compliance P 21 Hardware Reference User Manual P110 Document No R591686_01 www barco com 6 China RoHS compliance ...
Page 26: ...ss P 22 Hardware Reference User Manual P110 Document No R591686_01 www barco com 7 Factory Address Kontron Europe GmbH Lise Meitner Str 3 5 D 86156 Augsburg Germany Phone 49 0 821 4086 01 Fax 49 0 821 4086 111 www kontron com ...
Page 27: ...co at www barco com For Professional Support visit http www barco com support For Sales or other regional contact information visit http www barco com contact regional offices Barco N V Beneluxpark 21 8500 Kortrijk Belgium Registered Office Barco N V Pres Kennedypark 35 8500 Kortrijk Belgium RPR Kortrijk BE0473191041 ...