background image

4. Daily operation

Maximize quality assurance

The ’MediCal QAWeb’ system offers online service for high-grade Quality Assurance, providing maximum
diagnostic con

fi

dence and uptime.

Barco recommends to install MediCal QAWeb Agent and apply the default QAWeb policy
at least. This policy includes calibration on regular intervals. Connecting to MediCal
QAWeb Server offers even more possibilities.

Learn more and sign up for the free MediCal QAWeb Essential level at

www.barco.com/healthcare/qa

.

4.2

Key indicator lights

About the key indicator lights

By default, the

,

and

keys will be dimmed which makes the keys unavailable at that moment.

To make the keys illuminate and available for further actions touch one of the not illuminated keys. As a
result, all keys will be illuminated and are now available for further actions. However, if no further actions
are taken within the following 5 seconds, the keys will dim again.

The

key is always lit and available for activation of the I-Luminate feature. Please

refer to "I-Luminate", page 21 for more information.

The key auto-dim function can be disabled in the OSD menus. Please refer to "Key in-
dicator lights", page 24 
for detailed instructions on how to do this.

4.3

Standby switching

About standby switching

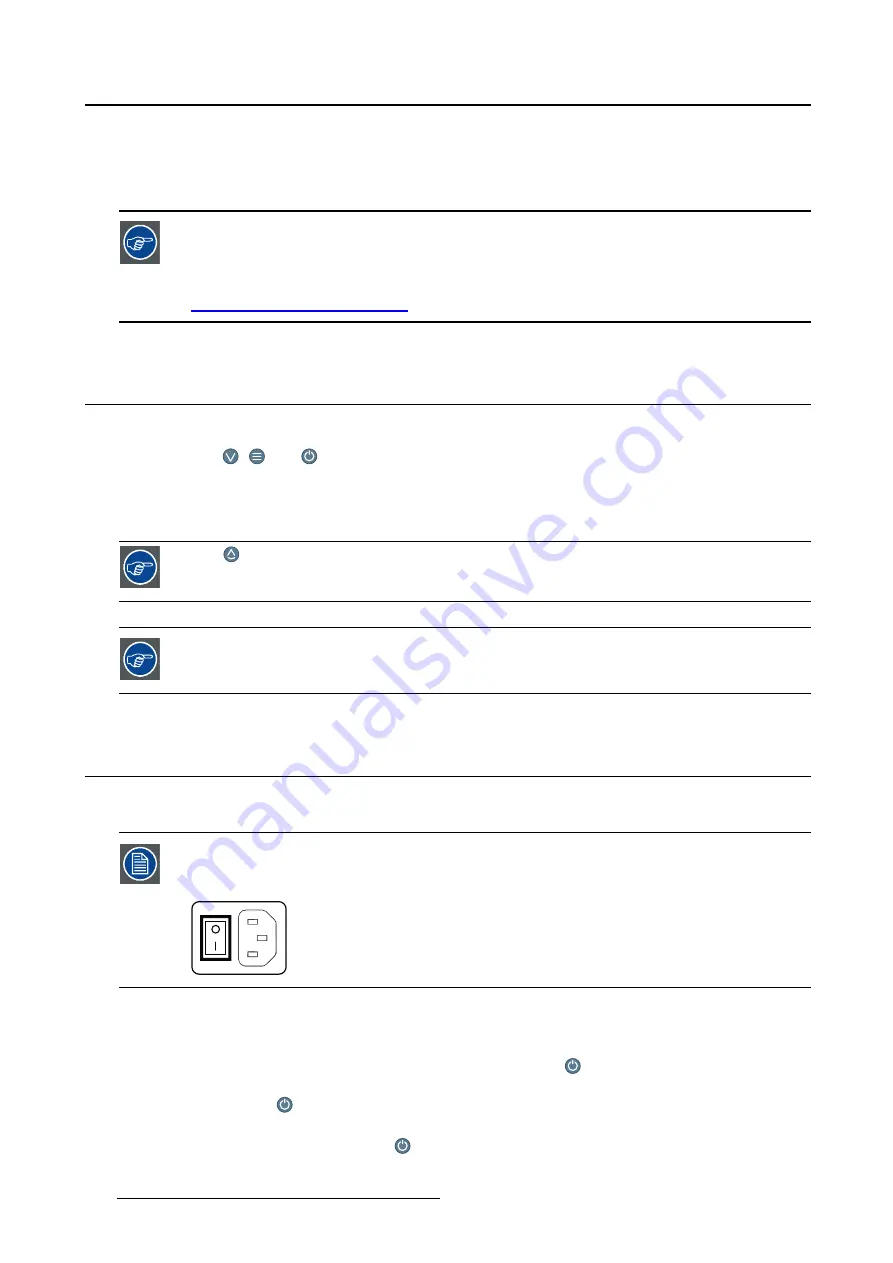
The connected power supply also provides a switch that can be used to turn the power
completely off. To use the display, please make sure to switch on this power supply.
This can be done by pushing the on/off switch on the power supply into the “

” position.

Switching the display to stand-by mode or vice versa can both be done as follows:
1. While the OSD is not on the screen, touch any touch key. As a result, the control panel illumination is

switched on for a few seconds.

2. While the control panel illumination is on, touch the stand-by

key. A message appears on the

screen.

3. Touch the stand-by

key once more to con

fi

rm.

4. To switch the display on while it is in stand-by, touch any touch key. Next, while the control panel

illumination is on, touch the stand-by

key.

20

K5902035


MAMMO


TOMOSYNTHESIS

  07/12/2017

Summary of Contents for MDMG-5221

Page 1: ...Mammo Tomosynthesis User Guide MDMG 5221 K5902035 07 07 12 2017...

Page 2: ...Barco nv President Kennedypark 35 8500 Kortrijk Belgium Phone 32 56 23 32 11 Fax 32 56 26 22 62 Support www barco com esupport Visit us at the web www barco com Printed in Belgium...

Page 3: ...OSD menus 22 4 7 Navigating through the OSD menus 22 5 Advanced operation 23 5 1 OSD menu position 23 5 2 OSD menu language 23 5 3 OSD menu automatic close function 23 5 4 Power status indicator light...

Page 4: ...7 6 1 Cleaning instructions 37 7 Important information 39 7 1 Safety information 39 7 2 Environmental information 40 7 3 Regulatory compliance information 42 7 4 EMC notice 43 7 5 Explanation of symbo...

Page 5: ...COM P14 compli ance QAWeb automatic Quality Assurance testing and remote assessment of the diagnostic area PPU Per Pixel Uniformity technology DURALIGHT superb luminance levels with an exceptionally l...

Page 6: ...s two external power supplies a keyboard light a film clip If you ordered a Barco display controller it s also in the box together with its accessories A dedicated user guide is available on the syste...

Page 7: ...AND CONNECTORS 2 1 Display front view Overview 7 1 2 3 4 5 6 Image 2 1 Front view 1 I Luminate Left key 2 Right key 3 Menu key 4 Power on off key 5 Ambient light sensor 6 Power LEDs 7 Side downstream...

Page 8: ...partment cover 2 Display release button 3 Mounting anchor Connector compartment cover open 4 5 6 7 8 9 10 Image 2 3 Rear view cover open 4 24 Vdc power input 5 5 Vdc 0 5 A power output 6 Display Port...

Page 9: ...oot Overview 1 2 3 4 2 Image 2 4 Dual tilt and swivel foot 1 Cable cover 2 Left right arm cover 3 Foot lock clip behind cable cover 4 Display positioning sliders 2 4 Accessories Film clip Image 2 5 Fi...

Page 10: ...connectors Keyboard light Image 2 6 Keyboard light The keyboard light can be mounted under the display to provide a workspace light that is not interfering with the display image 8 K5902035 MAMMO TOMO...

Page 11: ...ices 3 1 Mounting the displays Using the dual tilt swivel foot 1 Unpack the dual tilt swivel foot and place it on a solid surface 2 Unpack the first display 1 2 3 Hold the display slightly angled with...

Page 12: ...e with the VESA 100 mm standard WARNING Never move a display attached to an arm by pulling or pushing the display itself Instead make sure that the arm is equipped with a VESA approved handle and use...

Page 13: ...nnect the display to a display controller by using the DVI or the DP connection The active input can be selected in the OSD menu 1 Remove the cable cover To remove this cover push the lock clips insid...

Page 14: ...3 Display installation 1 2 3 Connect the DVI or DP of the display controller to the DVI or DP connector of the display 12 K5902035 MAMMO TOMOSYNTHESIS 07 12 2017...

Page 15: ...the display 7 Plug the mains connector of the external DC power supply to a grounded power outlet by means of the supplied power cable 8 Re attach the connector compartment cover Position the cover w...

Page 16: ...s To route the cables If the display is mounted on the system dual tilt swivel foot cables are best routed behind the arms and through the cable channel in the foot shaft as shown in the pictures belo...

Page 17: ...depth of opposite screws 7 Re attach the arm covers 3 6 Mounting the film clip To mount the film clip The film clip can be mounted on the top left or right side of the display 1 Position the film cli...

Page 18: ...p in the display bezel gap 4 Push firmly against the front part of the white plastic clip so that the clip pops into the display bezel gap 5 With the enclosed Allen key tighten both screws at the bott...

Page 19: ...he computer connected to your display If you have properly installed your display and display controller the Windows start up messages will appear once the boot procedure is finished Your Mammo Tomosy...

Page 20: ...3 Display installation 18 K5902035 MAMMO TOMOSYNTHESIS 07 12 2017...

Page 21: ...usage A good screen saver displays moving content In case you are working with the same image or an application with static image elements for several hours continuously so that the screen saver is no...

Page 22: ...s always lit and available for activation of the I Luminate feature Please refer to I Luminate page 21 for more information The key auto dim function can be disabled in the OSD menus Please refer to K...

Page 23: ...For both film modes the position can be set to Left Center Right When touching the I Luminate key the display will enter the default I Luminate mode according to the current setting for approximately...

Page 24: ...0 seconds the OSD will disappear again The OSD menu auto exit function can be disabled in the OSD menu Please refer to OSD menu automatic close function page 23 for detailed instructions on how to do...

Page 25: ...avail able for the OSD menu of your Mammo Tomosynthesis To change the language of the OSD menu 1 Bring up the OSD main menu 2 Navigate to the Configuration User Interface Menu menu 3 Enter the Langua...

Page 26: ...lights will dim again if no further actions are taken within the following 5 seconds However this behavior can be changed so that the key indicator lights are always on or always off To configure the...

Page 27: ...the Eth over USB submenu 4 Select Enabled Disabled as desired and confirm 5 8 USB About USB By default USB will be enabled This will allow the connected PC to communicate directly over USB with the i...

Page 28: ...ate to the Configuration Power Management menu 3 Enter the DPMS Mode submenu 4 Select Enabled Disabled as desired and confirm 5 10 Hibernate About hibernate Enabling hibernation will not only switch o...

Page 29: ...lt the I Luminate rectangle comes up in the top center of the screen This position can be changed to top left or top right corner To set the I Luminate film position 1 Bring up the OSD main menu 2 Nav...

Page 30: ...SD main menu 2 Navigate to the Configuration Calibration menu 3 Enter the Viewing Mode submenu 4 Select Diagnostic Text as desired and confirm 5 15 Display functions About display functions Native unc...

Page 31: ...mbient Light Compensation ALC About ALC Ambient Light Compensation ALC can only be enabled on your display when the DI COM display function is selected Therefore please refer to Display functions page...

Page 32: ...e scans Staff Office Corresponds to light conditions in office rooms Clinical Viewing Room Corresponds to light conditions in diagnostic reading rooms for clinical viewing Emergency Room Corresponds t...

Page 33: ...e man agement automated reporting alerting and specific support of regional QA standards such as DIN 6868 57 JESRA and AAPM TG18 That s why MediCal QAWeb Agent acts as the master for all supported dis...

Page 34: ...After measurement the DICOM status report is shown To start DICOM compliance check 1 Bring up the OSD main menu 2 Navigate to the Configuration Calibration Embedded QA menu 3 Select DICOM compliance c...

Page 35: ...tiply each individual pixel to one or more adjacent pixels so that the size of the displayed image will be a multiple of the original image source video input signal Image scaling is only possible whe...

Page 36: ...ge HDR standard usually used on color displays HDR2 HDR2 is a Barco specific mode featuring 10 bit video encoding following the High Dynamic Range HDR standard but allowing full refresh rate which is...

Page 37: ...confirm 5 24 EDID timings About EDID timings Following EDID timings are available for your Mammo Tomosynthesis Refresh Rate Allows to manually select the refresh rate of the image source video input...

Page 38: ...ent status of your display runtimes tem peratures etc the status of the connected image sources video encoding mode timings etc the current calibration status of your display display function luminanc...

Page 39: ...hol solvents at higher concentration 5 Strong alkalis lye strong solvents Acid Detergents with fluoride Detergents with ammonia Detergents with abrasives Steel wool Sponge with abrasives Steel blades...

Page 40: ...6 Cleaning your display 38 K5902035 MAMMO TOMOSYNTHESIS 07 12 2017...

Page 41: ...patient care equipment Equipment primarily for use in a health care facility that is intended for use where contact with a patient is unlikely no applied part The equipment may not be used with life...

Page 42: ...ther closed location heed the necessary space between the set and the sides of the cupboard Installation Place the device on a flat solid and stable surface that can support the weight of at least 3 d...

Page 43: ...system the lamps in the device contain mercury Turkey RoHS compliance T rkiye Cumhuriyeti AEEE Y netmeli ine Uygundur Republic of Turkey In conformity with the WEEE Regulation RoHS Chinese Mainland Ro...

Page 44: ...ormation Products EIP that are sold within Chinese Mainland must comply with the Electronic Information Products Pollution Control Labeling Standard of Chinese Mainland marked with the Environmental F...

Page 45: ...tlet on a circuit different from that to which the receiver is connected Consult the dealer or an experienced radio TV technician for help Changes or modifications not expressly approved by the party...

Page 46: ...fer from harmful interference of surrounding equipment the user is encouraged to try to correct the interference by one or more of the following mea sures Reorient or relocate the receiving antenna or...

Page 47: ...e 40 UT 60 dip in UT for 5 cycles 70 UT 30 dip in UT for 25 cycles 5 UT 95 dip in UT for 5s Mains power quality should by that of a typical commercial or hospital environment If the user of the Mammo...

Page 48: ...the user of the Mammo Tomosynthesis can help prevent electromagnetic interference by maintaining a minimum distance between portable and mobile RF com munications equipment transmitters and the Mammo...

Page 49: ...lowing symbols nonrestrictive list Indicates compliance with the Directive 93 42 EEC as Class I device Indicates compliance with the Directive 93 42 EEC as Class II device Indicates compliance with Pa...

Page 50: ...ates the DisplayPort connectors on the device Indicates the manufacturing date Indicates the temperature limitations6 for the device to safely operate within specs Indicates the device serial no Warni...

Page 51: ...s of Barco products are subject to change without notice Trademarks All trademarks and registered trademarks are property of their respective owners Copyright notice This document is copyrighted All r...

Page 52: ...0 150 kHz 15 80 Hz Housing color Gray Video input signals DVI D Dual Link DisplayPort per display Video inout terminals NA USB ports 1 upstream endpoint 3 downstream USB standard 2 0 Power requirement...

Page 53: ...784 Additional keyboard light B4100574 QA software MediCal QAWeb Units per pallet NA Pallet dimensions W x H NA Warranty 5 years Operating temperature 0 C to 35 C 20 C to 30 C within specs Storage tem...

Page 54: ...oc umentation source code README file or otherwise You shall not remove or obscure or otherwise alter the respective copyrights You acknowledge living up to the conditions of each separate Open Source...

Reviews: