


7. Advanced
5. Use
↑
or
↓
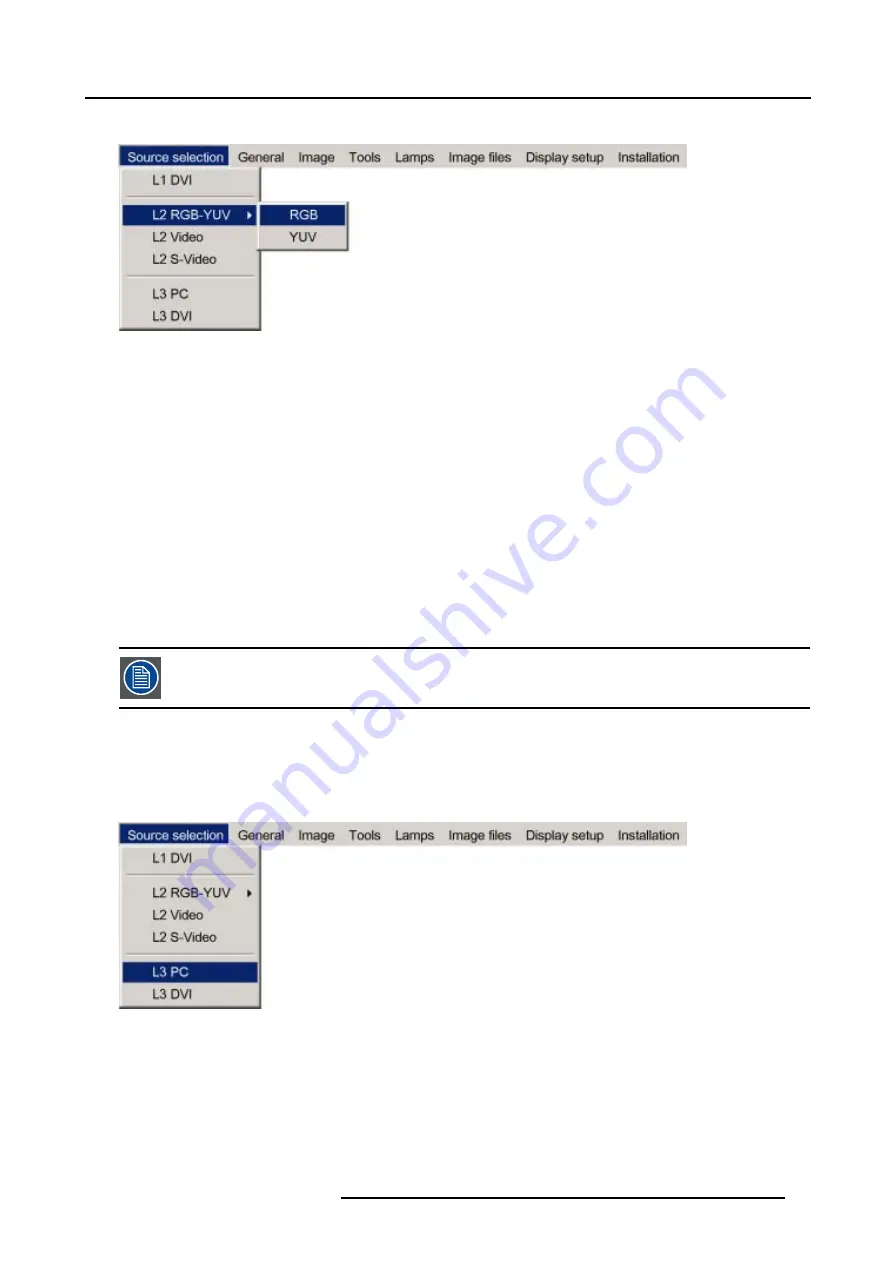
to select
RGB
or
YUV
Image 7-5
6. Press
ENTER
to confirm your choice
A bullet indicates the selected source which now appears on the screen.
Adjustments on an RGB signal
The projector allows different adjustments on an RGB signal :
•
Contrast
•
Brightness
•
Phase
•
Input balance
•
AutoImage : or manual edit of the image file settings
7.3.5
PC
When
Select PC when you are in presence of a data signal of the RGB + sync form connected to the D15 input connector of the projector.
An RGB data signal can have its sync signal added in different ways, refer to the Installation section for more
information on the RGB+sync signals accepted by the PC input.
How to select the PC input ?
1. Press
MENU
to activate the Tool bar
2. Press
↓
to Pull down the Source Selection menu
3. Use
↑
or
↓
to select
L3 PC
Image 7-6
4. Press
ENTER
to confirm your choice
A bullet indicates the selected composite video source which now appears on the screen.
7.3.6
DVI
When
The projector is equipped with 2 DVI inputs, one located on the layer 1 and the other on layer 3.
R59770079 BARCO ID H250/500 23/07/2007
45
Summary of Contents for iD H250
Page 1: ...Barco iD H250 500 Owners manual R9010520 R9010570 R59770079 01 23 07 2007...
Page 28: ...4 Connections 24 R59770079 BARCO ID H250 500 23 07 2007...
Page 41: ...5 Setup Image 5 18 7 Press ENTER R59770079 BARCO ID H250 500 23 07 2007 37...
Page 42: ...5 Setup 38 R59770079 BARCO ID H250 500 23 07 2007...
Page 44: ...6 Getting started 40 R59770079 BARCO ID H250 500 23 07 2007...
Page 88: ...7 Advanced Image 7 84 84 R59770079 BARCO ID H250 500 23 07 2007...
Page 96: ...7 Advanced 92 R59770079 BARCO ID H250 500 23 07 2007...
Page 98: ...8 Maintenance 94 R59770079 BARCO ID H250 500 23 07 2007...


