


8. Installation menu
Image 8-15
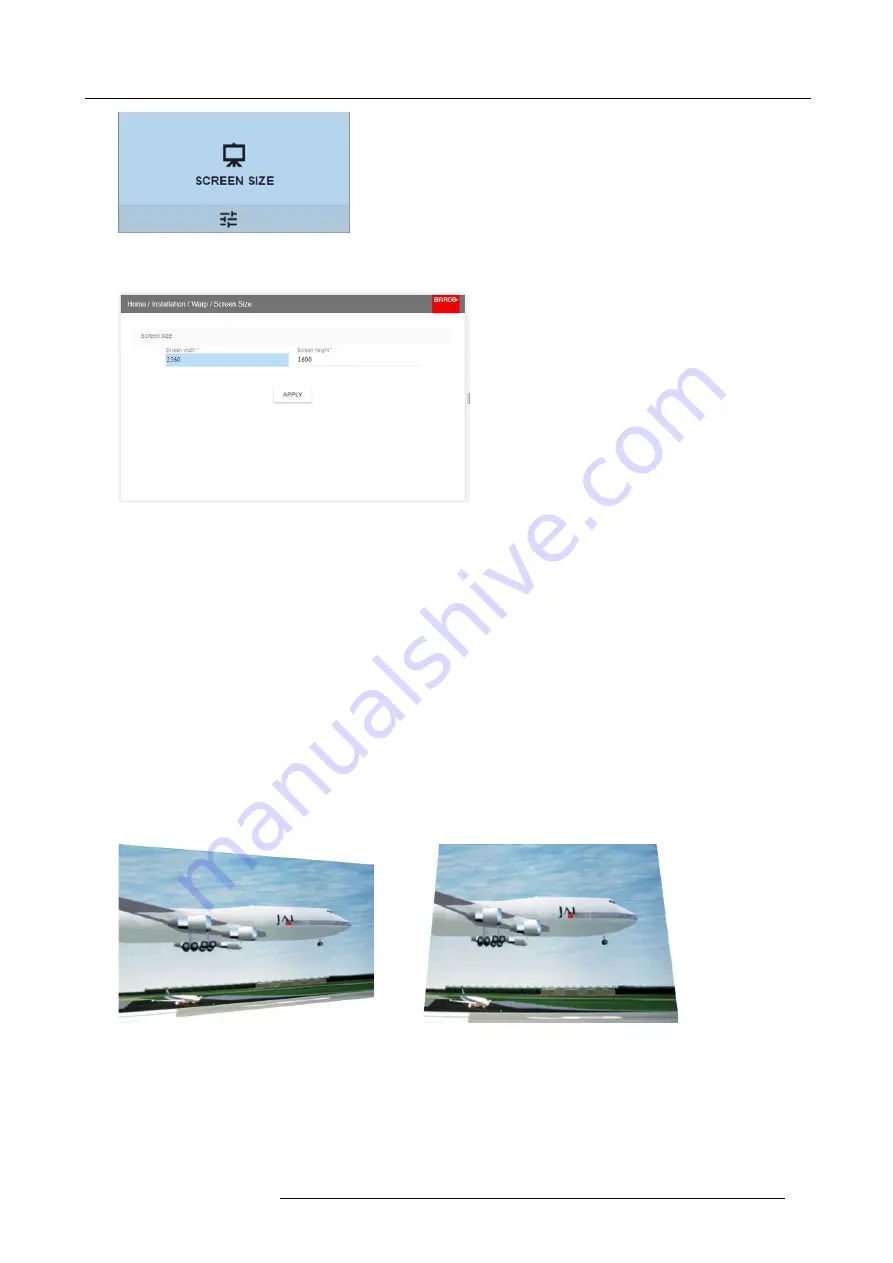
Warp Menu, Screen Size
The Screen Size menu is displayed.
Image 8-16
2. Select either
Screen width
or
Screen height
.
3. Set the screen size width and height to match the measurement of the screen.
Note:
It is only the ratio between the width and height that is used, so the values may be entered as the screen aspect ratio or
actual measurement in cm, inches or any other unit.
Tip:
A red border will be projected along with the current image. The border is a visual tool, showing the result of the adjusted
outline.
Tip:
The value can also be entered by the numeric keys on the remote control. Press * to delete existing numbers, and enter
the new value by the numeric keys.
4. Click
Apply
.
8.4.4
Warp – 4 Corners adjustment
About 4 Corners adjustment
Basically, this type of warping adjusts each of the four image corners in the X and Y direction, if you have a typical trapezoid picture
of the screen as shown below.
To have a successful Warp correction, the size of the screen must be entered. See "Warping – Screen Size", page 68
Some examples of pictures when the projector axis is not perpendicular to the screen.:
Image 8-17
How to adjust the image.
1. From the warp menu, select the 4 Corners Menu. A yellow frame will be visible.
601–426 F70 SERIES 24/10/2017
69
Summary of Contents for F90 - W13WUXGA
Page 1: ...F70 Series User Manual 601 426 01 24 10 2017...
Page 18: ...1 Safety 14 601 426 F70 SERIES 24 10 2017...
Page 52: ...5 Getting started 48 601 426 F70 SERIES 24 10 2017...
Page 66: ...7 Image menu 62 601 426 F70 SERIES 24 10 2017...
Page 86: ...8 Installation menu 82 601 426 F70 SERIES 24 10 2017...
Page 96: ...12 User Maintenance 92 601 426 F70 SERIES 24 10 2017...
Page 98: ...13 Cleaning the projector 94 601 426 F70 SERIES 24 10 2017...


