


R5906852-01
F80 series
65
How to adjust the image?
1.
In the main menu, select
Installation
→
Warp
→
Screen Size
.
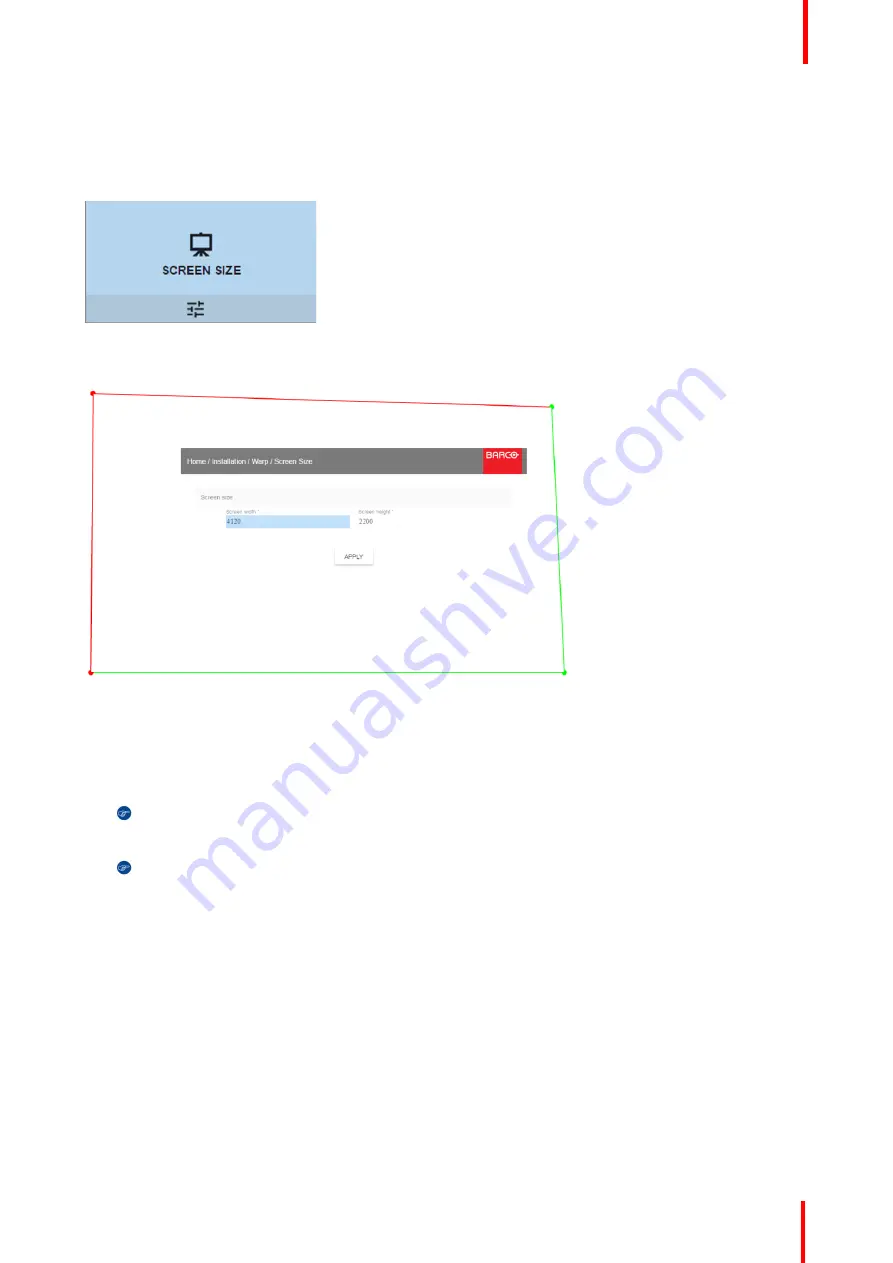
Image 8-10: Warp Menu, Screen Size
The Screen Size menu is displayed.
Image 8-11: Screen size
2.
Select either
Screen width
or
Screen height
.
3.
Set the new value to shrink either the width or height of the warp outline so that the outline is equal with the
active source.
Tip:
A red border will be projected along with the current image. The border is a visual tool, showing
the result of the adjusted outline.
Tip:
The value can also be entered by the numeric keys on the remote control. Press * to delete
existing numbers, and enter the new value by the numeric keys.
4.
Click
Apply
.
8.3.4 Warping
–
4 corners adjustment
About 4 Corners adjustment
4 corner adjustment is typically used when the mechanical installation of the projector prevents it from pointing
perpendicularly at the screen. For example, you can overshoot the screen and use 4 corner adjustment to pull
your projected image corners back into the screen.
Some examples:
Summary of Contents for F80 series
Page 1: ...ENABLING BRIGHT OUTCOMES User Manual F80 series...
Page 8: ...R5906852 01 F80 series 8...
Page 21: ...21 R5906852 01 F80 series Remote Control Unit 2...
Page 24: ...R5906852 01 F80 series 24 Remote Control Unit...
Page 32: ...R5906852 01 F80 series 32 Input Communication...
Page 44: ...R5906852 01 F80 series 44 Getting Started...
Page 82: ...R5906852 01 F80 series 82 GUI Installation...
Page 98: ...R5906852 01 F80 series 98 Status menu...
Page 101: ...101 R5906852 01 F80 series Specifications A...
Page 115: ...R5906852 01 F80 series 115 Environmental information...


