6. GUI orientation
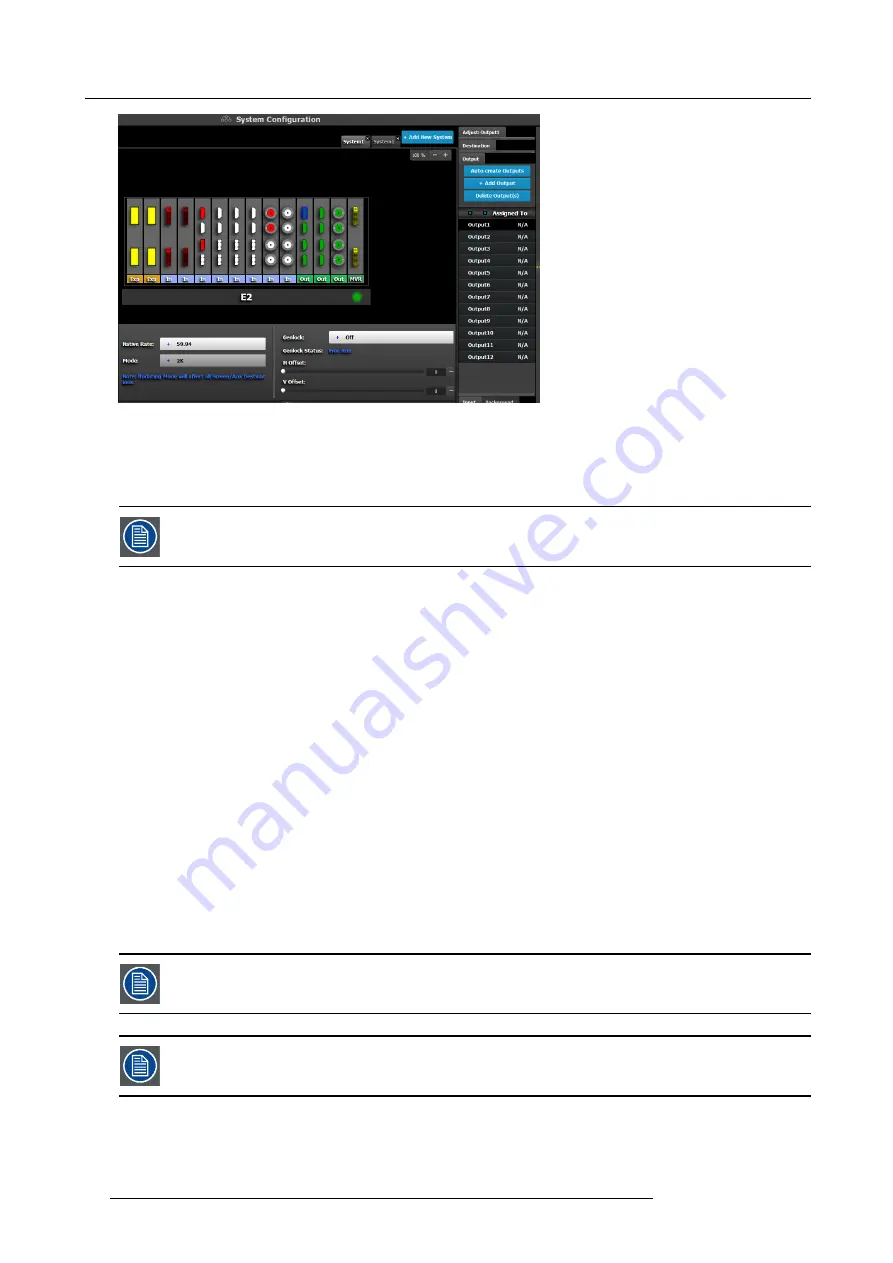
Image 6-25
Since the software assigns automatically only 2K outputs, Dual link or 4K outputs need to be con
fi
gured manually. See
How to add
output
section below.
Next to the con
fi
guration name is the name of the Destination where the output is assigned. If the Output is not assigned to any
Destination, then the name will be “N/A”
The software by default names outputs as “Output 1, 2, 3...” The user can rename each output by double-
clicking on the name and type in the new name in the blue box.
How to add Output
Outputs con
fi
gurations can be added manually to un-assigned connectors.
1. Click on the
Add Output
button.
The
Add Output
button is replaced by the
Done Adding
button (highlighted in blue).
2. In the System diagram area, click on the connector(s) that need to be assigned.
Note:
If the output is 4K provided by the 4 SDI connectors, the 4 SDI connectors need to be selected.
Connector(s) is immediately highlighted in blue.
3. The selection is completed by clicking the
Done Adding
button that is highlighted in blue.
A new Input is added in the input list.
How to delete Output
1. Click on the
Delete Output(s)
button
The
Delete Output(s)
button is replaced by the
Delete Selected
button (highlighted in red).
2. Click on the corresponding connector in the graphical area.
Or,
click in the “x” on the right hand side in the output con
fi
guration list.
Connector(s) is immediately highlighted in blue.
3. The deletion is completed by clicking the
Delete Selected
button.
Multiple connector con
fi
gurations can be selected to be deleted together.
You can only delete Output Con
fi
gurations that are not assigned in Destinations.
How to access to the output con
fi
guration adjustments
Adjustments to outputs are performed in the “Adjust” panel:
1. Select the output from the con
fi
guration list
94
R5905948 E2 12/12/2014
Summary of Contents for Event Master E2
Page 1: ...E2 User s guide R5905948 00 12 12 2014...
Page 8: ...Table of contents 4 R5905948 E2 12 12 2014...
Page 16: ...2 Safety 12 R5905948 E2 12 12 2014...
Page 32: ...3 General 28 R5905948 E2 12 12 2014...
Page 82: ...6 GUI orientation Image 6 8 78 R5905948 E2 12 12 2014...
Page 94: ...6 GUI orientation Image 6 20 90 R5905948 E2 12 12 2014...
Page 115: ...6 GUI orientation Image 6 37 Thumbnail view Image 6 38 R5905948 E2 12 12 2014 111...
Page 186: ...7 System Setup 182 R5905948 E2 12 12 2014...
Page 192: ...8 Updating firmware 188 R5905948 E2 12 12 2014...
Page 196: ...9 General operation example Image 9 3 192 R5905948 E2 12 12 2014...
Page 213: ...9 General operation example Image 9 25 R5905948 E2 12 12 2014 209...
Page 216: ...9 General operation example 212 R5905948 E2 12 12 2014...
Page 220: ...10 Maintenance 10 2 Process Overview Flow chart Image 10 2 216 R5905948 E2 12 12 2014...
Page 281: ...10 Maintenance Disregard the heatsink from the spare kit R5905948 E2 12 12 2014 277...
Page 282: ...10 Maintenance 278 R5905948 E2 12 12 2014...
Page 288: ...11 Environmental information 284 R5905948 E2 12 12 2014...
Page 298: ...B Remote Control Protocol 294 R5905948 E2 12 12 2014...
Page 299: ...C Troubleshooting C TROUBLESHOOTING R5905948 E2 12 12 2014 295...
Page 300: ...C Troubleshooting 296 R5905948 E2 12 12 2014...


