R5900120 /03
ClickShare CX-50 Gen2
130
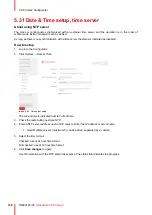
5.31 Date & Time setup, time server
About using NTP server
The clock is continuously synchronized with an external time server and the deviation is in the order of
milliseconds. Extra time servers can be added.
As long as there is no synchronization with a time server the status is indicated as disabled.
How to setup
1.
Log in to the
Configurator
.
2.
Click
System
→
Date & Time
.
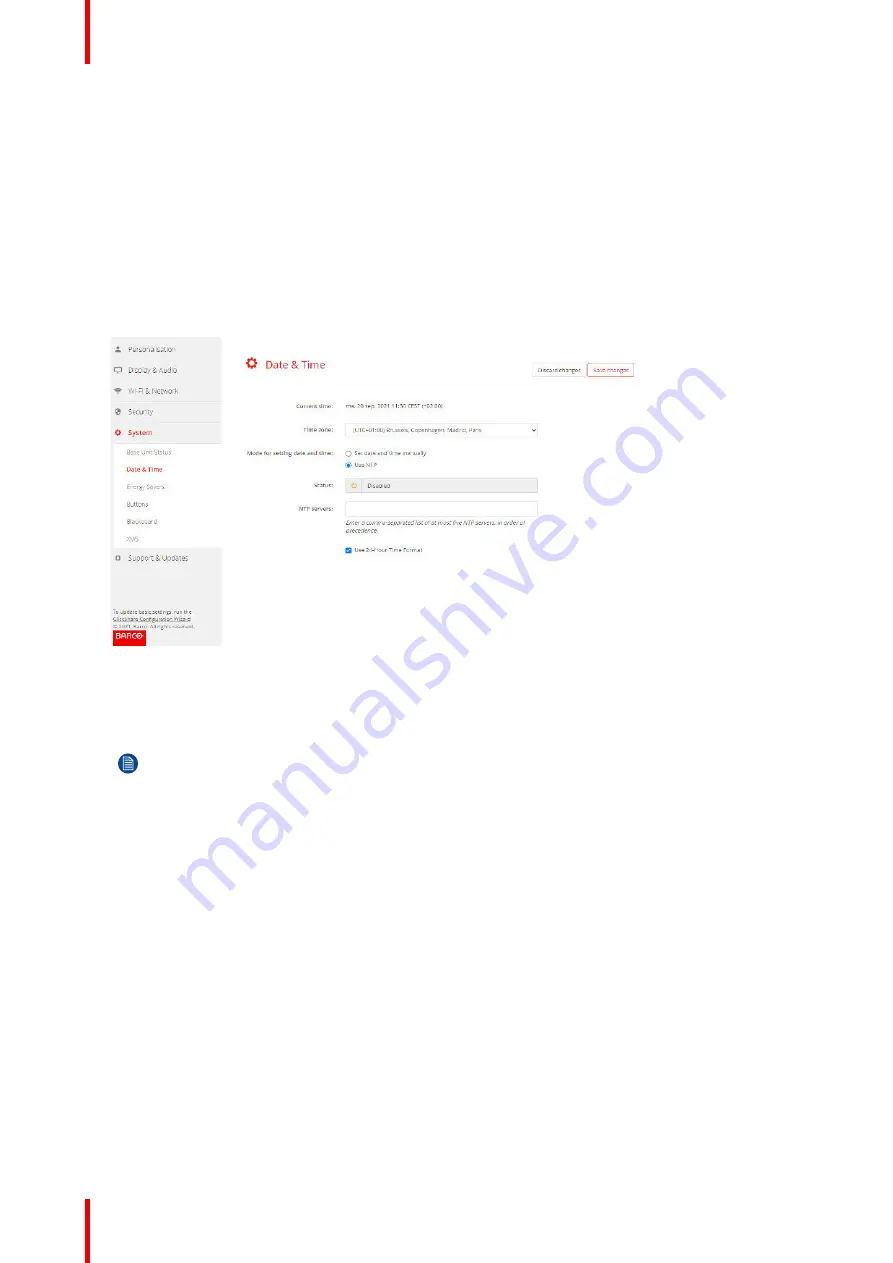
Image 5–49 Time server setup
The current time is indicated next to
Current time
.
3.
Check the radio button next
Use NTP
.
4.
Enter a NTP server address next to
NTP servers
. Enter the IP address or server name.
Note:
Multiple servers (maximum 5) can be added, separated by a comma.
5.
Select the time format.
Checked: use of 24 hour time format
Not checked: use of 12 hour time format
6.
Click
Save changes
to apply.
A synchronization with the NTP server takes place. The status field indicates the progress.
Summary of Contents for C5011S
Page 1: ...ENABLING BRIGHT OUTCOMES Installation manual Model C5011S ClickShare CX 50 Gen2...
Page 4: ......
Page 8: ...R5900120 03 ClickShare CX 50 Gen2 8...
Page 28: ...R5900120 03 ClickShare CX 50 Gen2 28 CX 50 Gen2 Installation...
Page 57: ...57 R5900120 03 ClickShare CX 50 Gen2 Image 3 26 CX 50 Gen2 Installation...
Page 69: ...69 R5900120 03 ClickShare CX 50 Gen2 Image 4 3 Preparing the Buttons...
Page 76: ...R5900120 03 ClickShare CX 50 Gen2 76 Preparing the Buttons...
Page 92: ...R5900120 03 ClickShare CX 50 Gen2 92 CX 50 Gen2 Configurator...
Page 149: ...149 R5900120 03 ClickShare CX 50 Gen2 7 1 Troubleshooting list 150 Troubleshooting 7...
Page 156: ...R5900120 03 ClickShare CX 50 Gen2 156 Index...
Page 157: ......


