R5900120 /03
ClickShare CX-50 Gen2
128
5.30 Date & Time setup, manually
About Date & Time setup
The date and time can be set manually using the time zone indication or using at least one NTP servers.
How to setup
1.
Log in to the
Configurator
.
2.
Click
System
→
Date & Time
.
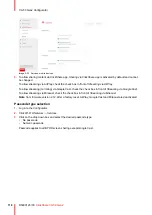
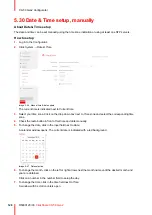
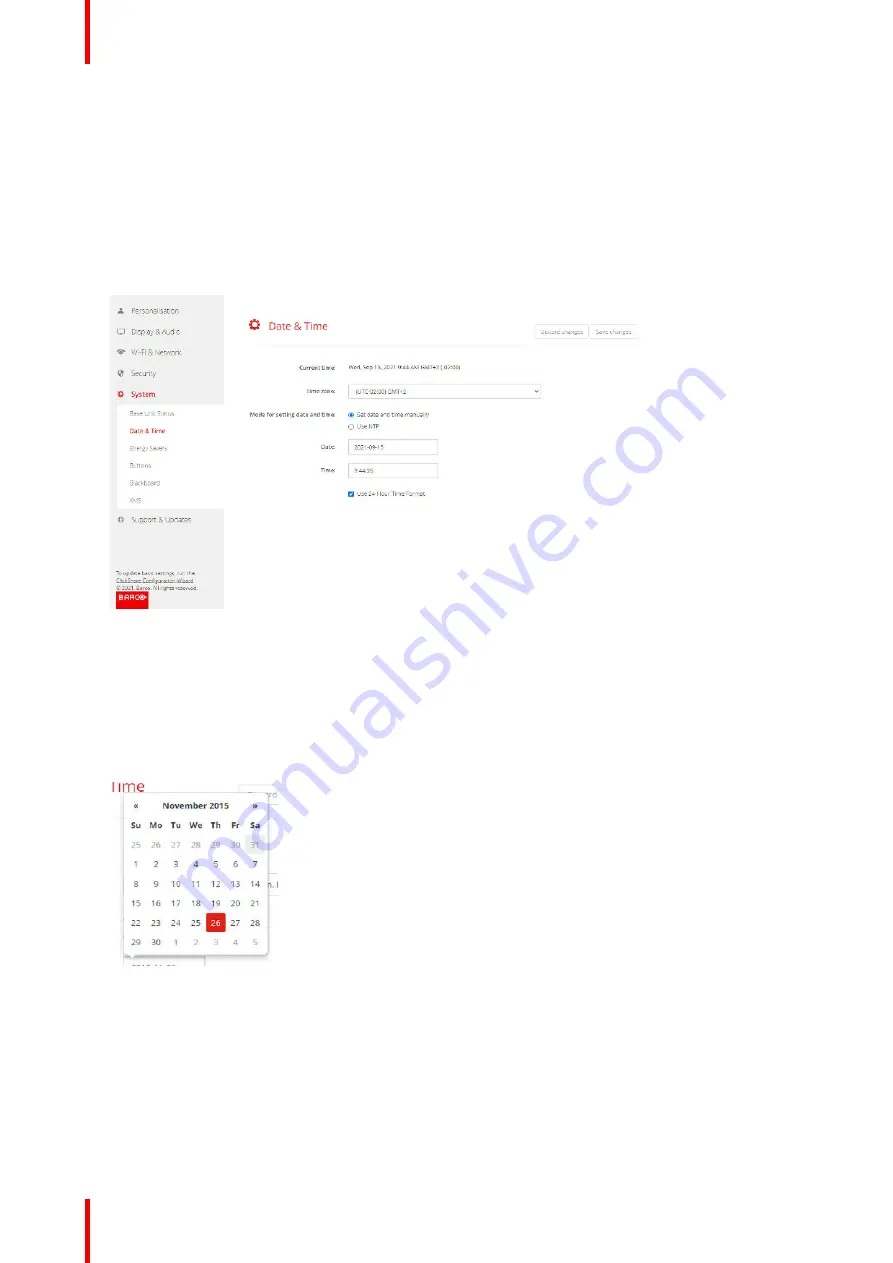
Image 5–46 Manual time & date update
The current time is indicated next to
Current time
.
3.
Select your time zone. Click on the drop down box next to
Time zone
and select the corresponding time
zone.
4.
Check the radio button in front of
Set time and date manually
.
5.
To change the date, click in the input field next to
Date
.
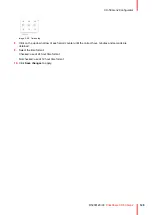
A calendar window opens. The current date is indicated with a red background.
Image 5–47 Date selection
6.
To change the month, click on the left or right arrows next the month name until the desired month and
year are obtained.
Click on a number in the number field to setup the day.
7.
To change the time, click in the time field next to
Time
.
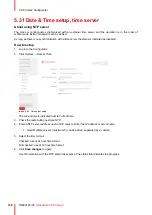
A window with 3 scroll counters open.
Summary of Contents for C5011S
Page 1: ...ENABLING BRIGHT OUTCOMES Installation manual Model C5011S ClickShare CX 50 Gen2...
Page 4: ......
Page 8: ...R5900120 03 ClickShare CX 50 Gen2 8...
Page 28: ...R5900120 03 ClickShare CX 50 Gen2 28 CX 50 Gen2 Installation...
Page 57: ...57 R5900120 03 ClickShare CX 50 Gen2 Image 3 26 CX 50 Gen2 Installation...
Page 69: ...69 R5900120 03 ClickShare CX 50 Gen2 Image 4 3 Preparing the Buttons...
Page 76: ...R5900120 03 ClickShare CX 50 Gen2 76 Preparing the Buttons...
Page 92: ...R5900120 03 ClickShare CX 50 Gen2 92 CX 50 Gen2 Configurator...
Page 149: ...149 R5900120 03 ClickShare CX 50 Gen2 7 1 Troubleshooting list 150 Troubleshooting 7...
Page 156: ...R5900120 03 ClickShare CX 50 Gen2 156 Index...
Page 157: ......

