


111
R5900103 /02
C-10, C-5
ClickShare Base Unit and Buttons into the corporate network. Since most companies are using Microsoft
Windows Server and its active directory (AD) to manage users and devices our SCEP implementation is
specifically targeted at the Network Device Enrolment Service (NDES) which is part of Windows Server 2008
R2 and Windows Server 2012. Initial support for other generic servers is available by extending the possible
parameters to use for NDES/SCEP enrolment.
Image 6
–
44 Buttons, EAP-TLS, SCEP
SCEP ServerIP/
hostname
This is the IP or hostname of the Windows Server in your network running the NDES
service. By default HTTP is used.
E.g.: http://myserver or http://10.192.5.1
SCEP User name
This is a user in your Active Directory which has the required permission to access the
NDES service and request the challenge password. To be sure of this, the user should
be part of the CA Administrators group (in case of a stand-alone CA) or have enroll
permissions on the configured certificate templates.
SCEP Password
The corresponding password for the identity that you are using to authenticate on the
corporate network. Per Base Unit, every Button uses the same identity and password
to connect to the corporate network.
Click
Save Changes
to save the settings.
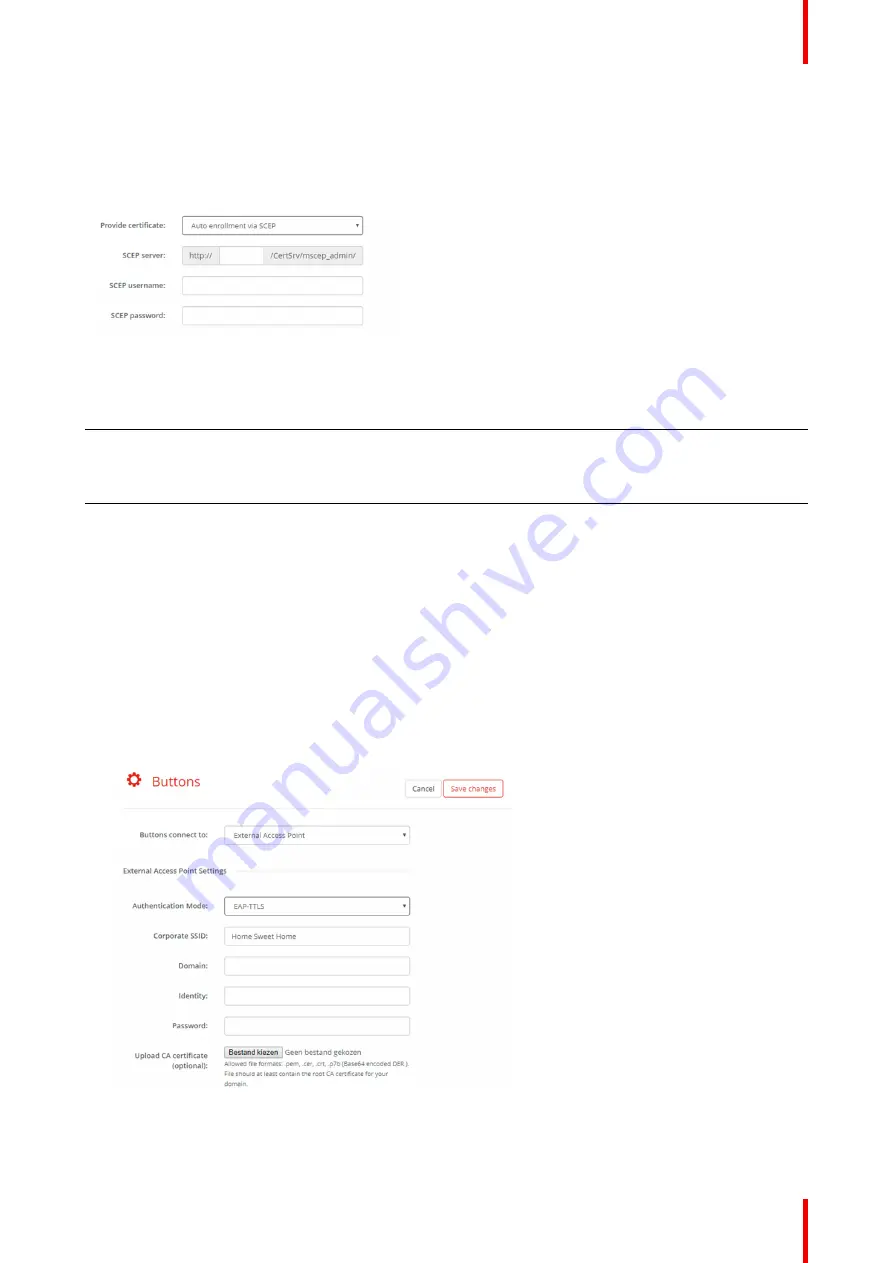
6.32 Buttons, External access point, mode EAP-
TTLS
How to fill out the settings
1.
Fill out a
Corporate SSID
.
Image 6
–
45 Buttons, External access point, mode EAP-TTLS
The SSID of your corporate wireless infrastructure to which the ClickShare Buttons will connect.
Summary of Contents for C-10
Page 1: ...ENABLING BRIGHT OUTCOMES Installation manual C 10 C 5...
Page 22: ......
Page 25: ...25 R5900103 02 C 10 C 5...
Page 26: ...R5900103 02 C 10 C 5 26...
Page 29: ...29 R5900103 02 C 10 C 5 C 10 C 5 Specifications 2...
Page 40: ...R5900103 02 C 10 C 5 40 Getting started...
Page 62: ...R5900103 02 C 10 C 5 62 Image 4 38 C 10 C 5 Installation...
Page 68: ...R5900103 02 C 10 C 5 68 Preparing the Buttons...
Page 121: ...121 R5900103 02 C 10 C 5 Firmware updates 7...
Page 123: ...123 R5900103 02 C 10 C 5 Troubleshooting 8...
Page 130: ...R5900103 02 C 10 C 5 130 Index...
Page 131: ......


