5. Random Access
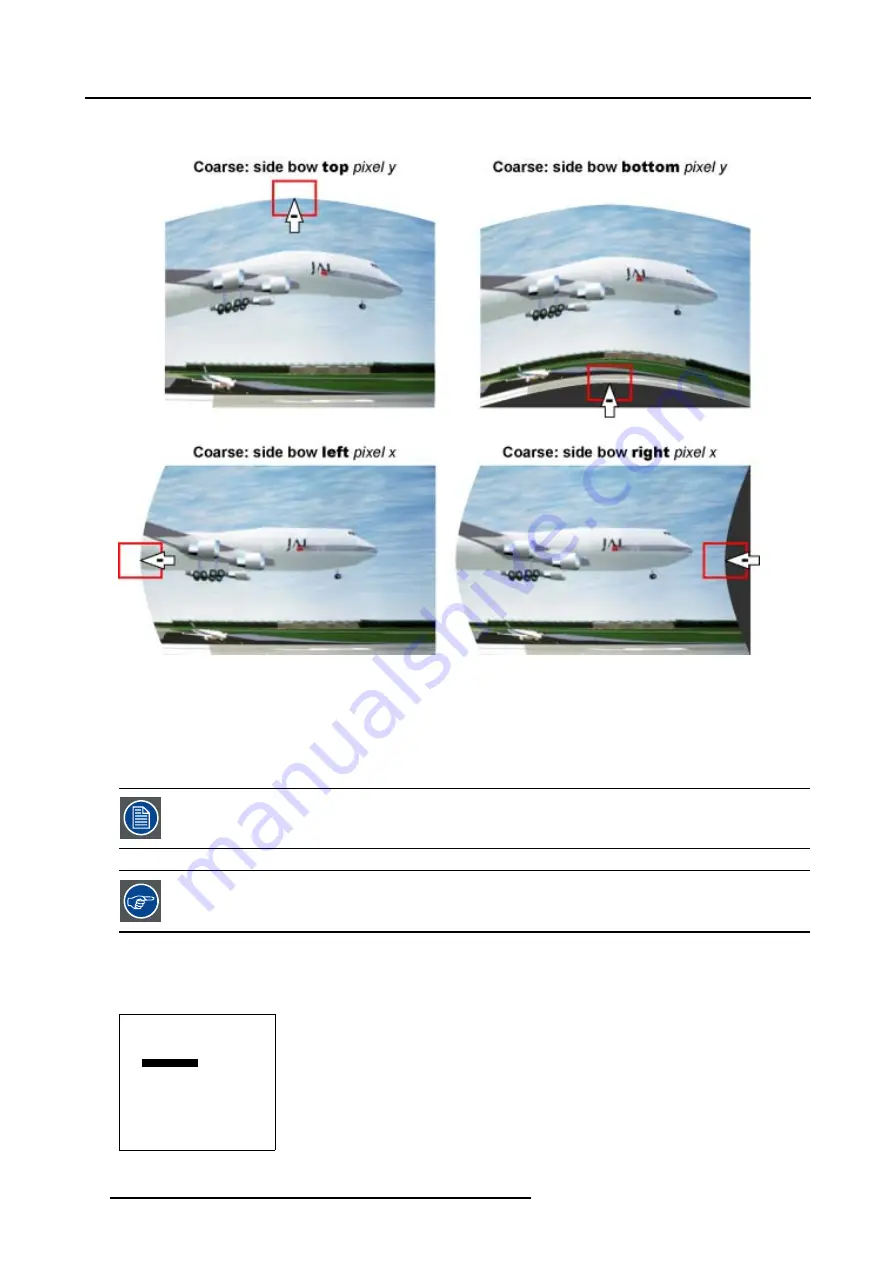
This will result in a bow shaped pre-distorted image (Follow this procedure in a similar way to apply the desired bow shaped
distortion).
Image 5-27
Bow shaped pre-distortions
3. Use the subpixel adjustments to fine shift the selected side bow.
4. Continue with the 3x3 Side Bow or Center adjustment or press
EXIT
to return to the
Guided Geometry Map
menu.
5.5.7.3.6
Linearity adjustment using 3x3 Side Bows
The Linearity adjustment is best done when a reference test pattern is projected on the screen.
By pressing the * key on the RCU an internal hatch pattern is projected instead of the image data.
How to perform a linearity adjustment by using the 3x3 Side Bows?
We assume the
side bow
on top is selected.
1. Push the cursor key
↑
or
↓
to select
pixel x = 0
in the
Geometry Distortion
menu.
GEOMETRY DISTORTION
side bows 3x3
col 8
row 0
pixels x = 0
y = 0
subpixels x = 0
y = 0
AxisLink [ON]
Menu 5-64
78
R5976707 REALITY SIM 6 ULTRA II 01/02/2005
Summary of Contents for BarcoReality SIM 6 Ultra II
Page 1: ...Reality SIM 6 Ultra II Owner s Manual R9040152 R5976707 01 01 02 2005 ...
Page 4: ......
Page 12: ...1 Packaging and Dimensions 8 R5976707 REALITY SIM 6 ULTRA II 01 02 2005 ...
Page 20: ...2 Installation Guidelines 16 R5976707 REALITY SIM 6 ULTRA II 01 02 2005 ...
Page 32: ...3 Connections 28 R5976707 REALITY SIM 6 ULTRA II 01 02 2005 ...
Page 218: ...10 Cleaning the Dustfilter 214 R5976707 REALITY SIM 6 ULTRA II 01 02 2005 ...
Page 222: ...Index 218 R5976707 REALITY SIM 6 ULTRA II 01 02 2005 ...


