AP20 & AP24 Fan Replacement Kit
Installation Manual
R59770891/0028/09/2015
Page 1: ...AP20 AP24 Fan Replacement Kit Installation Manual R59770891 00 28 09 2015...
Page 2: ...Barco NV President Kennedypark 35 8500 Kortrijk Belgium Phone 32 56 36 82 11 Fax 32 56 36 883 86 Support www barco com en support Visit us at the web www barco com Printed in Belgium...
Page 3: ...ed in new editions of this publication The latest edition of Barco manuals can be downloaded from the Barco web site www barco com or from the secured Barco web site https www barco com en signin Copy...
Page 4: ......
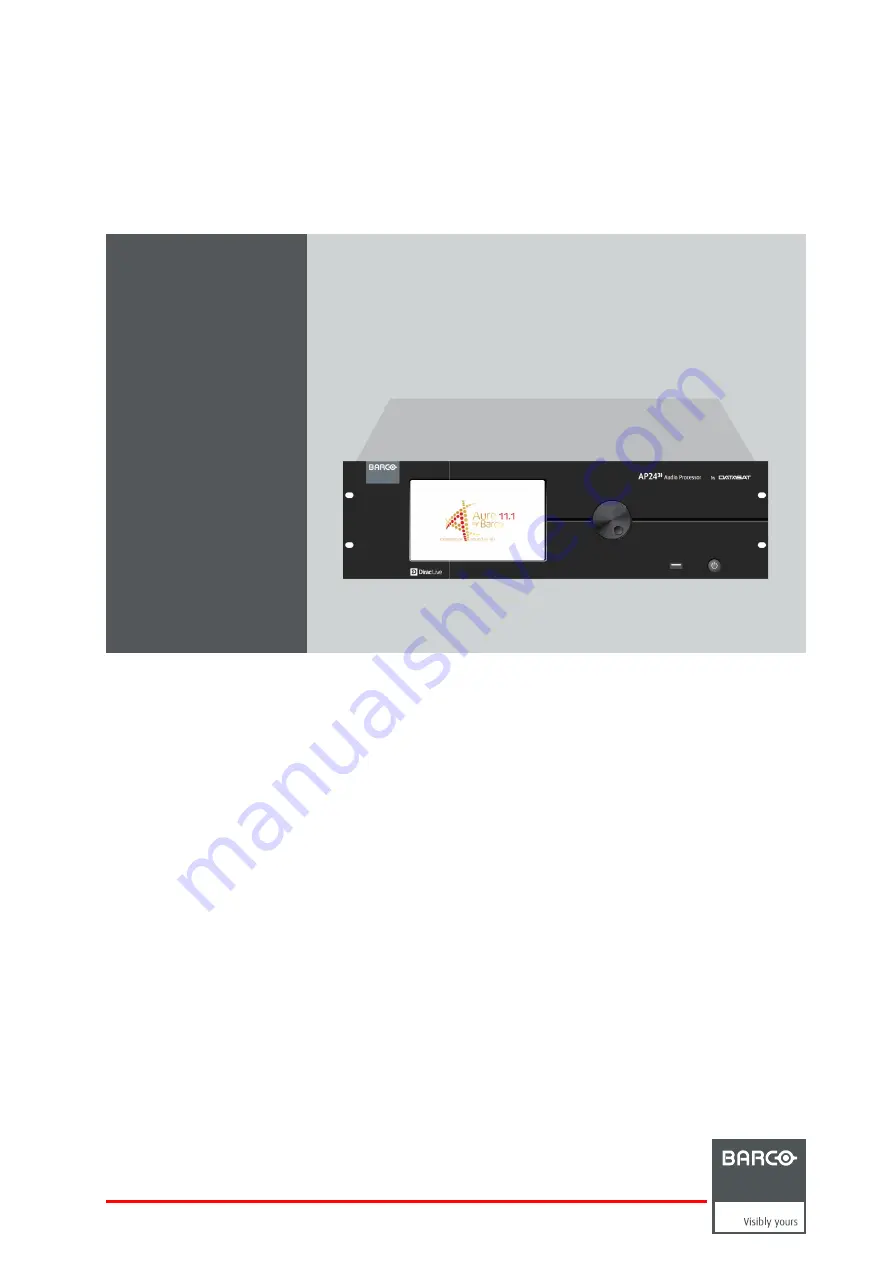
Page 5: ...ocess The stages displayed in bold are described in more detail in this manual More information about the other stages can be found in the service manual of the audio processor Safety warnings WARNING...
Page 6: ...o processor to the AC power and turn it on 11 Verify if the new fan is working correctly 1 3 Remove the top cover Necessary tools 2 Phillips screwdriver How to remove the top cover from the audio proc...
Page 7: ...cable connector Do not tug on the wires to remove the connector as this ma damage the cable 5 Remove four 4 40 x 3 16 flat head Phillips screws on both sides of the processor eight in total Image 1 5...
Page 8: ...be removed from the power supply but make sure not to stress the cables Image 1 7 1 6 Replace the fan assembly Necessary tools A small flat blade screwdriver 2 Phillips screwdriver 5 16 combination wr...
Page 9: ...llips screws and four 6 32 Keps nuts Note New screws and nuts for this are included in the kit as existing hardware may be covered in old Loctite Make sure that the wires and arrows indicating air flo...
Page 10: ...care of the cabling 2 Install the power supply using four 6 32 x 1 4 pan head Phillips screws Image 1 12 1 8 Install the front panel assembly Necessary tools 1 Phillips screwdriver Necessary parts eig...
Page 11: ...on its side 5 Install four 4 40 x 3 16 flat head Phillips screws in bottom plate Image 1 15 6 Place the processor back down 7 Inspect the processor to make sure that all connectors are properly seate...
Page 12: ...der the front panel assembly in front and a back lip that slides over the top lip of the rear panel assembly Image 1 16 Image 1 17 2 Once the top cover is properly seated install two 4 40 x 1 4 pan he...