background image

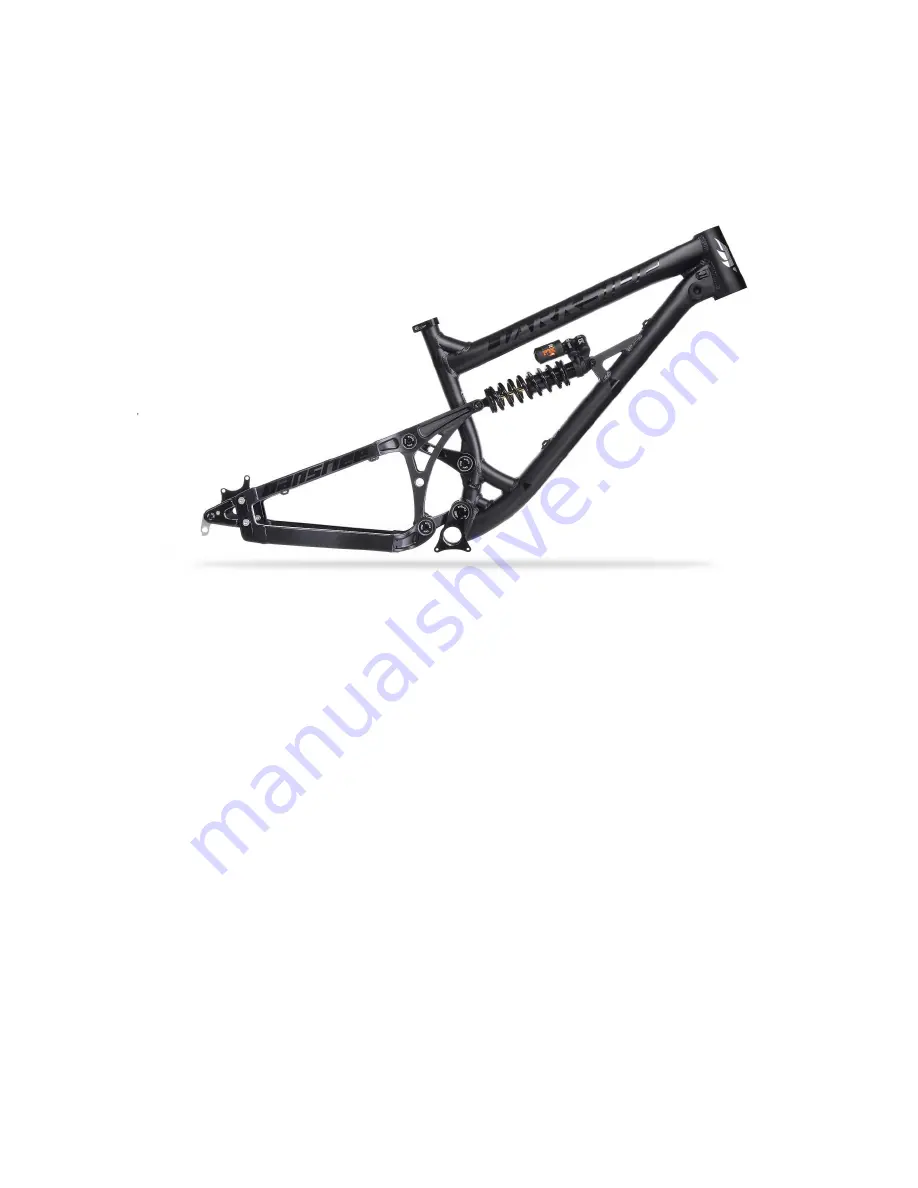
Thank you for choosing to ride the Banshee Darkside. You have chosen one of 
the most playful bikes on the planet, and we hope that it inspires confidence on 
the track and in the air, while putting a big grin on your face.


This manual is designed to be a simple reference for you to help you look after 
your frame properly.


Summary of Contents for Darkside

Page 1: ...e chosen one of the most playful bikes on the planet and we hope that it inspires confidence on the track and in the air while putting a big grin on your face This manual is designed to be a simple re...

Page 2: ...eur Hanger Bolt 5 Maintenance schedule We recommend following this maintenance schedule to ensure optimal performance Check bolts are tight Before every ride Clean and re grease pivot assemblies Every...

Page 3: ...octite Bearing puller Bearing press Rubber mallet For the Darkside a complete bearing replacement will require a total of 4 x 6001 2RS for upper link pivots 2 x 6001 2RS for chainstay pivots 2 x 6002...

Page 4: ...1 Remove the shock from the frame using a single 6mm allen key at the rear and two 5mm allen keys at the front 2 Stuff a rag under the bottom link to prevent damages to the frame...

Page 5: ...3 Remove the pivot bolt hardware from the frame using appropriate allen keys 4 Repeat the same process for all pivot axles...

Page 6: ...ing them out of the frame If an axle is difficult to remove use a punch or allen key that fits inside the hollow axle and tap it out being careful not to damage axle threads 6 Remove the bearing from...

Page 7: ...7 Clean and inspect the frame once the bearings are removed Reinstallation...

Page 8: ...the links in place doing so can damage the frame Clean and inspect all pivot axles prior to reassembly If needed order replacement axles through Banshee or your local dealer The links can fit very tig...

Page 9: ...bolts with blue Loctite Using two allen keys tighten the pivot axle bolts Use a torque wrench and confirm that it is torqued to no greater than marked on the pivot axle or bolt being tightened 10 App...

Page 10: ...Tools needed One 6mm allen key One 4mm allen key Torque wrench Blue Loctite 1 Install the derailleur hanger onto the drive side dropout using a 4mm allen key Tighten to 5Nm...

Page 11: ...d the dropout bolts onto the rear triangle with the rear axle loosely in place to ensure good alignment initially Torque to 12Nm For information on which flip chip settings to use refer to the FAQ sec...

Page 12: ...o 8Nm 4 Apply a dab of blue loctite to axle lock bolt Install the rear axle bolt torque to a maximum of 3Nm this bolt is not structural it is purely to prevent the axle from working loose Be careful n...

Page 13: ......

Page 14: ...075221197785 HBL Chainstay Pivot Axle 1 13 64075221197615 HBL Seat Tube Pivot Axle 1 14 64075221197875 HBL Seatstay Pivot Axle 1 15 0A1PCTDAR0 CGH HB ISCG Plate 1 16 555F72FBB ODI Fork Bumper 2 17 600...

Page 15: ...S Axle rear of upper linkage 1 6407528149760 HBL 8 Main Axle front of lower linkage 1 640752818516 HBL 9 Main Axle Bolt front of lower linkage 3 600LI816SSN 11 Bearing Cup Washer Bolt 3 620622945 AB 1...

Page 16: ...554PCTPRI1 DRRO 1 AB 142DS dropout with threaded inserts 1 554PCTPRI1 DRLO 1 AB 142NDS dropout with threaded inserts 1 142x12mm axle 1 rear axle bolt 2 550A1777M7075 SL Derailleur Hanger bolt 4 600SI8...

Page 17: ...t with threaded inserts 1 150x12mm axle 1 rear axle bolt 1 550A1777M7075 SL Derailleur Hanger bolt 4 600SI812SSN M8x12 dropout bolt 4 550PCTPRI0 DRFB 1 AB Chip neutral 4 550PCTPRI0 DRFB 2 AB Chip High...

Page 18: ...er bolt 150mm axle kit SP AX150 Axle no part number listed 150x12mm axle nut no part number listed rear axle bolt 142mm axle kit SP AX142 Axle no part number listed 142x12mm axle nut no part number li...

Page 19: ...Warranty For the warranty related questions and the most up to date warranty information please go to the Banshee website or contact Banshee directly...

Reviews: