After enter the username and password, click on Send Authentication to transmit the data directly to the DXM
Controller's non-volatile memory. The controller must be connected to the PC for this operation to succeed. If successful, a
pop-up window appears, asking to reboot the device. Select Yes to reboot the device.
Set up the webserver with a username and password to accept the DXM
Controller messages. Otherwise, the webserver ignores all messages.
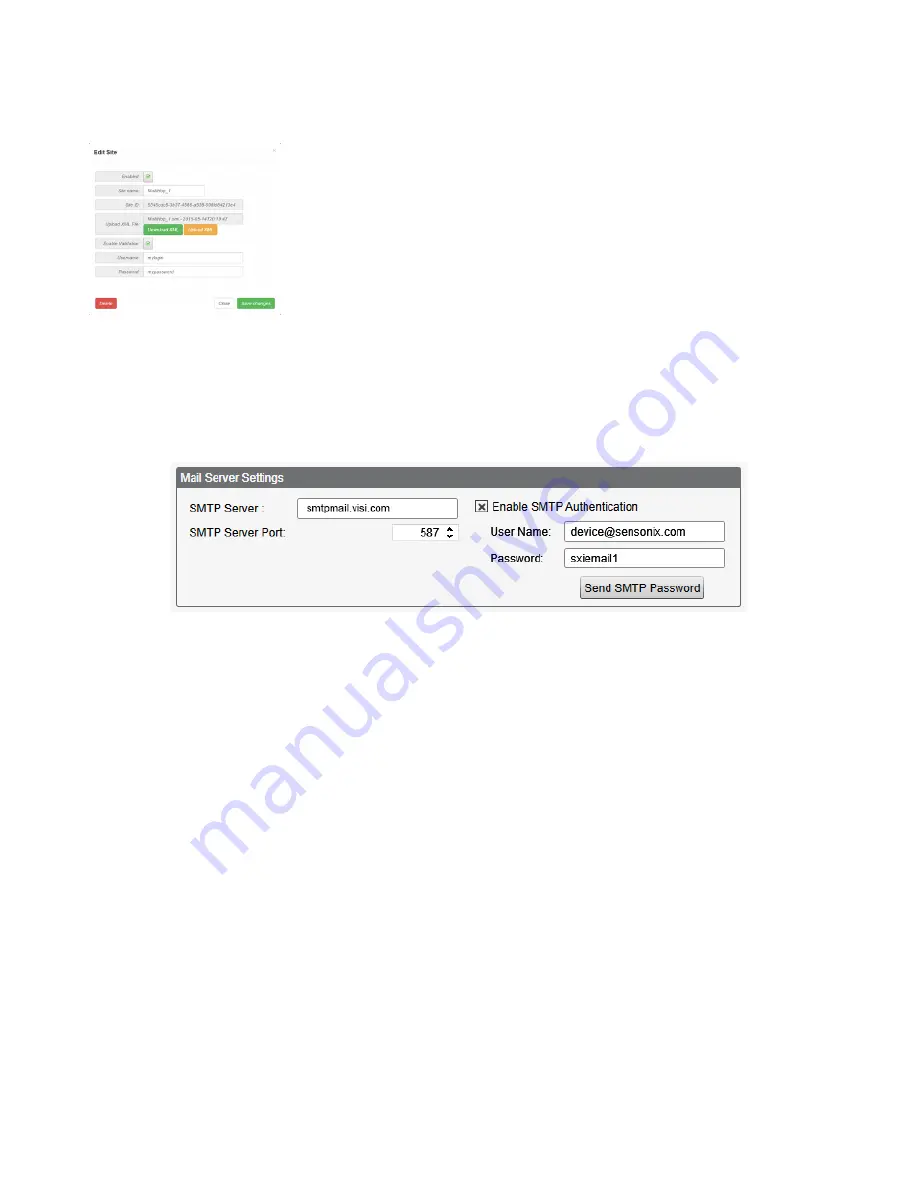
When using the Sensonix website's dashboard, set the authentication by
clicking the edit button next to the appropriate site name. Enter the
Username and Password, then click Save to save your changes.
10.2.2 Mail Server Authentication
Complete the mail server settings to have the DXM Controller send email alert messages or to email the log files.
The SMTP password is stored in the DXM Controller, not the XML configuration file. Use the Settings > Mail and
Messaging screen to complete this configuration.
After selecting Enable SMTP Authentication for the first time, a pop-up box appears with additional instructions to
complete the mail server authentication process.
After entering the user name and password, click on Send SMTP Password to save the user name and password to the
DXM Controller. The DXM Controller must be connected to the PC to complete this operation. If successful, a pop-up
window appears, asking to reboot the device. Select Yes to reboot the device.
10.2.3 DXM Controller Configuration Authentication
The DXM Controller can be programmed to allow changes to the configuration files only with proper authentication by
setting up a password on the Settings > Administration screen in the DXM Configuration Tool.
With the DXM Controller connected to the PC, click Get Device Status. The DXM Controller status displays next to the
button.
DXM100-Bx Wireless Controller Instruction Manual
www.bannerengineering.com - Tel: 763.544.3164
71


