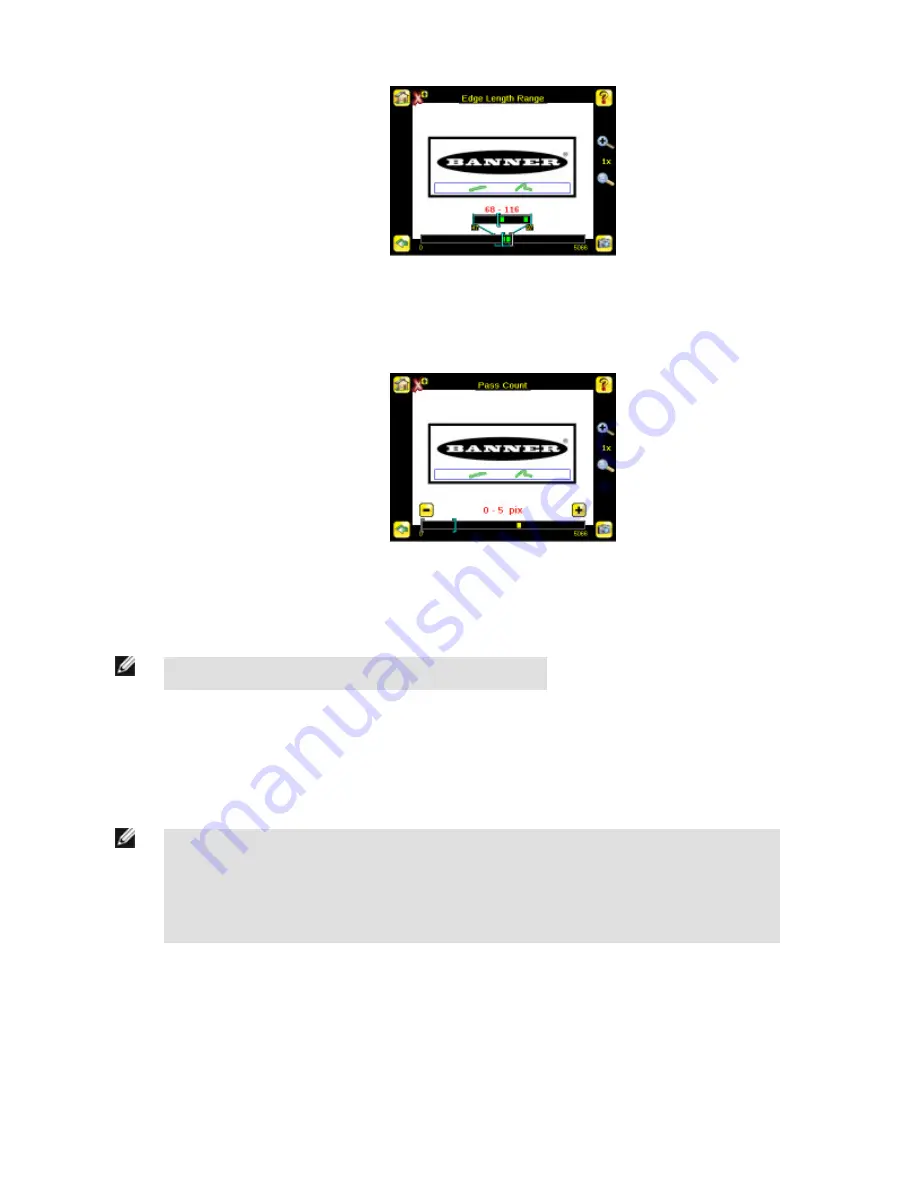
• Set the Pass Count parameter. The sensor aggregates all the edge pixels that fall within the Edge Length Range and indicates
the value with a small colored bar at the bottom of the page. If within the range brackets, the bar is green, otherwise it is yellow.
1. Go to Main Menu > Inspection , and click the Pass Count option.
2. Use the brackets to set a tolerance for the pass/fail.
4. Test the complete range of good and bad samples to make sure that the sensor accepts good parts and rejects bad.
5. To complete the Blemish application setup, set triggering as appropriate for your application.
NOTE: Remote Teach does not work with the Blemish Sensor type.
4.5 Configuring a Match Sensor
This section describes how to configure a Match sensor using the Demo application as a reference
NOTE: By default, the Trigger is set to Internal, and will continuously trigger based on a time interval setting.
This may make it more difficult to make adjustments while setting up the sensor. The best practice is as fol-
lows:
• Go to the Main Menu > Imager > Trigger menu and select External.
iVu Series Image Sensor
Rev. E
www.bannerengineering.com - tel: 763-544-3164
49


