Maintenance / Service • Installing / exchanging a slide-in compact drive
Chapter 7
Maintenance / Service
Automation PC 810 with GM45 CPU board user's manual V1.28
377
3 Installing / exchanging a slide-in compact drive
Information:
The SATA I interface allows data carriers to be exchanged during operation (hot-plug). To utilize this
capability, it must be supported by the operating system.
3.1 Procedure
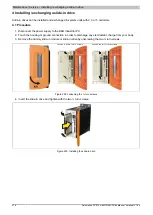
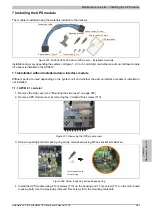
1. Loosen and remove the two ¼ turn screws on the protective cover / slide-in compact drive.
Loosen the two ¼ turn screws
Figure 220: Loosening the ¼ turn screws
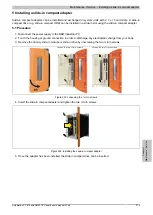
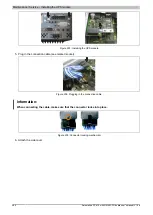
2. Insert the compact SATA drive and tighten the ¼ turn screws.
Figure 221: Inserting the compact SATA drive

