AquaTrans™ AT600 User’s manual
61
Chapter 4. Initial setup and programming
4.7.4.3
Setting the pipe lining
Note:
The units shown are the units selected in the units setting menu
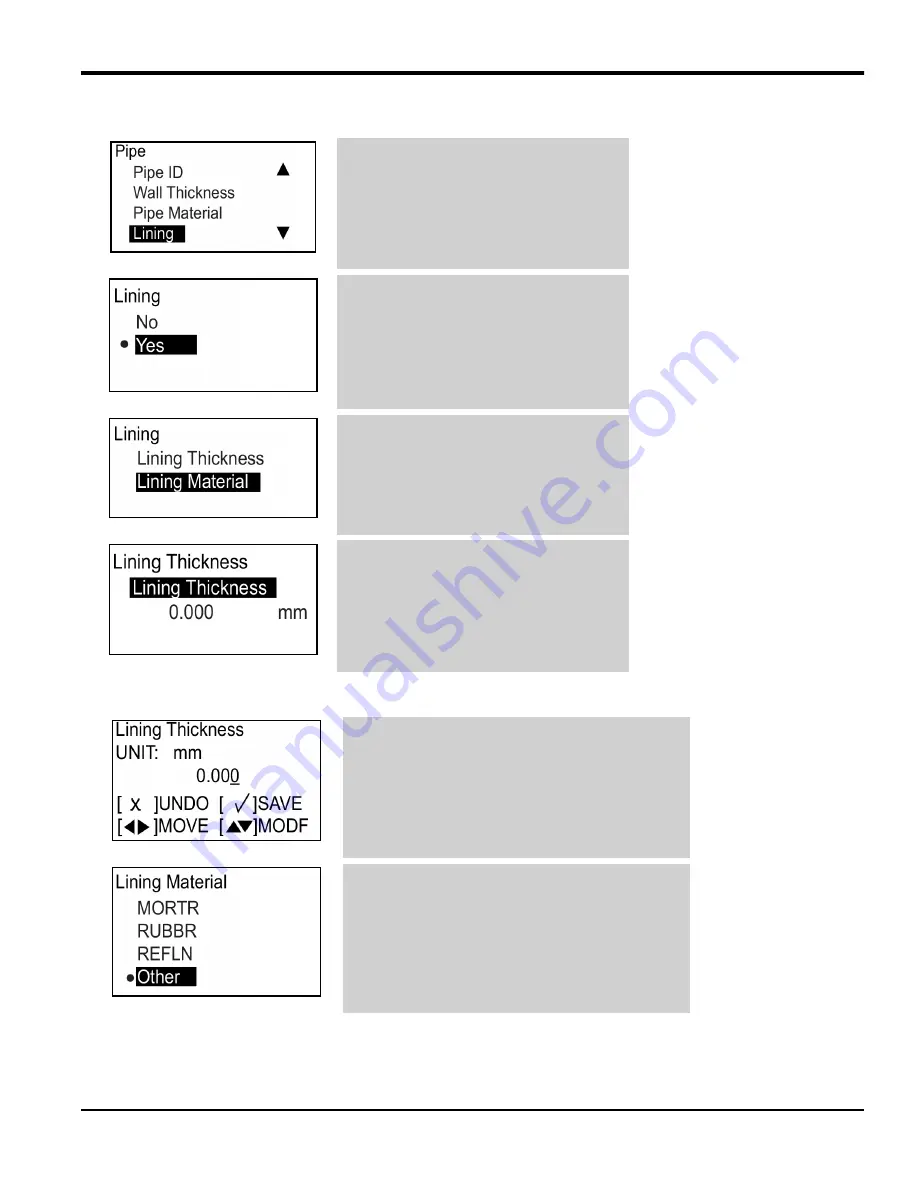
In the pipe menu, select lining and press
[√]. The following screen opens.
If there is no lining in your pipe, select no
and press [√] to return to the previous
screen. If your pipe does have a lining,
select yes and press [√] twice. A screen
similar to the following opens.
To set the lining thickness, select lining
thickness and press [√]. A screen similar
to the following opens.
Press [√] again, and a screen similar to
the following opens.
Use the [
] or [
] key to select a specific digit,
then use the [
] or [
] key to change that digit as
required. After all digits are correct, press [√] to
save. Then, press [x] to return to the previous
screen.
Select lining material and press [√], then select
the appropriate option and press [√]. If your pipe
material is not listed (see table 4 below for the
available options), select other and press [√]
twice. A screen similar to the following opens.
Summary of Contents for Panametrics AquaTrans AT600
Page 1: ...panametrics com BH001C11 Rev F AquaTrans AT600 User s manual...
Page 2: ......
Page 4: ...ii no content intended for this page...
Page 10: ...Contents viii AquaTrans AT600 User s manual no content intended for this page...
Page 150: ...Chapter 6 Communication 140 AquaTrans AT600 User s manual no content intended for this page...
Page 158: ...Appendix B Specifications 148 AquaTrans AT600 User s Manual no content intended for this page...
Page 162: ...Appendix C Specifications 152 AquaTrans AT600 User s Manual no content intended for this page...
Page 172: ...Warranty 162 AquaTrans AT600 User s Manual...
Page 173: ......


