background image

PROGRAMMING

With the normal mode display showing, press 

Menu

 to enter the programming mode . In this mode, you use the three arrow 

keys (



) on the 

selection 

screens to select the option displayed above the key, and on the o

ption list 

screens to scroll up 

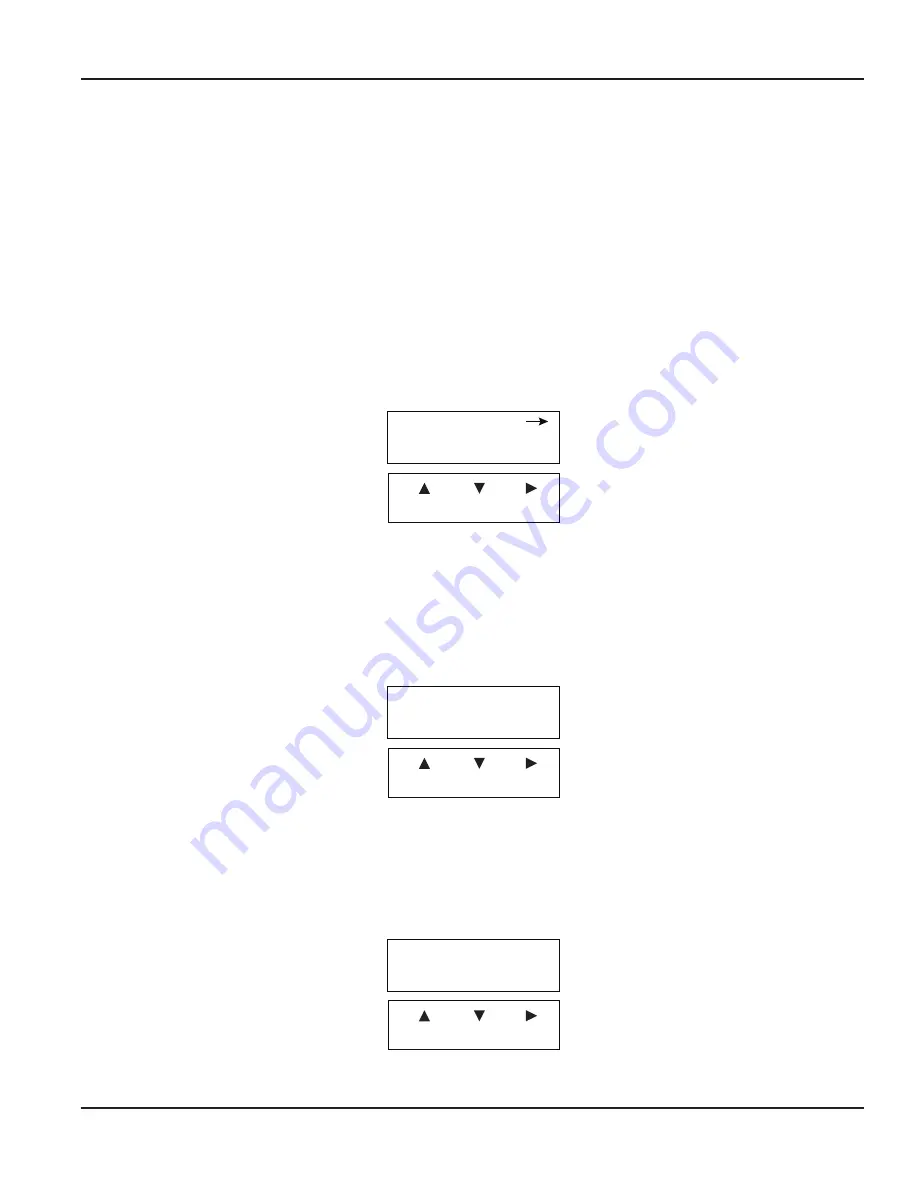
or down a list of choices, like a pull-down menu . Most screens presenting choices show three choices, one for each arrow key . 

When the number of choices exceeds three, a small arrow (

) appears on the upper right of the display, indicating there are 

more choices on that level . Press 

Enter

 to toggle to the next set of choices . Once the selection has been made, press 

Enter

 to 

complete the selection . Press 

Menu

 again to return to the normal mode display .

Selection Screens

Most selection screens show three choices, one for each arrow (



) key . When the number of choices exceeds three, a 

small arrow ( 

 ) appears on the upper right side of the display, indicating there are more choices on that level . Press 

Enter

 to 

view the next set of choices .
For example, pressing 

Menu

 from the normal mode screen shows the 

RESET SETUP DIAG

 screen . Pressing the 

Up Arrow 

key 

brings up the 

RESET

 screens . Pressing the 

Down Arrow

 key brings up the 

SETUP

 screens and pressing the 

Right-Arrow

 key 

brings up the 

DIAG

 (diagnostic) screens . In this example, if you press the 

Down Arrow

 key, this screen appears:

Menu Enter

PWORD DSPY FLOW1

SETUP

Figure 19:  Selection screen

Option List Screens

Units of measure is an example of an options list screen .
Press the 

Up Arrow 

key to scroll up the list or press the 

Down Arrow

 key to scroll down the list . In this case, the list starts with 

GPM; gal/s; gal/hr;…LPM;….

 and ends with 

Custom Units

 . 

With a selection highlighted, press 

Enter

 to complete the selection or press 

Menu

 to leave the selection unchanged . The 

Right-Arrow

 key has no function on this type of screen .

Menu Enter

Flow 1 units
GPM

Figure 20:  Option list screen

Data Screens

Some screens are data entry screens . For example, the 

Setpoint

 or 

Custom Unit

 screens .

When a data entry screen is active, the current value displays . The left-most digit flashes . Press the 

Up Arrow

 key to increase 

the value . Press the 

Down Arrow 

key to reduce the value . If the decimal point is flashing, press the 

Up Arrow

 key to move the 

decimal point to the right or press the 

Down Arrow 

key to move the decimal point to the left .

Menu Enter

1.00000000

Setpoint

Figure 21:  Data screen

Programming

Page 17 

June 2018

DSY-UM-01668-EN-02

Summary of Contents for Impeller Data Industrial 3050 Series

Page 1: ...Industrial Flow Monitors Series 3050 DSY UM 01668 EN 02 June 2018 User Manual...

Page 2: ...Industrial Flow Monitors Series 3050 Page ii June 2018 DSY UM 01668 EN 02...

Page 3: ...12 Analog Output 14 RS 485 Output 14 Modbus Registers 15 Addr Function 15 USB Port 15 Display and Keypad 16 Programming 17 Selection Screens 17 Option List Screens 17 Data Screens 17 Programming Flowc...

Page 4: ...ation 27 BTU Configuration 28 Relay Output Configuration 28 Analog Output Configuration 28 RS485 Comm Port Configuration 29 Modbus 29 Troubleshooting 29 Flow Sensor Inputs 30 Specifications 30 Part Nu...

Page 5: ...measure the Series 3050 BTU flow monitor software lets you create custom units for rate and total The Series 3050 BTU flow monitor provides one Form C solid state relay and one solid state switch out...

Page 6: ...ally if installed in a tropical climate Panel Mount Installation The Series 3050 BTU flow monitor panel mount model is designed for through panel mounting which allows access to the back of the unit T...

Page 7: ...The mounting hole pattern and box dimensions for the Series 3050 BTU flow monitor NEMA4 waII mount model are shown in Figure 3 SIDE 4 33 in 110 mm 3 54 in 90 mm 4 80 in 122 mm 4 72 in 120 mm 3 62 in 9...

Page 8: ...connect the negative of the power supply to the flow monitor terminal marked ACC DC If a Badger Meter plugin power supply Model A 1028 is being used connect the black white wire to the terminal marke...

Page 9: ...Provides an internal pullup resistor and uses K and Offset values for calibration Pulse K Factor Accepts non zero crossing inputs but provides no internal pullup classical K pulses gallon values for...

Page 10: ...ce and flexibility or loop power supplies Both the low end and high end scaling are independent and can be field configured NOTE N See the Programming Flowcharts on page 18 through page 25 for require...

Page 11: ...RTDs the unit can be programmed in the field for a wide variety of custom RTDs and thermistors See the Programming Flowcharts on page 18 through page 25 Contact the factory for assistance with any cu...

Page 12: ...ntil the flow has exceeded the Setpoint SETPT for a continuous period of time exceeding the Setpoint Delay SDLY at which time the N C connection will open and the N O contact will have continuity to t...

Page 13: ...es continued Chiller control based on high energy usage with indication 1 RELAY 1 NO 2 RELAY 1 NC 3 RELAY 1 COM 4 PULSE 1 OUT 5 PULSE 2 OUT Figure 12 Relay and switch wiring examples continued Chiller...

Page 14: ...pecial software that permits the Analog output USB for direct access to a computer using a standard mini USB cable RS 485 for fully addressable Modbus or BACnet communication Analog Output 1 RS485 B 2...

Page 15: ...1 Energy Total BTU 13 Batch 1 Count 15 Batch 2 Count 17 Temp 1 deg F 19 Temp 2 deg F 21 Temp Delta T2 T1 USB Port Use Standard Cable USB Type A Male to Type Mini B 5 Pin Male Connect to Computer USB C...

Page 16: ...it runs through internal self checks while displaying Badger Meter DIC Initializing At the end of this cycle its normal mode display will appear In the normal mode if still using the factory defaults...

Page 17: ...SET screens Pressing the Down Arrow key brings up the SETUP screens and pressing the Right Arrow key brings up the DIAG diagnostic screens In this example if you press the Down Arrow key this screen a...

Page 18: ...low 1 Total BTU Rate BTU Total Temp 1 and 2 T2 T1 Update rate 0 50000000 sec LINE2 Flow 1 Rate Flow 1 Total BTU Rate BTU Total Temp 1 and 2 T2 T1 Model 3050xx Firmware rev v1 2 xx Error codes 000 000...

Page 19: ...cre ft min acre ft hr bbl s bbl min bbl hr Custom units Total X units gal Mgal L ft3 m3 acre ft bbl Custom units Custom units LABEL CONV 1 UNIT 0 00000001 gal 999999999 Flow 1 total UNITS DIG CUST Tot...

Page 20: ...timeconst 0 00000001 sec 100 000000 Flow 1 timeconst 0 00000001 sec 100 000000 DI sensor K num 1 00000000 999999999 K Factor 1 00000000 999999999 DI Sensor Cal KNUM OFFSET DI Sensor Offst 999999999 0...

Page 21: ...ns kW Custom units LABEL CONV 1 UNIT BTU 0 00000001 gal 999999999 BTU 1 total UNITS DIG CUST Totalizer RESET Enable password YES NO Reset total NOW OK CANCEL Reset BTU total PASSWD RESET Enable passwo...

Page 22: ...0 F 99999999 C Current Source 1 mA Thermistor calib A0 A1 A3 Slope XX A 0 0000000 99999999 Slope XX A EDIT NEXT FACTORY Slope 1 mA 8 A 40 A 200 A Factory reset YES NO X Offset 0 0000000 99999999 Offse...

Page 23: ...U Total 1 pulse 0 00000001 999999999 Time closed 0001 mS 9999 mS Relay 1 or Pulse SDLY RDLY Relay 1 or Pulse LATCH SETPT RELP Relay 1 Latch ON OFF Relay 1 or Pulse FUNC INPUT UNITS Relay 1 input or Pu...

Page 24: ...cre ft min acre ft hr bbl s bbl min bbl hr Custom units PID Set point 0 00000000 999 99999 PID P const 000 000 999 000 PID I const 000 0000 999 9999 PID D const 000 000 999 000 Adjust 4 mA 12107 FACTR...

Page 25: ...Baud Rate Auto 9600 19200 38400 76800 MSTP Address 001 127 Comm NET BAUD ADDR Baud Rate 300 1200 2400 9600 19200 38400 76800 MODBUS Address 001 255 Network MODBUS Network BACnet MSTP Device Instance 0...

Page 26: ...COM port drivers are installed on your computer 3 Plug the USB 2 0 A end of the cable into a USB port on your computer Plug the Mini B five pin end into the back of the Series 3050 BTU flow monitor 4...

Page 27: ...otal 16 temperature 1 2 17 temperature 1 2 display urate 0 1 10 set the update rate of the display in seconds Flow Input Channel Configuration flow 1 2 sensor type 0 4 flow sensor type 0 PulseDI 1 Pul...

Page 28: ...arm 2 Manual Control relay 1 5 input 0 8 relay input depends on source for totalizer 0 Flow 1 Total for alarms 0 Flow 1 Rate relay 1 5 units 0 19 units on setpoints rates depends on src input flow uni...

Page 29: ...rror reading EEPROM on faceplate 21 Error writing EEPROM 22 Analog Input card missing 24 Temperature Input card missing 25 Invalid flow units configured 26 Invalid volume units configured 27 Bad input...

Page 30: ...0 999999999 Delay to Release 1 9999 sec Optional Analog Output Driving Source flow rate BTU rate temperature 1 temperature 2 delta T PID control Range 4 20 mA 0 20 mA isolated current sinking or sourc...

Page 31: ...Monitor OPTIONS No Option 0 Analog Output RS485 with BACnet and Modbus and USB 1 MOUNTING Panel Mount 0 Wall Mount 1 3050 3050 Figure 7 Series 3050 BTU flow monitor part number matrix Part Number Mat...

Page 32: ...ia Guadalupe Inn CP 01050 M xico DF M xico 52 55 5662 0882 Europe Eastern Europe Branch Office for Poland Latvia Lithuania Estonia Ukraine Belarus Badger Meter Europe ul Korfantego 6 44 193 Knur w Pol...

Reviews: