Revision
2
- 1 -
P/N: 3015-9003
Instruction:
H
3015-9003
Rev:
Date:
2
March 2023
HGM-MZ
Refrigerant Monitor
Quick Start Installation Instructions
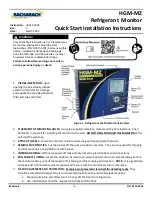
1. VISUAL INSPECTION: Upon
opening the box visually
inspect
exterior of monitor for damage
and unpack the
provided Charcoal
filter and line end filters.
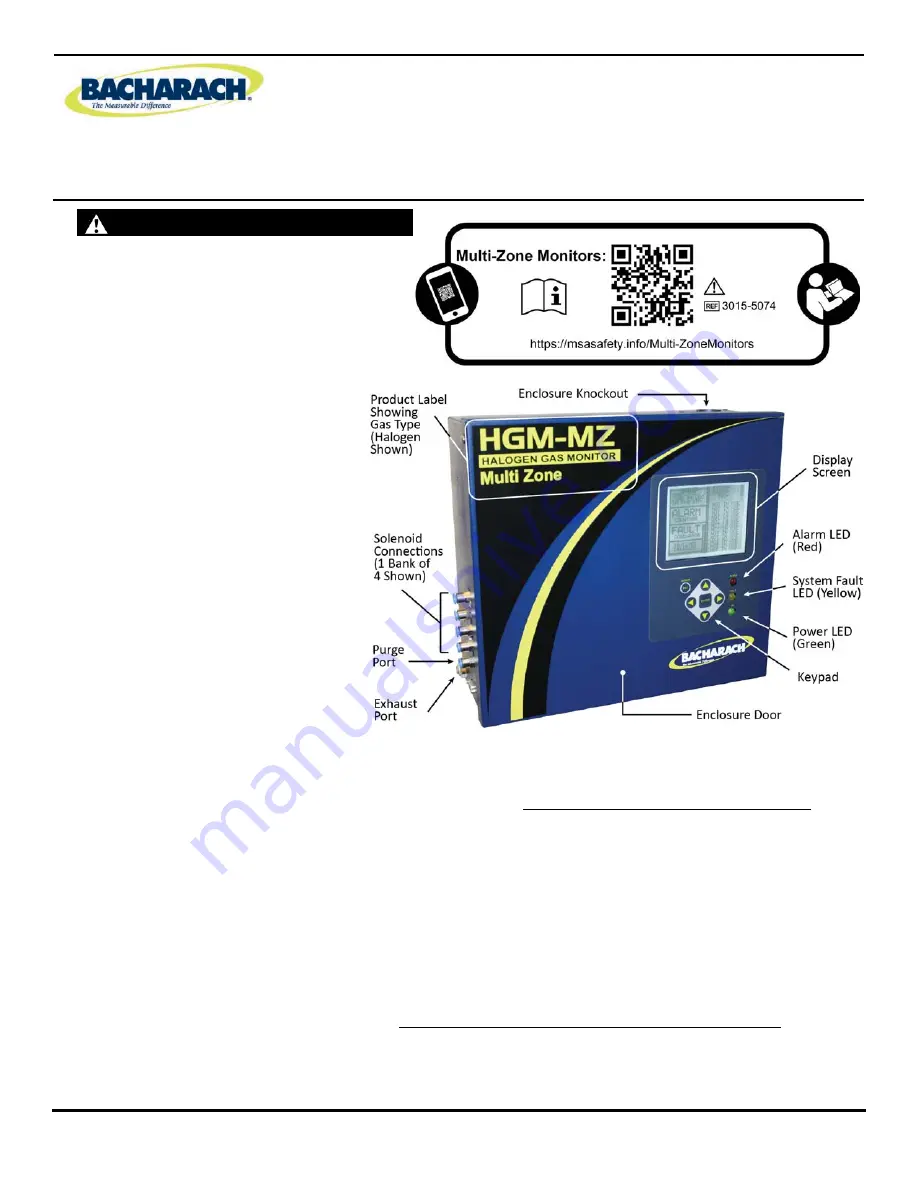
Figure 1. Refrigerant Leak Monitor Outside View
2. PLACEMENT OF MOUNTING HOLES: Using the supplied template, mark mounting hole locations. Then
drill holes in the wall for installing the monitor to the wall. DO NOT DRILL THROUGH THE MONITOR as this
will void the warranty.
3. ATTACH TO WALL: Fasten the monitor to the wall securely with appropriate fasteners.
4. REMOVE SHIPPING TIES: Cut the zip ties off the pump inside the monitor. They are only used for shipping
and will cause noise and vibration if left in place.
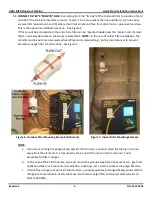
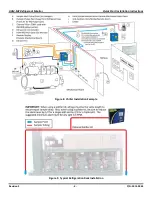
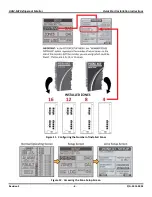
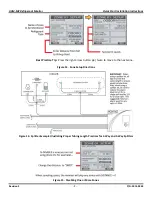
5. INTERNAL WIRING: With main power off make all internal wiring terminations and connections.
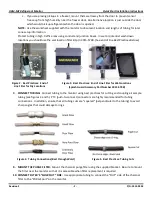
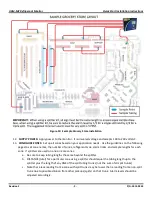
6. RUN SAMPLE TUBING: Locate the positions of remote air sample points and run air sample tubing back to
the monitor making note of the length of the tubing and the sample point location. NOTE: It is a good idea
to make a list of the sample point locations and leave it with the monitor for future reference.
7. PICKUP PLACEMENT AND PROTECTION: Sample point placement is critical for detecting leaks. They
should be located with respect to air currents and proximity to the most likely leak locations.
a. Mount pickup line end filters 6 to 12 inches off the floor for refrigerants.
b. CO
2
installations should be mounted 4 to 6 feet off the floor.
WARNING!
This Quick Start Instruction is not a replacement
for the User Instructions. Read the User
Instructions (P/N: H3015-5074) before using this
device, including all Cautions and Warnings.
Scan the QR code, visit the website or contact
Customer Service to obtain a hard copy.
Failure
to
follow
this
warning
can
result
in
serious
personal
injury
or
death.

