background image

3 |

P a g e

BEFORE         ASSEMBLY

 lists

If you find any part


missing or damaged or incorrect, contact customer services of above. 


construct the cot/bed


clean 


step-by-step

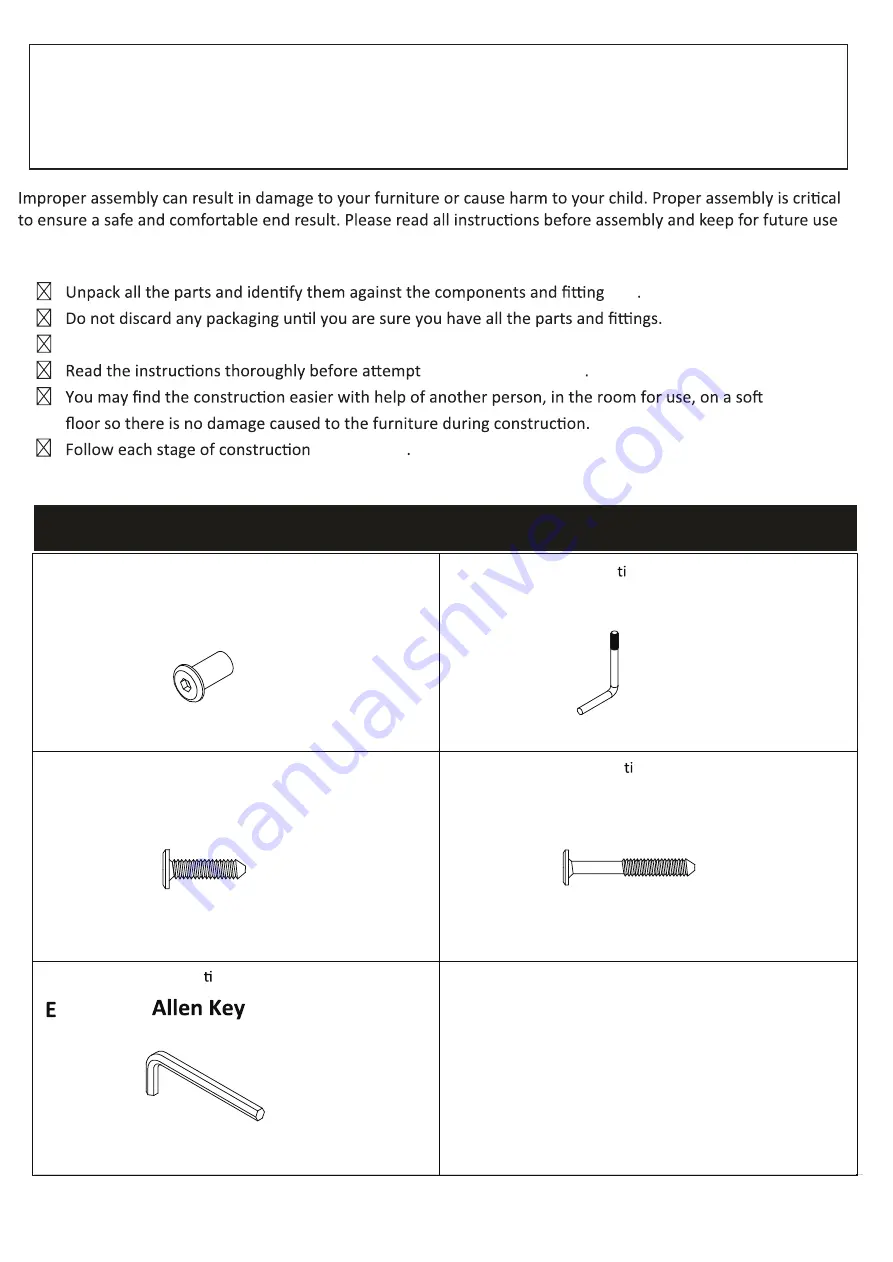
FITTINGS

Item

Qty

Item

Qty

B

Item

Qty

C

Item

Qty

D

1

Item

Des

crip on

Qty

12

12

A

4

Descrip on


4

Thank

 you f

or


purchasing


Babymor

e If you 

need

 assist

ance,


spar

parts or

 you a

r

unh

a

ppy


with


the

 g

oods 

Call: 

020 3475 5588 

or email: 

[email protected]

Descrip

tion

Cap Nuts M6

/

15

Base Bolts


Descrip

tion


Bolts M6

/

30

Descrip


on


Bolts M6

/

70

Summary of Contents for LUNO COT/BED

Page 1: ...INSTRUCTIONS LUNO COT BED ASD V1 20 Babymore Ltd Thank you for purchasing Babymore If you need assistance spare parts or you are unhappy with the goods Call 02034755588 or email customerservices babym...

Page 2: ...be such that the internal height surface of the ma ress to the upper edge of the cot frame is at least 500mm in the lowest posi on of the bed base and at least 200mm in the highest posi on of the bed...

Page 3: ...by step FITTINGS Item Qty Item Qty B Item Qty C Item Qty D 1 Item Descrip on Qty 12 12 A 4 Descrip on 4 Thank you for purchasing Babymore If you need assistance spare parts or you are unhappy with th...

Page 4: ...COMPONENTS Item Qty Item Qty 1 2 2 2 3 4 2 5 2 Description Cot End Panel Base Slats Description Base Support Bar Bed Side Support A Bed Side Support B 6 2 1 1a 1b 6 5 6 5 4 P a g e...

Page 5: ...mode baby able to roll over unaided 5 P a g e...

Page 6: ...1 1 2 D D D D D D D Bolts M6 70 x 6 Step 1 6 P a g e...

Page 7: ...Highest base level Step 2 4 4 B B B B Base Bolts x 4 The highest base position is only suitable for use until the baby is about three months old 7 P a g e...

Page 8: ...Step 2 B Base Bolts x 4 4 4 B B B B Middle base level The middle base position is only suitable for use before the baby can sit up unaided 8 P a g e...

Page 9: ...ep 2 B Base Bolts x 4 Lowest Base Level The Lowest base posi on is the safest Once your child is old enough to sit up un aided the base should be used in the lowest posi on only 4 4 B B B B B 9 P a g...

Page 10: ...Step 3 3 A Cap Nuts M6 15 x 4 C Bolts M6 30 x 4 10 P a g e...

Page 11: ...Step 4 D Bolts M6 70 x 6 D D D D D D 2 11 P a g e...

Page 12: ...Step 1 Step 2 TODDLER BED Change the cot to a bed as soon as your toddler shows any signs of attempting to climb out Re 1a 1b 12 P a g e...

Page 13: ...Step 3 TODDLER BED C C C C 6 5 6 5 3 4 4 C 4 5 3 C Bolts M6 30 x 8 13 P a g e...

Page 14: ...Step 4 TODDLER BED D D D D D Bolts M6 70 4 1a 1a B D 14 P a g e...

Page 15: ...ty request This warranty only covers new units with original packaging and ownership and is not transferable It does not cover any used second hand or demo models This warranty does not cover any dama...

Reviews: