29
SE400 SERIES
Web Browser Configuration
The switch has an HTML based user interface embedded in the flash memory. The interface
offers an easy to use means to manage basic and advanced switch functions. The interface
allows for local or remote switch configuration anywhere on the network.
The interface supports the following:
Internet Explorer (6.0)
Chrome
Firefox
The interface requires the installation and connection of the switch to the existing network. A
PC also connected to the network is required to connect to the switch and access the inter-
face through a web browser. The required networking information is provided as follows:
IP address: 192.168.1.1
Subnet mask: 255.255.255.0
Default gateway: 192.168.1.254
User name: admin
Password: admin
Log In
To access the login window, connect the device to the network, see “Connecting the Switch to
Ethernet Ports” on page 20. Once the switch is installed and connected, power on the switch
see the following procedures to log into your switch.
When the switch is first installed, the default network configuration is set to DHCP enabled.
You will need to make sure your network environment supports the switch set up before con-
necting it to the network.
1.
Launch your web browser on a computer.
2.
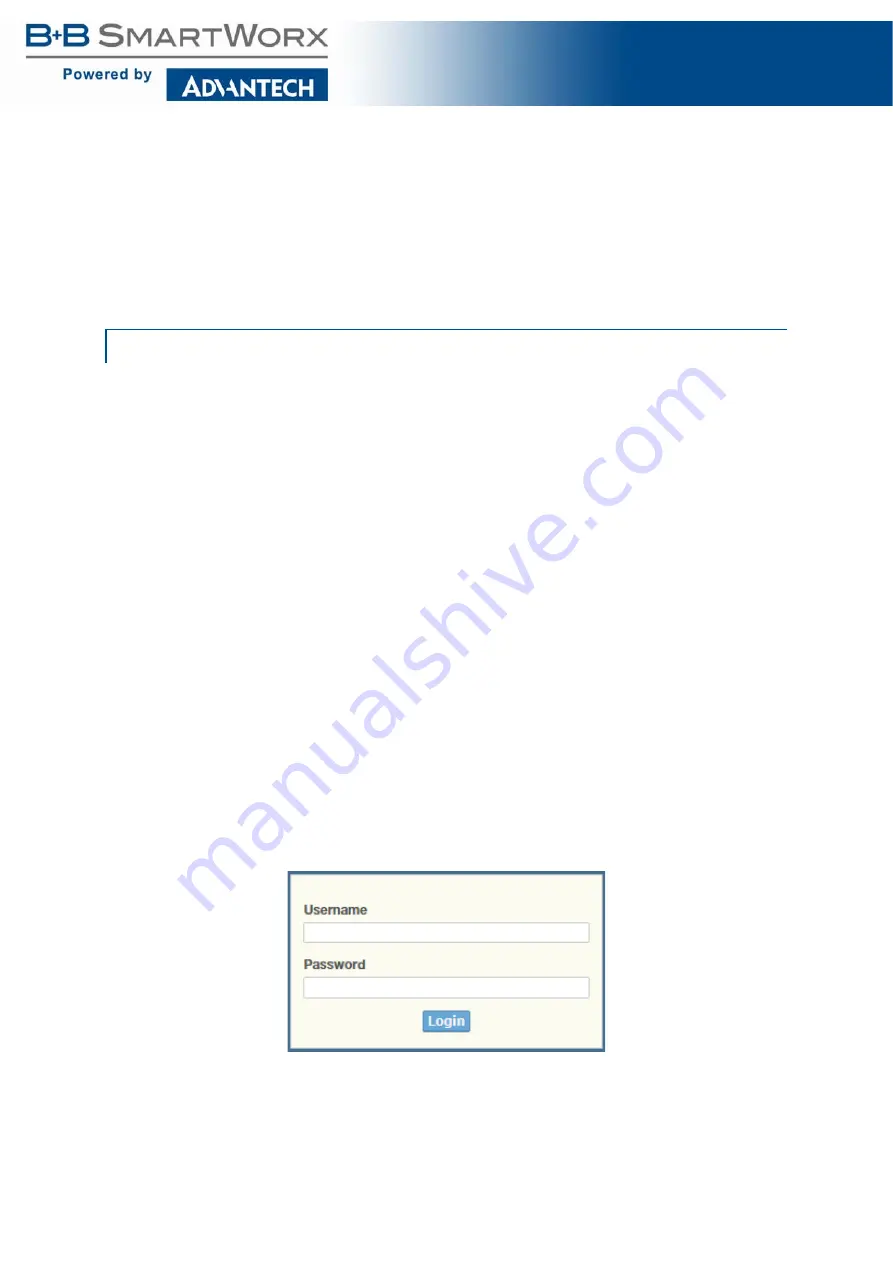
In the browser’s address bar type in the switch’s default IP address (192.168.1.1). The
login screen displays.
3.
Enter the default user name and password (admin/admin) to log into the management
interface. You can change the default password after you have successfully logged in.
4.
Click
Login
to enter the management interface.
Figure 31: Login Screen
Preparing for Web Configuration


