OPERATING AND INSTALLATION
INSTRUCTIONS FOR
BUILT-IN OVEN
WO500/3 S
Page 1: ...OPERATING AND INSTALLATION INSTRUCTIONS FOR BUILT IN OVEN WO500 3 S ...
Page 2: ... for quality Your manual is prepared in order to help you to use your appliance that is manufactured by the most recent technology with confidence and maximum efficiency Before use of your appliance carefully read this guide that includes the basic information for right and safe installation maintenance and use Contact an authorized technician for mounting of your product ...
Page 3: ...1 Contents 1 Presentation and size of product 2 Warnings 3 Preparation for installation and use 4 Using the oven 5 Cleaning and maintenance of your product 6 Service and Transport ...
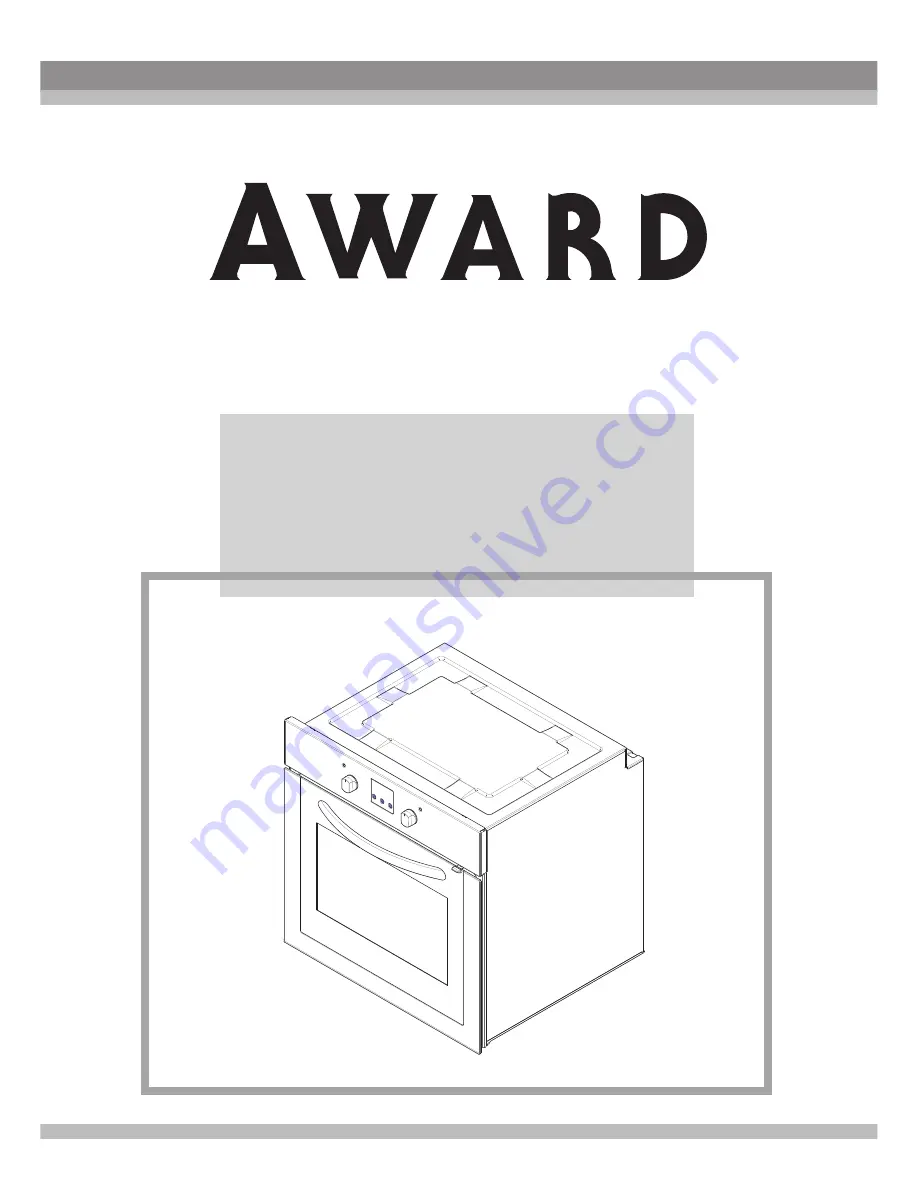
Page 4: ...1 Control panel 2 Handle 3 Oven Door 4 Child Lock 5 Tray 6 Lower Heating Element behind the plate 7 Upper Heating Element behind the plate 8 Wire Grill 9 Racks 10 Oven Light 11 Turbo Heating Element behind the plate 12 Fan behind the plate 13 Air Outlet Shutters ...
Page 5: ...ion or instruction concerning use of the appliance in a safe way and understand the hazards involved Children shall not play with the appliance Cleaning and user maintenance shall not be made by children without supervision WARNING The appliance and its accessible parts become hot during use Care should be taken to avoid touching heating elements Children less than 8 years of age shall be kept awa...
Page 6: ...he appliance in any way Prior to installation ensure that the local distribution conditions nature of the gas and gas pressure or electricity voltage and frequency and the requirements of the appliance are compatible The requirements for this appliance are stated on the label CAUTION This appliance is designed only for cooking food and is intended for indoor domestic household use only and should ...
Page 7: ...le or combustible materials in or near the appliance when it is operating Always use oven gloves to remove and replace food in the oven Do not leave the cooker while cooking with solid or liquid oils They may catch fire on condition of extreme heating Never pour water on to flames that are caused by oil Cover the saucepan or frypan with its cover in order to choke the flame that has occured in thi...
Page 8: ...re is no exhaust fan the height should not be less than 70 cm Manufactured with best quality parts and materials this modern functional and practical oven will meet your needs in all respects Make sure to read the manual to obtain successful results and not to experience any problems in the future The information given below contains rules that are necessary for correct positioning and service ope...
Page 9: ...n use either cabinet 1 or cabinet 2 cut out sizes 2 A B 595mm Min 25mm 580mm 560mm 600mm 1 555mm 575mm 560mm A DETAIL 20mm Minimum 40mm The wooden part can be extended up to cut out depth Product sizes B DETAIL Countertop Built in oven Min 25mm Control panel Distance between countertop and control panel Min 50mm Built in hob Distance between countertop snd top panel of built in oven Front frame Sp...
Page 10: ...cable must be connected via the screw with the earthing mark Supply cable connection must be as shown in Figure 6 If there is no earthed outlet conforming to regulations in the installation environment call theAuthorized Service immediately The earthed outlet must be in close vicinity of the appliance Never use an extension cord The supply cable should not contact the product s hot surface In case...
Page 11: ... desired cooking function turn the knob to the related symbol Figure 11 The details of the oven functions have been explained in Table 1 and over page Oven Thermostat Knob After cooking function is set desired temperature can be adjusted by oven thermostat knob figure 12 and oven start to operate timer must be adjusted if available The thermostat signal light will be on or off according to thermos...
Page 12: ... lights the lower heating element the turbo heater will be switched on the fan The oven s upper heating element will be switched on The oven s lower heating element will be switched on The oven s thermostat and warning lights and the lower and upper heating elements will be switched on The oven light will be turned on Availability of the functions explained below vary depending on the product mode...
Page 13: ...it will point to the Turbo function symbol After completing the preheating of 10 minutes place the food into the oven which needs to be put into suitable containers This function is suitable for cooking multiple dishes If you are going to cook using two trays at the same time while adjusting the cooking temperature select the temperature that is the lowest among the levels suitable for your foods ...
Page 14: ...of the oven place it on a safe place and ensure that the oven completely cools off by keeping the oven door open As the oven will be hot stay away from the oven and keep your children away as well Upper Heating Element and Grill Function Grill on the highest rack After placing the oven tray on the second rack you can start the grill operation Placing a tray on the second rack will ensure that the ...
Page 15: ...ay as well Turbo Fan and Lower Heating Element Function Turbo Fan and the Lower Heating Element Function is ideal for baking pizza While the turbo fan evenly disperses the heat of the oven the lower heating element ensures the baking of the pizza dough Adjust your oven s function knob so it will point to the symbol of this function After a preheating period of 10 minutes put your foods into the ov...
Page 16: ...e time must be adjusted before starting to use the oven Following the power supply to the oven the symbol A and the three 0 on the screen will begin to flash Press the and keys simultaneously The symbol will appear on the screen Also the dot in the middle Following the power supply to the oven when the symbol A and the three 0 s on the screen begin to flash the oven cannot be operated using the co...
Page 17: ...n to continuously light on the screen While doing this the oven will also start to operate Acooking period between the time range of 0 and 10 hours can be set At the completion of the set duration the timer wil stop the oven and give an audible warning Also the symbol A will begin to flash on the screen After bringing the oven button and oven thermostat button to 0 position pressing any button of ...
Page 18: ...nt operation is completed the day s time will appear on the screen and the symbols A and will begin to continuously light on the screen Figure 20 Acoking period between the time range of 0 and 10 hours can be set Second keep pressing on the MODE button until you see end on the timer screen When you see end on the timer screen the symbol A and the day s time will begin to flash with the addition of...
Page 19: ...17 min min min min 4 3 4 4 1 2 1 2 1 2 3 1 2 3 1 2 3 2 1 4 1 4 1 2 1 2 2 1 2 1 2 3 1 2 3 2 1 2 ...
Page 20: ...g the cooking frying operation This is normal physical state thay results during the heat transfer Do not leave a glass tray or container in a cold environment immediately after cooking in them Do not place them on cold and wet surfaces Ensure that they slowly cool by placing them on a dry piece of cloth Otherwise the glass tray or container might break If you are going to perform a grill operatio...
Page 21: ... wire must be placed inside the cavity Removal of wire shelf 1 2 Removal of catalytic panel Pull the wire shelf as shown in the picture After releasing it from clips lift it up Remove G screws on the each catalytic enamel coated panel WARNING Fit the grid correctly into any correspondent rack in the oven cavity and push it to the end ...
Page 22: ...the interior of the oven Make sure to unplug the oven before starting to clean it You will obtain best results if you clean the oven interior while the oven is slightly warm Wipe your oven with a soft piece of cloth dampened with soap water after each use Then wipe it again this time with a wet cloth and wipe it dry For product with catalytic enamel frames the rear and side walls of the inner fram...
Page 23: ...values according to the manual Except above if you have any problem with your product please call an authorized technician 6 2 INFORMATION RELATED TO TRANSPORT If you need any transport Keep the original packaging of the product and carry it with the original packaging when needing to be transported Follow the transport signs on packaging Tape loose parts securely to the cooker Place a paper betwe...
Page 24: ...al 1 08 Forced Air convection 0 98 Conventional 48 Forced Air convection 43 Energy Consumption at Standard Load E kWh Useable Volume lt Energy Efficiency Class A High Efficiency B C D E F G Low Efficiency Cooking Duration Min Cooking Surface Area cm Small Medium Large E 1 00 1 00 E 1 20 1 20 E 1 40 1 40 E 1 60 1 60 E 1 80 1 80 E 2 00 2 00 E ...
Page 25: ...52131834 08 13 Award Appliances PO BOX 6269 Upper Riccarton Christchurch ...