393Z
489a_V1.0
USER MANUAL
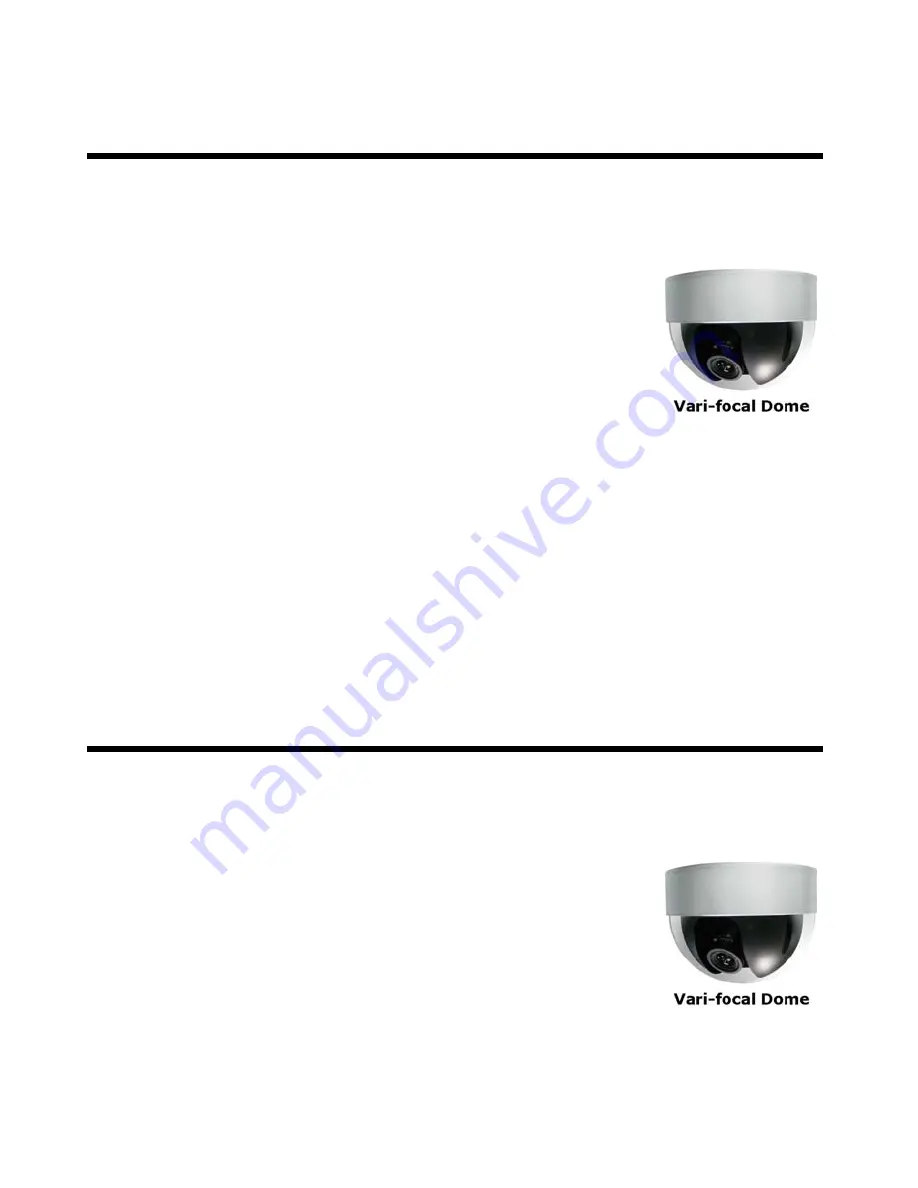
High Resolution Dome Camera
Please read the instructions thoroughly before using the product.
Page 1: ...MANUAL High Resolution Dome Camera Please read the instructions thoroughly before using the product 393Z 489a_V1 0 USER MANUAL High Resolution Dome Camera Please read the instructions thoroughly befor...
Page 2: ......
Page 3: ...o which the receiver is connected Consult the dealer or an experienced radio TV technician for help IMPORTANT SAFEGUARD All lead free products offered by the company comply with the requirements of th...
Page 4: ...eteness or usefulness of this manual The content of this manual is subject to change without notice This device complies with Part 15 of the FCC Rules Operation is subject to the following two conditi...
Page 5: ...NTENT 1 SPECIFICATIONS 2 LENS ANGLE ADJUSTMENT 3 CONNECTION 3 INSTALLATION 4 CAMERA CONFIGURATION 8 TABLE OF CONTENT FEATURES 1 PACKAGE CONTENT 1 SPECIFICATIONS 2 LENS ANGLE ADJUSTMENT 3 CONNECTION 3...
Page 6: ......
Page 7: ...owing items in your sales package Vari Focal Dome Camera with Power and Video Cable 1 User Manual 1 1 FEATURES 1 1 3 color CCD sensor with SONY Effio DSP 2 High resolution 3 F1 4 Large aperture 4 f3 8...
Page 8: ...s mm 124 3 x 92 H The specifications are subject to change without notice Dimensional Tolerance 5mm 2 SPECIFICATIONS Pick up Element 1 3 Color CCD image sensor with SONY Effio DSP Number of Pixel 768...
Page 9: ...rm in and GND wires Then go to DVR s menu ADVANCED CONFIG DETECTION ALARM to enable alarm detection 3 LENS ANGLE ADJUSTMENT The lens can be panned left or right for angle adjustment maximum 60 respect...
Page 10: ...unscrew the Black Shield Case Then remove it by pressing the two sides and then pulling it outward 4 INSTALLATION Step1 Remove the Dome Cover Remove the Dome Cover by turning it counterclockwise to t...
Page 11: ...screws 2 For safety always let the power and video line concealed behind the installation position 5 Step3 Align the screw holes Rotate the lens plate to the front side of the camera and align the ga...
Page 12: ...ing is achieved Note When adjusting the title angle please do not tilt the camera lens more than 90 6 Step5 Adjust the angle of the camera To adjust the angle of the camera swivel the black rotatable...
Page 13: ...Dome Cover Replace the dome cover to the camera base and turn it clockwise to the end to secure it 7 Step6 Replace the Black Shield Case Replace the Black Shield Case to the camera base Ensure that t...
Page 14: ...with this camera connected and see if the DCCS connection icon is shown STEP2 Enter the camera menu 8 CAMERA CONFIGURATION This camera has its own menu for parameter settings To enter the menu please...
Page 15: ...lues select When you see with an option select To exit the menu and return to the main menu select X 9 From DCCS menu Right click to display the DVR main menu and select ADVANCED CONFIG DCCS ADVANCED...
Page 16: ...e menu on screen display CAMERA RESET Press to restore all settings to their factory default values 10 Camera menu SUB MENU DESCRIPTION SHUTTER AGC 3 Select AUTO to allow the camera to act automatical...
Page 17: ...H LOCK ATW SPEED 0 255 DELAY CNT 0 255 ATW FRAME x0 50 x1 00 x1 50 x2 00 ENVIRONMENT INDOOR OUTDOOR 11 Camera menu tree SUB MENU OPTIONS AUTO HIGH LUNINANCE MODE AUTO IRIS SHUT AUTO IRIS SHUTTER AGC B...
Page 18: ...4 2 4 3 4 4 4 TOP BOTTOM 0 288 LEFT RIGHT 0 370 COLOR 1 8 TRANSP 0 00 0 50 0 75 1 00 MOSAIC ON OFF 12 SUB MENU OPTIONS WHITE BAL PUSH USER1 USER2 B GAIN R GAIN 0 255 BACKLIGHT OFF BLC HLC PICT ADJUST...
Page 19: ...F Y LEVEL C LEVEL CAMERA ID OFF ON LANGUAGE ENGLISH DEUTSCH FRANCAIS PORTUGU S ESPA OL CAMERA RESET 13 SUB MENU OPTIONS DAY NIGHT COLOR B W BURST ON OFF AUTO BURST ON OFF DELAY CNT 0 255 DAY NIGHT 0 2...