


5
. Shapes - Page 53
PearlExpertTitan_Man_v2-0.doc 23/09/2009 12:16:00
5.
Shapes
This chapter contains: Selecting a shape; changing the size and speed
of a shape; spreading a shape across multiple fixtures; editing shapes
which are running.
The Pearl, in common with other Avolites consoles, has a shape
generator (sometimes known as an Effects Generator on other
consoles). This allows you to quickly create exciting light shows using
lots of movement and changes, with the minimum of programming.
A shape is simply a sequence of
values which can be applied to
any attribute of a fixture. A
circle shape, for example,
applied to the pan and tilt
attributes, would cause the
fixture to move its beam around
in a circular pattern. You can
set the centre point of the
circle, the size of the circle and
the speed of the circle
movement.
In addition to position shapes, there are a large number of other
shapes available in the Pearl. The shapes are defined for a particular
attribute such as colour, dimmer, focus and so on. Some shapes will
not work with some fixtures; focus shapes, for example, can produce
nice “focus pull” effects on fixtures which have DMX focusing, but will
do nothing on fixtures which don’t have focusing.
When you use a shape with more
than one fixture, you can choose
to either apply the shape
identically to all the fixtures, or
offset them so that the shape runs
along the fixtures creating “wave”
or “ballyhoo” type effects. This is
called the
Phase
of the shape.
5.1
Playback
5.1.1
Creating a shape
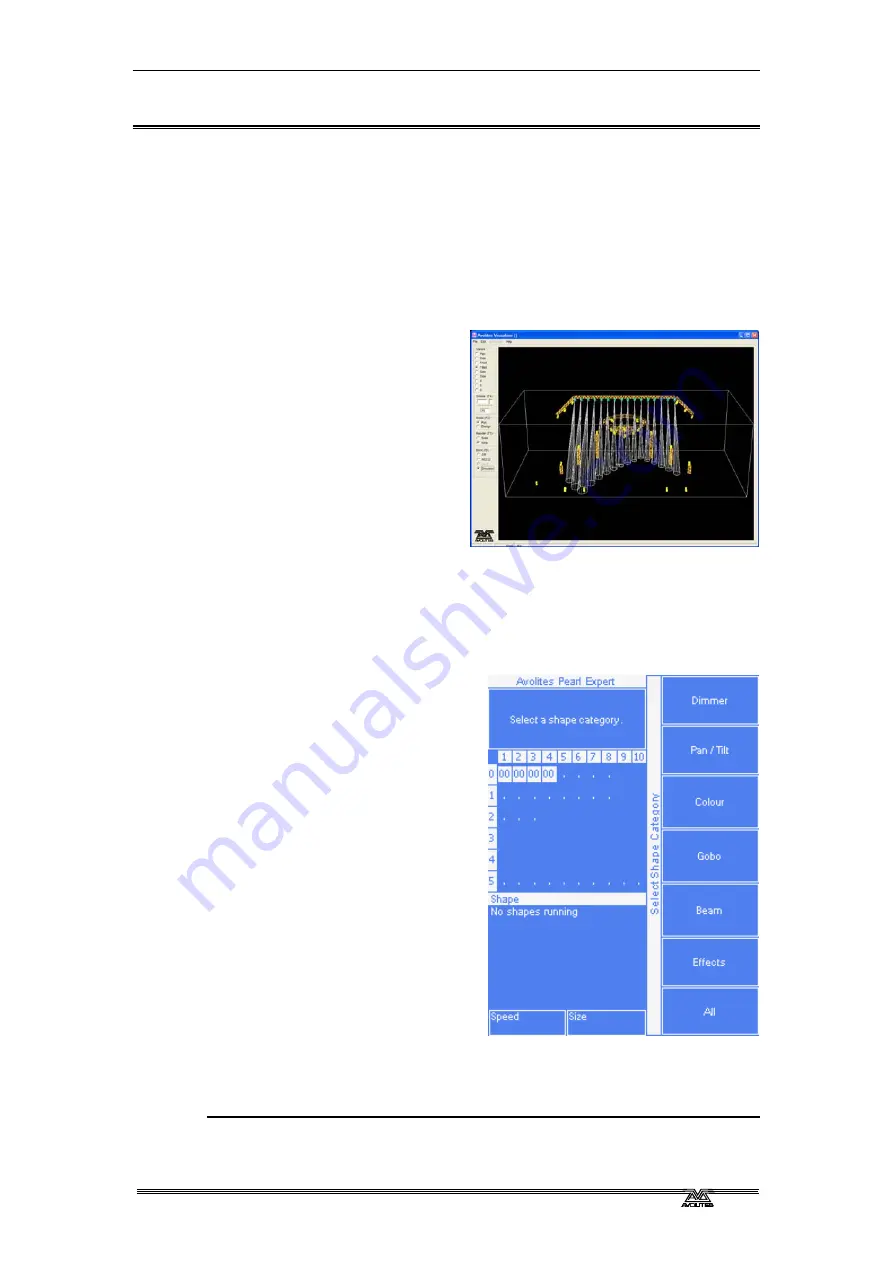
To create a shape you simply pick
it from a list on the softkeys.
Shapes are listed using the
IPCGBES attribute groups, so you
can pick from a list of Dimmer
shapes, or a list of Pan/Tilt
shapes, or Colour shapes, and so on. You can also pick from a list of All
Shapes.
When you choose a shape, it will be applied to all selected fixtures.
1> Select the fixtures the shape is to be applied to.
2> At the main menu press C [Shape Generator].
Summary of Contents for Pearl Expert Titan
Page 1: ...Pearl Expert Titan Operator s Manual Version 2 0...
Page 2: ...PearlExpertTitan_Man_v2 0 doc 23 09 2009 12 16 00...
Page 6: ...Page 6 Reference Manual Contents PearlExpertTitan_Man_v2 0 doc 23 09 2009 12 16 00...
Page 12: ...Page 12 1 Setting up the console PearlExpertTitan_Man_v2 0 doc 23 09 2009 12 16 00...
Page 26: ...Page 26 2 Patching PearlExpertTitan_Man_v2 0 doc 23 09 2009 12 16 00...
Page 36: ...Page 36 3 Controlling dimmers and fixtures PearlExpertTitan_Man_v2 0 doc 23 09 2009 12 16 00...
Page 46: ...Page 46 3 Controlling dimmers and fixtures PearlExpertTitan_Man_v2 0 doc 23 09 2009 12 16 00...
Page 68: ...Page 68 7 Chases PearlExpertTitan_Man_v2 0 doc 23 09 2009 12 16 00...
Page 78: ...Page 78 7 Chases PearlExpertTitan_Man_v2 0 doc 23 09 2009 12 16 00...
Page 90: ...Page 90 8 Cue Lists PearlExpertTitan_Man_v2 0 doc 23 09 2009 12 16 00...
Page 100: ...Page 100 10 Remote control PearlExpertTitan_Man_v2 0 doc 23 09 2009 12 16 00...
Page 108: ...Page 108 11 User Settings and other options PearlExpertTitan_Man_v2 0 doc 23 09 2009 12 16 00...
Page 109: ...11 User Settings and other options Page 109 PearlExpertTitan_Man_v2 0 doc 23 09 2009 12 16 00...
Page 114: ...Page 114 13 Networking PearlExpertTitan_Man_v2 0 doc 23 09 2009 12 16 00...
Page 128: ...Page 128 13 Networking PearlExpertTitan_Man_v2 0 doc 23 09 2009 12 16 00...
Page 144: ...Page 144 16 Glossary of terms PearlExpertTitan_Man_v2 0 doc 23 09 2009 12 16 00...


