


49
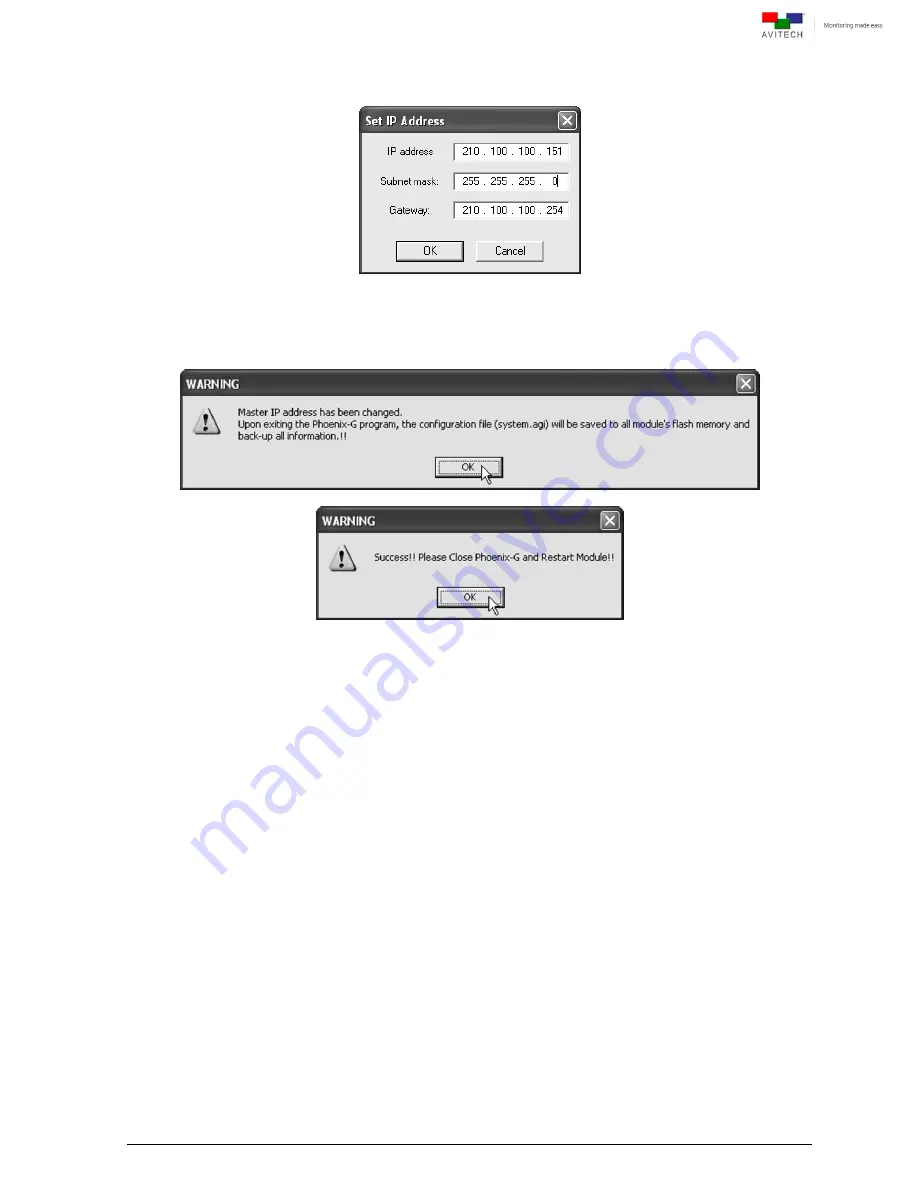
Step 5. Enter the new
IP address
,
Subnet mask
, and
Gateway
to match the value of the controlling
computer. Then, click
OK
.
Figure A-6
Phoenix-G Software: Set IP Address, Subnet Mask and Gateway
Step 6. Click
OK
and
OK
. Close the Phoenix-G program and restart the Sequoia.
Figure A-7
Phoenix-G Software: Close and Restart Sequoia
A.2 Method 2: Change IP Address of the Controlling Computer
For Windows XP
Step 1. Click
Start
, and then right-click
My
Network
Places
, and click
Properties
.
Step 2. When the next screen appears, right-click the
Local Area Connection
icon, and click
Properties
.
Step 3. When the next screen appears, click to highlight
Internet Protocol (TCP/IP)
, and click
Properties
.
Step 4. When the next screen appears, click the radio button to select
Use the
following IP address:
,
and then enter the
IP address: 210 . 100 . 100 . x
(where
x
is any value from
1
–
253
) and
Subnet mask: 255 . 255 . 255 . 0
.
Step 5. Click
OK
to exit.
For Windows 7
Step 1. Click
Start
and type in
Network and Sharing Center
.


