- 1-
Ref#90020326K0709
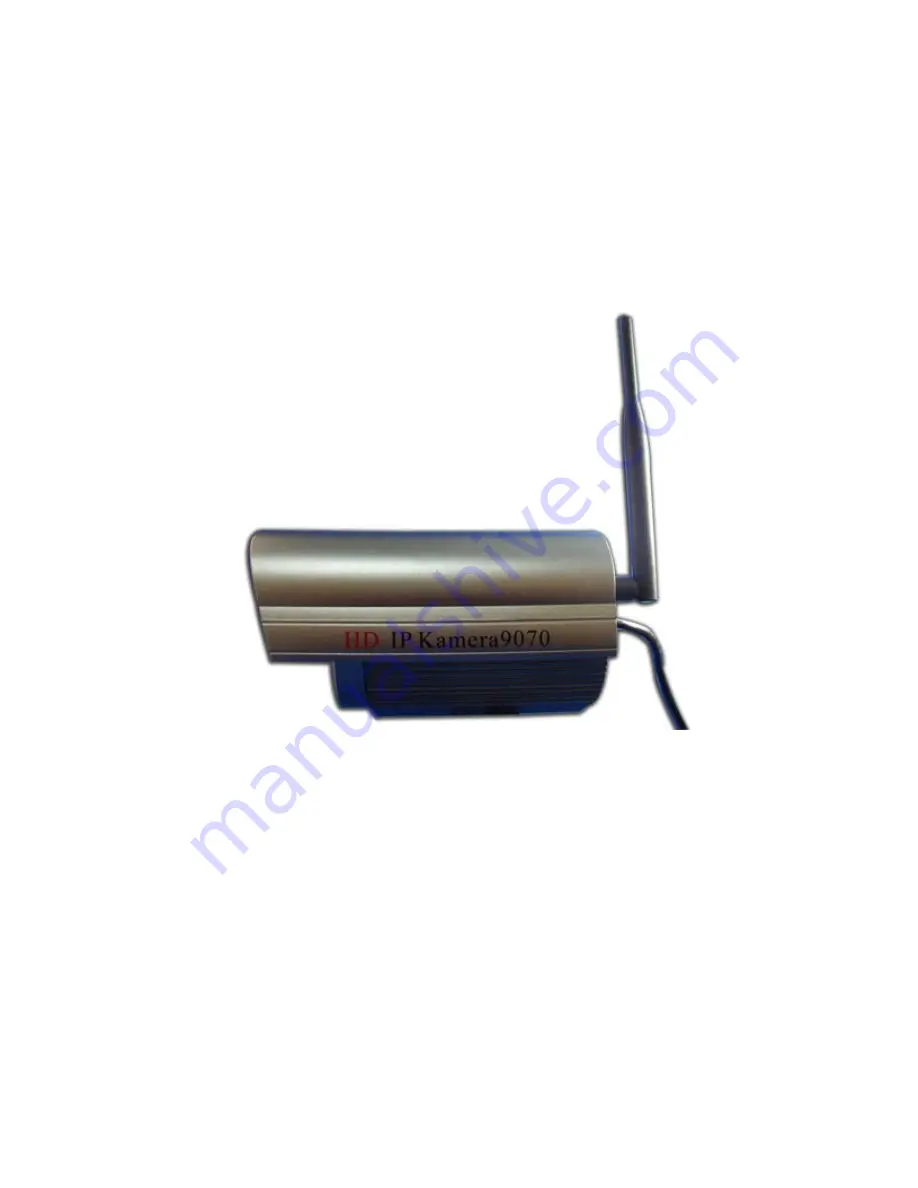
IP Kamera 9070-IRW
User Manual
Release Date
: 8/2/2011
Firmware Version : V1.2.1.9
Page 1: ...1 Ref 90020326K0709 IP Kamera 9070 IRW User Manual Release Date 8 2 2011 Firmware Version V1 2 1 9...
Page 2: ...e damage from using power adapters 4 Do not shake the IP Kamera 9070 IRW in any fashion 5 Please contact the dealer If IP Kamera 9070 IRW is not working properly Copyright 2011 All rights reserved No...
Page 3: ...P EDIT 9 Easy Setup DHCP activated 9 Custom Setup Manual Setup 10 SETTING UP WIRELESS SETTINGS 11 Step by Step 11 Advance Setup 14 IP SERVICE 17 Using IP Service 17 www myipedit com 17 5 INTERNET ACCE...
Page 4: ...vent Log 43 APPLICATION 43 Setting 44 Schedule Record 57 Alarm 58 MEDIA PLAYER 60 LOGOUT 61 7 CONTROLLING THE DEVICE 62 CGI HTTP COMMANDS 62 Snapshot Command 62 Change Name 62 Change IP Address 62 Cha...
Page 5: ...ilt in SD memory storage RTSP broadcasting capability internal microphone and many more functions makes this small device very powerful and unique The built in web server of the IP Kamera 9070 IRW wil...
Page 6: ...10 IP Service Search utility to find the IP Kamera on internet with ease 11 Adjustable frame rate bit rate rate control type quality factor for best image quality and speed 12 Supports date and time m...
Page 7: ...n Cable Description Cables DC 12 V Power Input Plugs in the Power Adapter to the DC 12V Card RJ45 Ethernet Plug in the RJ45 Ethernet cable to the Ethernet Reset Button Reset to Manufacturer Default Ho...
Page 8: ...re working correctly Connecting the Device 1 Connect the IP Kamera 9070 to a HUB or Router with a RJ45 network cable 2 Connect the HUB or Router to the internet May through ADSL XDSL modem 3 Connect t...
Page 9: ...P Edit is a tool designed to search for Aviosys products that are on the network With this tool you can edit some specified fields which allow the device to be found and accessed IP Service allows use...
Page 10: ...c IP Address Default IP 192 168 1 168 When 9070IRW is connected to PC directly Default Login admin Default Password 12345678 1 Highlight the 9070IRW device in the local devices section of IP Edit On t...
Page 11: ...as been obtained enter the correct information into IP Edit then press the submit button 4 Then hit the rescan button on IP Edit to confirm the changes have been made Setting up Wireless Settings Step...
Page 12: ...12 Ref 90020326K0709 3 Click on the for more information on how to setup the device 4 Pick the router that you are using then hit the add profile button...
Page 13: ...ck to see for the connection successful under the connection status and the device is good to go 9 Unplug the RJ45 cable of the device and search on IPEdit for the new wireless settings You will see a...
Page 14: ...Site Survey Link then select the wireless internet network that you would like to connect to and hit the add profile button to add a new profile A new window pop and you will be required to enter the...
Page 15: ...save all settings and wait about 60 seconds for device to connect Then go back to the Main Wireless page and click on the on link under Advance for more options Select the Profile link to see the pro...
Page 16: ...connected to the wireless network Unplug the Ethernet cable to the device Then unplug the power cable to the device for about 15 seconds Then plug in the power to the device and give the device about...
Page 17: ...nect button on the top of IP Edit 3 Once you have been connected search for your device by typing in at least the first 3 letters that you named your device with Then hit the search button 4 Double cl...
Page 18: ...P Service webpage 2 Depending on which server you selected in the IP Service settings you will need to select from server 1 or server 2 3 Type in the name that you have selected for your device and hi...
Page 19: ...ted for your device and hit the submit button Note You can name your device in the network settings of your device under IP Service 3 Simply put your mouse over the picture of your device and if you h...
Page 20: ...to the internet Note The device needs to be port forwarded on the router so that it can be accessed by the internet For example 9070IRW IP Address 192 168 1 882 9070IRW Port 9070 On the router that is...
Page 21: ...the ISP Contact the ISP to find out the static IP address so that your device can be accessed through the internet Once a Static IP has been assigned the device will be able to automatically go onto t...
Page 22: ...click on yellow bar and install the activeX controls 3 Then click the install button and install the active controls 4 Once active X controls have been installed the video feed will show on the screen...
Page 23: ...23 Ref 90020326K0709 1 Under internet options in IE select the security tab 2 Then click on the custom level button 3 Select Prompt recommended for the section labeled Download signed ActiveX controls...
Page 24: ...nge resolution views Image The Image section allows you to edit the image settings including recording viewing codec frame rate image tuning brightness contrast saturation and etc Network The network...
Page 25: ...pc take a snapshot zoom and detect motion detection settings can be changed Type and Zoom Type The type function allows you to set the streaming format for the IP Kamera 9070 You can select from the f...
Page 26: ...motion detection scheduler or an alarm will set off this automatic recording Active Record Inactive When active recording is not activated it will look like the picture below Active Record Activated...
Page 27: ...th and the files will be created there Record Record The record button on the 9070IRW when pressed will record the live video feed and save the video into the computer viewing To record follow the fol...
Page 28: ...Zoom Quick Zoom Out The instructions will be displayed on the screen when the mouse if moved over the icon To Zoom In To Zoom into the picture move the mouse cursor over the picture and click and hold...
Page 29: ...ge settings section allows you to change the video settings and the Name of the Kamera Camera Name Select a camera name for the device and then hit submit Video Codec In this section you can select th...
Page 30: ...broadcasting standard please check with your local service provider to find out if you us a NSTC system or PAL system Mirror The mirror function allows you to flip the image of the device around Depe...
Page 31: ...ettings are shown below M JPEG Quality Settings High Medium Low MPEG4 1 Bit Rate Select a value from 64 8000 FPS Select a FPS from 30fps 15fps or 7 5fps MPEG4 2 Bit Rate Select a value from 64 8000 FP...
Page 32: ...work settings section allows the user to setup their network information for the IP Kamera Network The network section allows you to setup the network information for the IP Kamera 9070 IRW Enable DHC...
Page 33: ...User Name Enter the FTP Username Password Enter the FTP Password File Upload Path Enter the upload path of the FTP Server SMTP Outgoing E mail Server Enter the SMTP E mail server information here The...
Page 34: ...Note If you are having problems sending emails out and the settings are correct Please check your DNS Server address to make sure you can send email out SNTP The SNTP is a protocol for synchronizing t...
Page 35: ...select which server you would like your device on Note IP Service is set to ON by default To close this feature uncheck the enable button IP Service Server There are 3 IP Service Servers that can be s...
Page 36: ...t to IP Service through software IP Edit Search tool or through www myIPEdit com Enable Share Check this feature to enable video sharing on guest accounts only Make sure that the guest account has alr...
Page 37: ...os from the 9070 IRW live Note To access the device from outside the network Please make sure of the following 9070 IRW should be set to DMZ host or mapping router s TCP ports 554 and 8554 to 9070 IRW...
Page 38: ...of the device here 1 Set Manually Set the time manually 2 Synchronize with Computer Time Synchronize the time with the current computers time 3 Synchronize with SNTP Synchronize with SNTP Time Stamp...
Page 39: ...ity Select one of the following options Admin You can operate all functions in Web interface Also you can add or delete any user s account Operator You can operate all functions in Web interface excep...
Page 40: ...0 IRW to make sure that the device is running smoothly This resets the internal memory of the device by restarting the 9070 IRW You can set the Device tune up to reset each hour day Month or Week Lang...
Page 41: ...are Version and other technical information on the device is displayed here Updating the Device To update the device go to the update section Here you will find the Current Version description To upda...
Page 42: ...click okay Warning Before you go to the next step make sure you have all your setting information written down The device will reset back to manufacturers default values after you restart the device...
Page 43: ...In the Events Log section you can find the log for the IP Camera This section will notify you any events that have taken place with the IP Kamera Application The Application Section setups the Video F...
Page 44: ...are stored on your local computer Simply click on the button and choose a folder to where you want to save the files PC Split File Size Allows you to select the segment size of the files that will be...
Page 45: ...at MPEG4 720 MPEG4 CIF 2 Avi Duration From the drop down list select the length of an AVI file then press submit 3 Jpeg Format The attached number of files is where you can select the number of pictur...
Page 46: ...l Split Filename Type Allows you to sort the file into two different methods Name by Time If add date stamp in the section is selected the 9070 IRW will sort the device by time Name by Index If add da...
Page 47: ...to save your recordings to a local network computer This provides a extra storage place for pictures and videos from motion detection and schedule recording Setting up Computer Windows 7 To use the Ne...
Page 48: ...ne which will share this drive with everyone on your network Select everyone and hit the add button Note The user selected must have Read Write capabilities for this function to work correctly 5 Then...
Page 49: ...yone as the sharing user simply type in any login or password In the case where you have selected a specific user to use here you will need to use the login and password of the specified user Under th...
Page 50: ...utton and the net drive will start to work E mail SMTP The SMTP application settings is where the file format uploaded by email can be selected From here you can choose the files to be in either Jpeg...
Page 51: ...ing which method you would like to use EZ blog There are two ways that you can use EZ blog 1 Using OCX to broadcast EZ blog Advantages of using OCX Instant Response Disadvantages Router needs to be se...
Page 52: ...password for the selected user 2 Select the dimensions you would like the image to be 3 Select the create code button to create the embed code 4 Press the copy button to copy the code that you would l...
Page 53: ...n You can do this by going to the network tab and click on the IP Service link To use CNT to integrate your IP camera with your blog 1 After you have enabled the GAE feature click on the copy button o...
Page 54: ...opy button and paste the code that you have copied into your blog or website My Web The My Web functionality will make your IP Kamera more than just a surveillance tool Now you can use it to promote y...
Page 55: ...Confirm setting If familiar with webpage langrage you can change the webpage in zip file to your own webpage Setting up My Web To setup My Web you can download the My Web file from the 9070 IRW 1 Cli...
Page 56: ...will allow the user to be constantly informed about the device Using RSS any snapshot motion detection scheduled recording will notify the user and can also be accessed Notice User need to register in...
Page 57: ...to schedule automatic recording You can pick a day from Sunday Saturday and also a option for Everyday To schedule automatic recording 1 Select the day that you would want to start recording 2 Select...
Page 58: ...o files to Schedule Record Upload Via FTP Saves schedule recordings into FTP Schedule Record Save into SD Card Saves schedule recordings into SD Card Schedule Record Upload via E mail SMTP schedule re...
Page 59: ...ick from Lowest Low Medium High Highest b You can also customize your own threshold from 1 99 4 Once you have set your settings on the window screen click on the picture where you want the motion to b...
Page 60: ...etected the IP Kamera 9070 IRW will upload files onto the Network Drive Enable Alarm Save SMTP When motion is detected the IP Kamera 9070 IRW will send files to E mail Recording Time Set the duration...
Page 61: ...ent for live streaming View in Full Screen To view the IP Kamera in full screen model you will need to press the Full Screen mode Logout When you are done use the IP Kamera 9070IRW the logout function...
Page 62: ...dress port snapshot cgi Ex http command http 192 168 100 50 85 snapshot cgi Change Name This command allows you to change the name of the IP Kamera 9070 IRW http ipaddress port vb htm cameratitle name...
Page 63: ...nto a software website or any other application http ipaddress port ipcam mjpeg cgi Ex http command http 192 168 1 192 ipcam mjpeg cgi 8 Using RTSP with VLC Before Setting up VLC Make sure that the 90...
Page 64: ...l and type in the RTSP user name and RTSP password 6 Check the Cache value For low latency it should be 70 80 based on PC s performance Note If the video is not smooth set the caching value from 150 1...
Page 65: ...the RTSP address of your device For Mpeg4 Stream1 rtsp IP Address mpeg4 For Mpeg4 Stream2 rtsp IP Address 8554 mpeg4 Example rtsp 122 116 137 123 mpeg4 11 Hit the play button and wait a few seconds fo...
Page 66: ...t you will find the MAC Address that you will need to use CNT Note Make sure when you are typing in the MAC address to leave out the Find MAC Address in WAN Using IPService on IP Edit 1 To find your M...
Page 67: ...using the EPTZ function Ans When using EPTZ function remember that only the snapshot functions works with the EPTZ controller If you are just using the mouse to Pan Tilt and Zoom into your picture you...
Page 68: ...hink about our products and how we can we can make your Aviosys experience even better Please email us at our service department at Service Aviosys com or visit customer feedback form at http spreadsh...