Installation Guide
Avigilon Presence Detector (APD) Sensorwith Ceiling or Wall Mount Adapters
APD-S1-D and APD-MT-WALL1 (optional)
Page 1: ...Installation Guide Avigilon Presence Detector APD Sensor with Ceiling or Wall Mount Adapters APD S1 D and APD MT WALL1 optional ...
Page 2: ... ray laser or UV radiation Direct exposure may cause permanent damage to the sensor l Do not install near any heat sources such as radiators heat registers stoves or other sources of heat l Do not subject the device cables to excessive stress heavy loads or pinching l Do not open or disassemble the device There are no user serviceable parts l Refer all device servicing to qualified personnel Servi...
Page 3: ...pment off and on the user is encouraged to try to correct the interference by one or more of the following measures l Reorient or relocate the receiving antenna l Increase the separation between the equipment and receiver l Connect the equipment into an outlet on a circuit different from that to which the receiver is connected l Consult the dealer or an experienced radio TV technician for help l A...
Page 4: ...ctive owners The absence of the symbols and in proximity to each trademark in this document or at all is not a disclaimer of ownership of the related trademark Avigilon Corporation protects its innovations with patents issued in the United States of America and other jurisdictions worldwide see avigilon com patents Unless stated explicitly and in writing no license is granted with respect to any c...
Page 5: ...rface Mount Adapter 8 Installing the Device in the Mounting Adapter 9 Assigning an IP Address 10 Configuring the APD Device 11 Initializing the APD Device and Setting the Range 12 Range Test Mode 12 Using the Range Test Mode Step by Step 12 Connection Status LED Indicator 14 Removing the APD Device from the Mounting Adapter 15 Resetting to Factory Default Settings 16 Setting the IP Address Using t...
Page 6: ... the ACC Client or ACC Mobile applications and then acted upon The configurable settings for the device allow you to specify l The range for the device which must be set so that unwanted motion is not detected such as people walking along a hallway on the other side of an enclosed area being monitored l The dwell time for a detected object which is the amount of time that a person or persons are d...
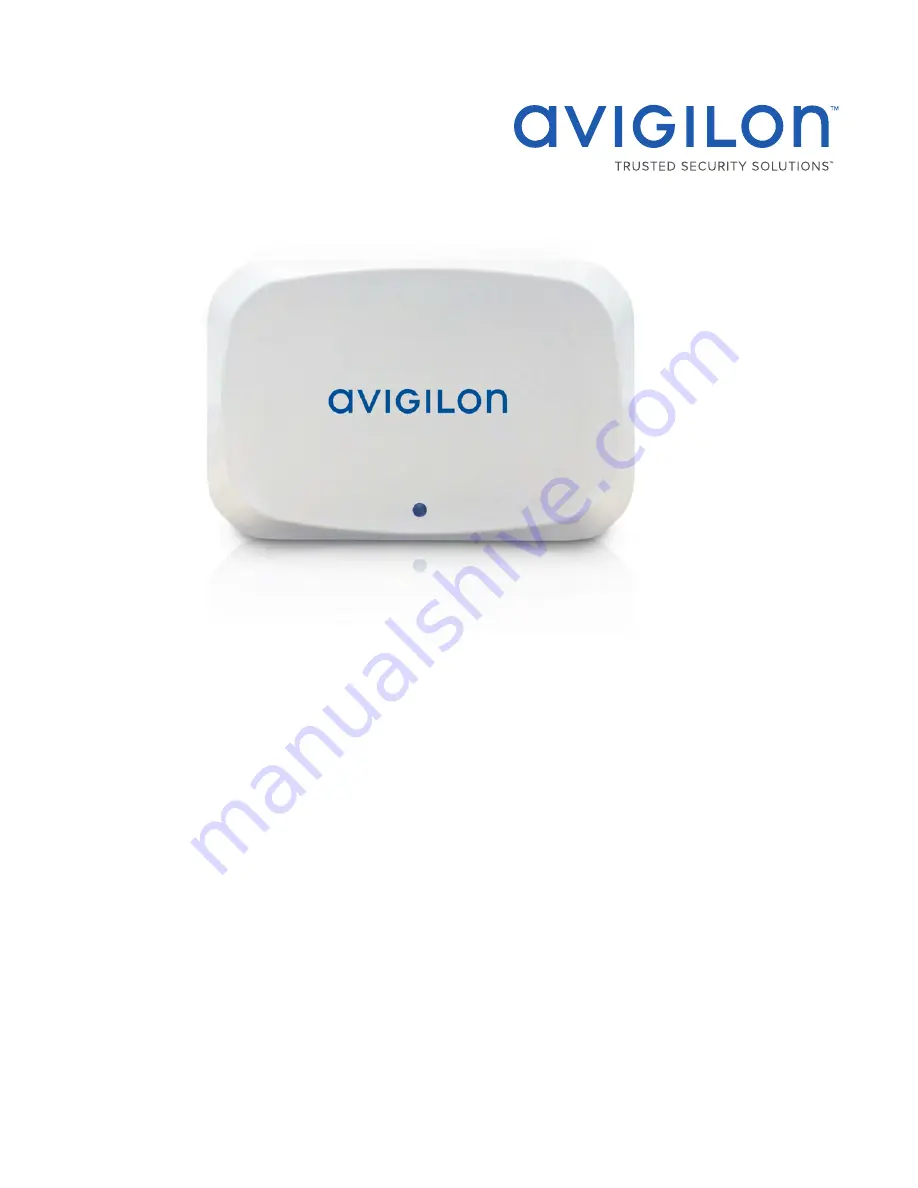
Page 7: ...ded in the package with the APD device Device Attached to Wall or Corner Bracket 1 APD device body The main body of the APD device 2 Wall or Corner Bracket Used to mount the APD device to a wall or corner with the device angled 30 downwards NOTE The bracket for mounting the APD device on a wall or in a corner is an optional accessory that must be ordered separately from the device Device Attached ...
Page 8: ...presence is detected It turns off when presence is absent Back of Device 1 Ethernet port Accepts power and Ethernet connection to the network The device can only be powered by Power over Ethernet PoE Server communication and data transmission also occur over this connection 2 Serial number tag Contains the serial number and MAC address of the device Copy down this information for later use if you ...
Page 9: ...but if it is the only option then ensure that the pendant is rigidly attached to the ceiling preferably at two locations and not using cables to reduce swings and rotations The radar in the APD device will detect motion up to 1 2 meters behind the device so it is important to be aware of the radar permeating nature of the wall or ceiling on which it is mounted Most ceilings in commercial buildings...
Page 10: ...Figure 1 Top down View of Ceiling Mount Figure 2 Side View of Ceiling Mount Positioning the APD Device 5 ...
Page 11: ...Figure 3 Top down View of Wall Mount Positioning the APD Device 6 ...
Page 12: ...Figure 4 Side View of Wall Mount Positioning the APD Device 7 ...
Page 13: ...sor With the Surface Mount Adapter The Avigilon Presence Detector device is provided with a surface mount adapter that can be mounted to a ceiling If the APD device needs to be installed on a wall or in a corner use the wall or corner mounting adapter which are optional accessories See Positioning the APD Device on page 4 for more information The APD device should be installed on a surface that ca...
Page 14: ...unting adapter to the ceiling or wall Installing the Device in the Mounting Adapter After you install the mounting adapter mount the APD device to the adapter using the following steps 1 Connect the Ethernet port attached to the device to the Ethernet cable that was pulled through the cable entry hole The connection status LED indicator will turn on once a network link has been established 2 Align...
Page 15: ...hoose an IP address When set using Zeroconf the IP address is in the 169 254 0 0 16 subnet The IP address settings can be changed using one of the following methods l Device s web browser interface http camera IP address l Network Video Management software application for example the Avigilon Control Center software l ARP Ping method For more information see Setting the IP Address Using the ARP Pi...
Page 16: ... background model needed to determine presence The higher the sensitivity the less movement needed to activate the sensor In general increasing sensitivity will lead to more detections but may lead to increased number of false positives Decreasing sensitivity can reduce the number of false positives but may lead to a false negatives It is unlikely you will need to change sensitivity After the APD ...
Page 17: ...uired in normal mode Use range test mode to test the outer range of the detection area the area for larger movement NOTE Range Test Mode is not as sensitive to fine movement such as respiration as is the normal mode and it should only be used for installation purposes Using the Range Test Mode Step by Step Range Test Mode can be enabled and disabled in the APD WebUI To set the range of the APD dev...
Page 18: ...n normal mode In normal mode you will get feedback in 2 3 seconds as to whether you are being detected but you will need to wait 1 minute to get feedback on non presence If a change is made to the range setting then the sensor will re initialize for 2 minutes When the detection range is satisfactory in normal mode you have completed installation Using the Range Test Mode Step by Step 13 ...
Page 19: ...t flash every second Attempting to obtain an IP address Discoverable Two short flashes every second Obtained an IP address but is not connected to the Network Video Management software Upgrading Firmware Two short flashes and one long flash every second Updating the firmware Connected On Connected to the Network Video Management software or an ACC Server The default setting can be changed to Off u...
Page 20: ...er to release the APD device from the adapter Pull the APD device from the mounting adapter You may want to use a tool with a flat edge such as a small screwdriver or a letter opener 2 Pull the APD device out of the mounting adapter 3 Detach the APD device from the network cable Removing the APDDevice from the Mounting Adapter 15 ...
Page 21: ...on to reset the device The firmware revert button is shown in the following diagram 1 Ensure the device is powered on 2 Using a straightened paperclip or similar tool gently press and hold the firmware revert button 3 Release the button after three seconds CAUTION Do not apply excessive force Inserting the tool too far will damage the device Resetting to Factory Default Settings 16 ...
Page 22: ...e Avigilon High Definition H 264 IP Camera Models 1 Locate and copy down the MAC Address MAC listed on the Serial Number Tag for reference 2 Open a Command Prompt window and enter the following commands a arp s New Camera IP Address Camera MAC Address For example arp s 192 168 1 10 00 18 85 12 45 78 b ping l 123 t New Camera IP Address For example ping l 123 t 192 168 1 10 3 Reboot the camera 4 Cl...
Page 23: ...RTP RTSP HTTPS TCP HTTP Mechanical Dimensions L x W x H Wall Mount 91mm x 60mm 75mm 3 58 x 2 36 x 2 95 In ceiling Mount 91mm x 60mm 39mm 3 58 x 2 36 x 1 52 Weight with Mounting Bracket Wall Mount 124g 0 28 lbs In ceiling Mount 108g 0 24 lbs Camera Weight with In ceiling Mounting Bracket H4M D1 152 g 0 34 lbs H4M D1 IR 154g 0 34 lbs Body High impact plastic PC Housing Vandal resistant Finish Cool g...
Page 24: ...CSA 62368 1 IEC EN 62368 1 IEC 62471 Electromagnetic Emissions FCC Part 15 Subpart B Class B IC ICES 003 Class B EN 55032 Class B EN 61000 6 3 EN 61000 3 2 EN 61000 3 3 Electromagnetic Immunity EN 55024 EN 61000 6 1 EN 50130 4 Specifications 19 ...
Page 25: ...able in the following guides l Avigilon Control Center Client User Guide l Web Interface User Guide Avigilon Presence Detector Device l Avigilon Camera Configuration Tool User Guide These guides are available on the Avigilon website avigilon com support and downloads For More Information 20 ...
Page 26: ... Avigilon warranty terms for this product are provided at avigilon com warranty Warranty service and technical support can be obtained by contacting Avigilon Technical Support avigilon com contact us Limited Warranty and TechnicalSupport 21 ...