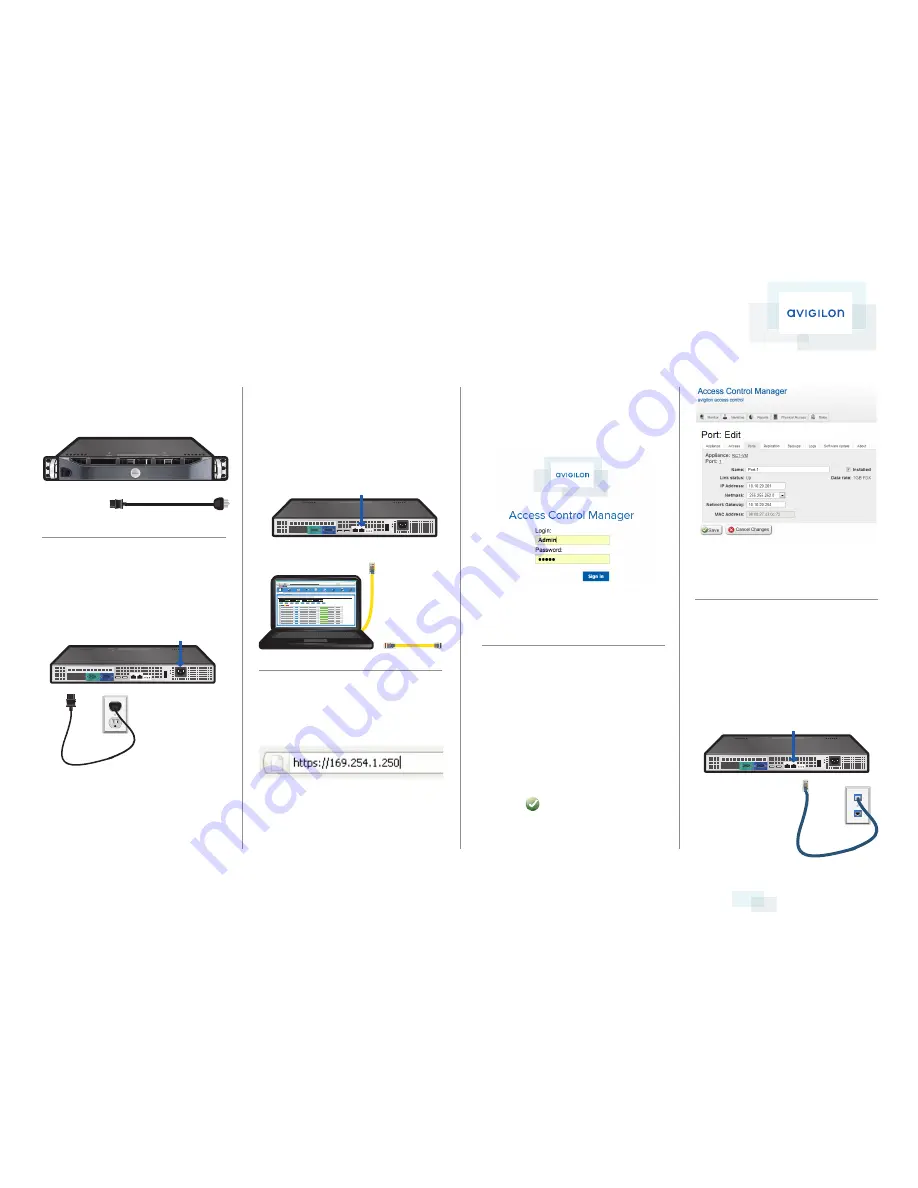
This package includes:
1. Access Control Manager Enterprise Appliance
2. Power Cord
2 Connect Crossover Cable
Connect a crossover cable from an available RJ-45
port on your configuring PC to
Port 2 RJ-45 port
on the appliance. (This cable automatically sets
the computer’s IP address to the required fixed
address during the duration of this connection.)
3 Open Web Browser
Open the web browser on the connected PC and
type this IP address:
169.254.1.250.
If you get a message indicating a connection or
security error, refer to Troubleshooting on the
other side of this sheet for instructions.
Consult your IT manager for the IP Address and
Network Gateway values appropriate to your
installation.
6 Connect Appliance
to Network
Remove the crossover cable and move the
appliance to its required position in the system.
1. Using a standard Ethernet cable, connect
one end of the RJ-45 to an available RJ-45 port
on the appliance.
2. Connect the other
end of the Ethernet cable
to the network.
1 Plug In the Appliance
With the included power cord, plug the power plug
into the back of the appliance and the electric plug
into a wall outlet or surge protector.
avigilon.com
4 Login to the Application
When the log in screen appears, enter the login
name and password as “admin” then click
Log in.
The Access Control Manager application main
menu appears.
5 Configure Port Settings
From the Access Control Manager application main
menu, perform these tasks:
1. From the top right corner, click
Appliance.
2. Click the
Ports tab.
3. From the Ethernet Configure page,
enter the required values. These include:
Name, IP Address, and Network Gateway.
4. Click the Save icon.
Connect to Port 2
Crossover Cable
(sold separately
through third-party
retailers)
Connect Power Cord
Access Control Manager Enterprise
Getting Started Guide
All logos and trademarks are the property of their respective owners. 920-0090A
QUICK START GUIDE


