


Maintenance Reports
Notes - Page 32
Installation & Maintenance
Maintenance Reports - Page 32
INDeX 30
38DHB0002UKDF- Issue 4 (07/2001)
Maintenance Reports
Notes
This section covers the reports provided for checking the systems operation. These
relate mainly to communications between the systems internal links and digital trunk
services. Other report and Monitor options (e.g. Software diagnostics report, Task
monitor) are intended for use by Avaya only and not for general on-site work. The
system programming manual details connecting a printer and running real-time logs.
This section covers :
– "Connecting a Printer" on page 31.
– "Equipment Fault Report" on page 32.
Connecting a Printer
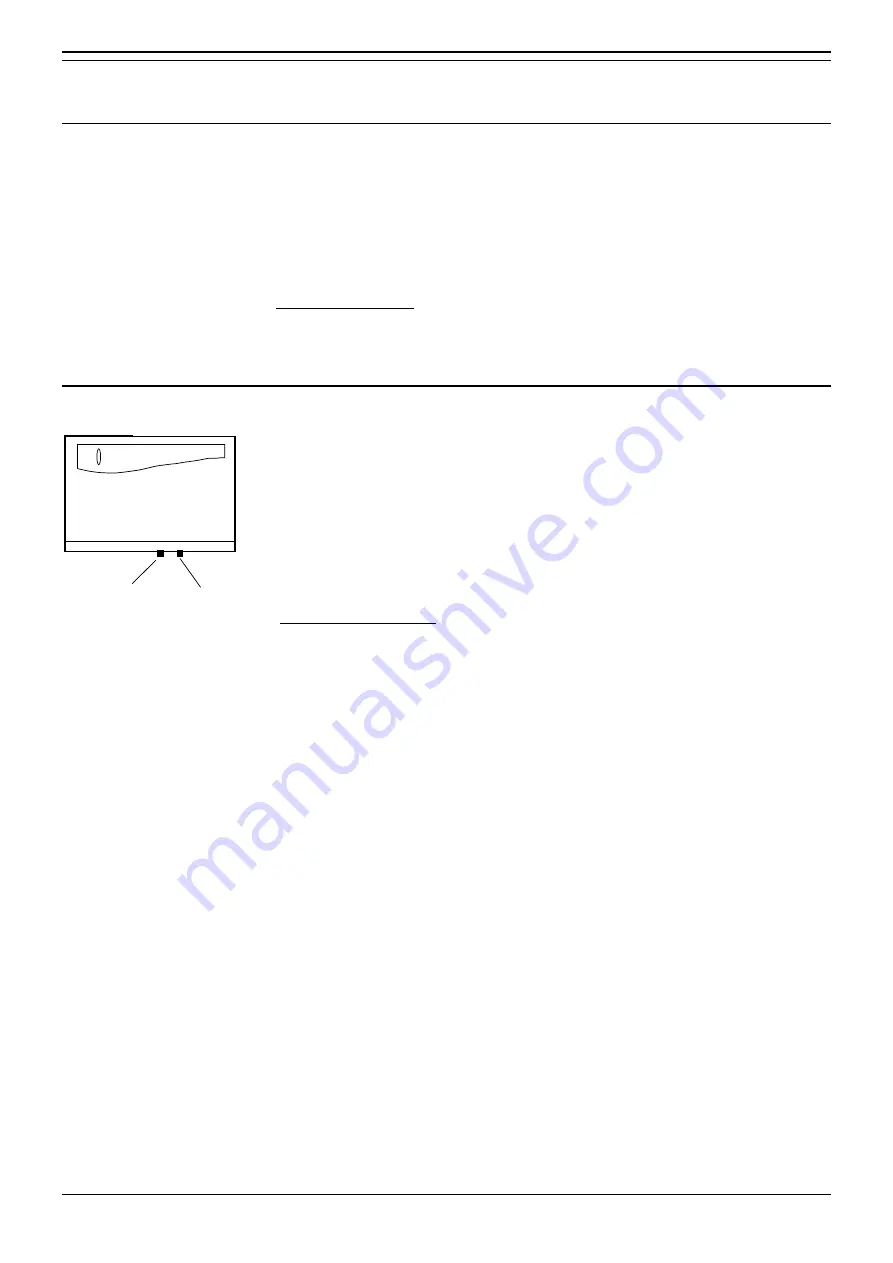
Serial Ports :
Serial Port 1
Serial Port 2
To use a printer for reports or log printing from the INDeX, you must configure it as
follows
(refer to the printer manufacturer's information)
.
– 80 columns x 24 lines minimum.
– RS232C serial interface (use INDeX serial port cable 38YNC00001SDP).
Only Avaya supplied
serial cables should be used otherwise damage to the
INDeX may occur.
– Transmission at 300, 600, 1200, 2400, 4800, 9600, 19200 and 38400.
– Transmission format: 8-bit, no parity, two-stop bits.
To connect the printer :
– Connect the printer to a free system serial port using a suitable serial cable.
Avoid using port 1, leave that port free for database/software downloads and
uploads
.
– Ensure that the printer is loaded with sufficient paper, switched on and on-line.
– From the
Administration
menu, select
System
.
– Select
Serial
Port
and use the up and down cursor keys to select the port to
which the printer is connected.
– Select a baud rate for the port that matches the printer
(refer to the printer
manufacturer's instructions)
.