


Chapter 3: Initial setup and connectivity
Device connections
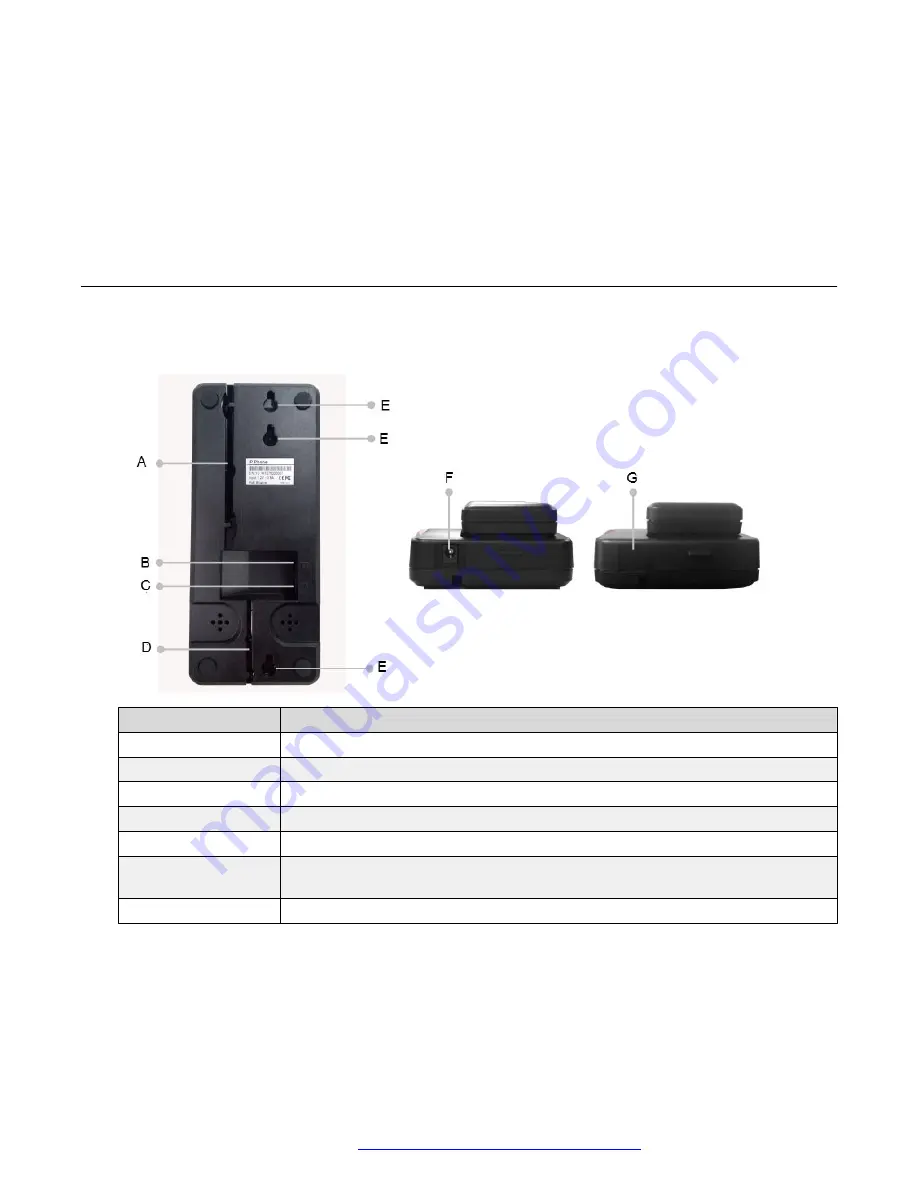
The following images show the connectors and ports available on the Avaya H229 phone:
Callout
Description
A
Cable trough.
B
WAN port.
C
Headset port for connecting the headset cord.
D
Handset wire trough.
E
Wall mount holes.
F
Power port. If the power port is not used, put a PVC plate on it to protect it from
dirt or debris.
G
PVC plate.
October 2019
Installing and Administering the Avaya H229 Phone
10


