


Manual upgrade of an existing S8300B and G700 to S8300C with R4.0
714 Installing and Upgrading the Avaya G700 Media Gateway and Avaya S8300 Media Server
Remastering the hard drive and installing the software
To begin the upgrade
1. Click
Start > Run
to open the
Run
dialog box.
2. Type
telnet 192.11.13.6
and press
Enter
.
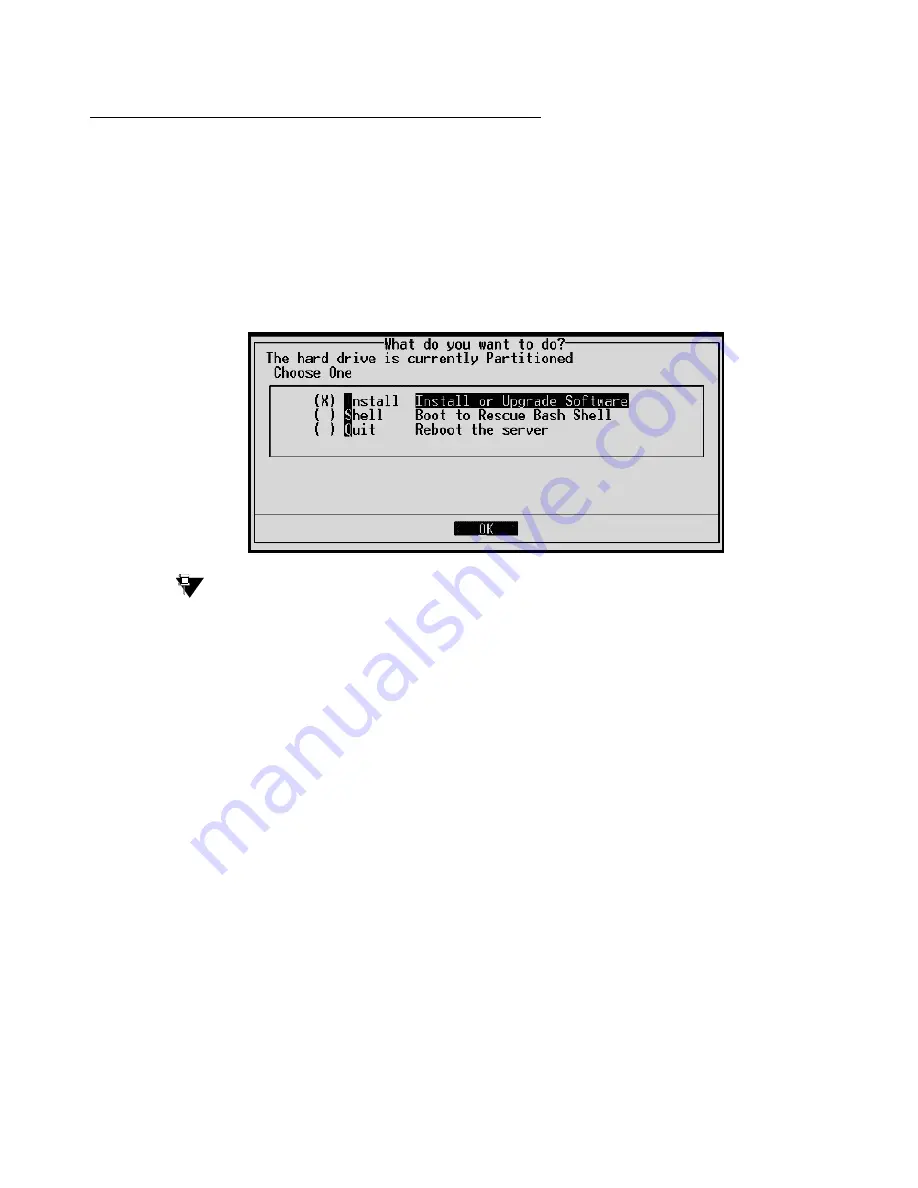
The
first RP screen appears.
The first RP screen
I
Tip:
Tip:
To navigate on these screens, use the arrow keys to move to an option, then
press the space bar to select the option. Press
Enter
to submit the screen.
Note:
Note:
At this point, the installation script looks for the software CD on the DVD/CD drive
connected to the USB port. If the DVD/CD drive was not attached to a USB port
when the S8300 booted, you will not see any activity on the screen. In this case,
perform the following steps:
- Press the Shut Down button on the S8300 Media Server.
- When the OK-to-remove light comes on, connect the DVD/CD-ROM drive to a USB
port and reseat the S8300 in its slot.
3. Select
Install
and press
Enter
.
The
Select Release Version
screen appears.
Summary of Contents for G700
Page 38: ...38 Installing and Upgrading the Avaya G700 Media Gateway and Avaya S8300 Media Server ...
Page 404: ...404 Installing and Upgrading the Avaya G700 Media Gateway and Avaya S8300 Media Server ...
Page 808: ...808 Installing and Upgrading the Avaya G700 Media Gateway and Avaya S8300 Media Server Index ...