


Next steps
See the specific product documentation for information on installing the operating system and
software.
Connecting to server and network
Perform the following tasks to connect to the server and to the network:
• Connect a monitor and a keyboard to the server, use the video connector and
USB port in the server. See the
Front view of server
topic.
• Connect the server to the customer's network, connect the cable to Ethernet
connector port (eth0, which is labelled as port 1). See the
Back view of server
topic.
• Connect the server for High Availability Failover, connect the eth cables to eth2,
which is labelled as port 3 on the server. For High Availability, both the servers
must be in close proximity, approximately 10 meters.
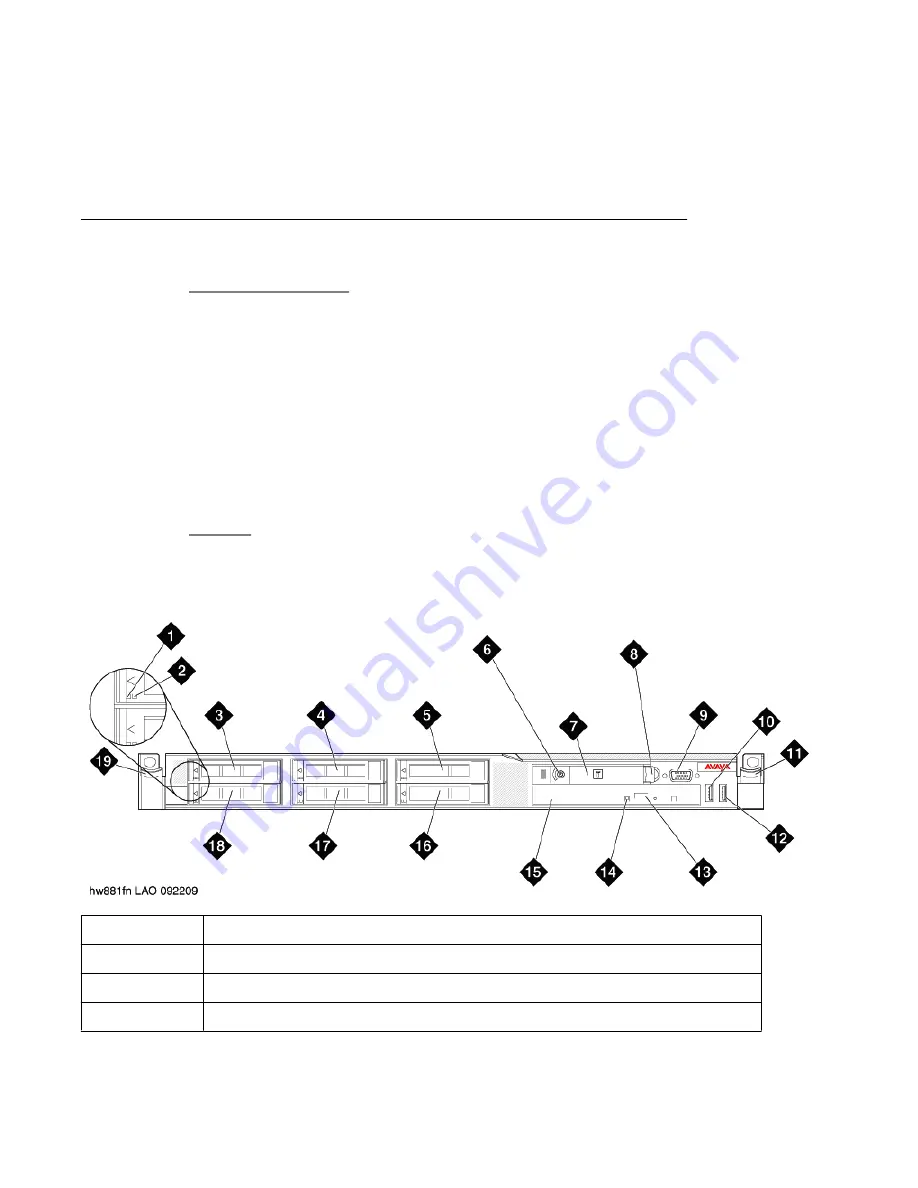
Front of server
1
Hard disk drive activity LED (green)
2
Hard disk drive status LED (amber)
3
Drive bay 0
4
Drive bay 2
Installing and connecting the S8800 Server
Installing and Configuring Avaya Aura
™
System Platform
April 2010 37
Summary of Contents for Aura System Platform
Page 1: ...Installing and Configuring Avaya Aura System Platform Release 1 1 1 April 2010...
Page 4: ...4 Installing and Configuring Avaya Aura System Platform April 2010...
Page 8: ...8 Installing and Configuring Avaya Aura System Platform April 2010...
Page 104: ...104 Installing and Configuring Avaya Aura System Platform April 2010...