background image

15

Selecting the ‘Picture’ Function:

By selecting 

‘Picture’

, you can make several 

adjustments to the picture being sent to your monitor. Use the Up and Down 
arrow buttons to move to the Menu item called ‘Picture’ and then press the Select 
button. Another display will appear and you can navigate that Menu using the 
same procedure via the Up and Down arrow buttons followed by the Select 
button when you arrive at the parameter you wish to adjust or change.

After you have selected the parameter, use the Left and Right arrow buttons to 
make the actual adjustment and then press the Exit button to return to normal 
operation.

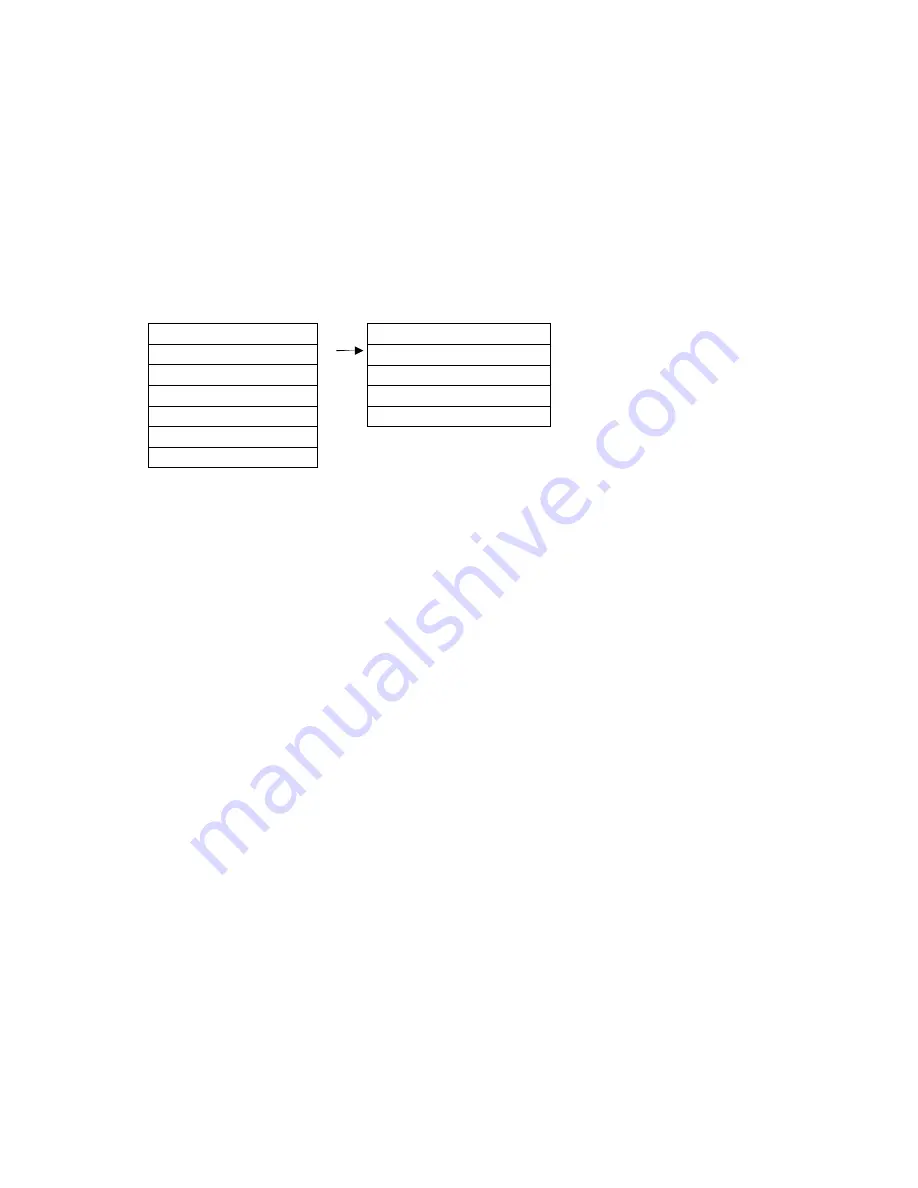
1. Brightness
2. Contrast
3. Color

4. Hue

5. Sharpness

1. Input

2. Picture

3. TV Function
4. Resolution
5. OSD Function
6. Language
7. Reset

Once you have 
made the ‘

Picture’

selection from the 
new Menu, use the 
Left and Right 
arrow buttons to 
make the change 
and then press the 
Exit Button to return 
to normal 
operations.

Note: Use care when making these adjustments. Since content changes from 
program to program as well as from channel to channel, you can make an 
adjustment for one set of conditions that is completely wrong for another. 

Before you make a change, check several channels and programs to make 
certain that you are not trying to compensate for a problem caused by the 
program provider.  If you make a change to a poor quality program––thereby 
making it look better––you can cause another program that is, in reality, good 
to look very poor. Make changes with care!

Summary of Contents for AVT-3400

Page 1: ...Instruction Manual AVT 3400 SXGA Theater ...

Page 2: ...2 ...

Page 3: ...1 0 Introduction 4 2 0 Specifications 6 3 0 Package Contents 7 4 0 Connecting the Hardware 8 5 0 Operating The Unit 13 6 0 Troubleshooting 20 7 0 Limited Warranty 21 8 0 Regulatory Compliance 22 9 0 Contact Information 22 ...

Page 4: ...s product is free of errors AV Toolbox cannot be held liable for the use of this hardware or any direct or indirect consequential damages arising from its use It is the responsibility of the user of the hardware to check that it is suitable for his her requirements and that it is installed correctly All rights reserved No parts of this manual may be reproduced or transmitted by any form or means e...

Page 5: ...280x768 1024X768 800X600 640X480 PIP Source Resolutions of 800x600 and lower Full RF Spectrum Coverage NTSC 181 Channels 125 CATV 69 Off Air PAL 106 Channels Auto Scan Feature to ensure that you do not miss any available channels Full Function Remote Control Composite and S Video inputs VGA In and Out Audio In and Out MTS Optional w NTSC NICAM Optional with PAL Adjustable TV Signal Components Brig...

Page 6: ... Jack Control Methods Local 6 push buttons on unit Remote Multi Function IR Hand Held Remote Control Mechanical Structure Vertically or Horizontally Mounted Damage Resistant Plastic Case Warranty Limited Warranty 1 Year Parts and Labor Power Requirements External AC Adaptor 12 VDC 700ma Output for 110 VAC USA 12 VDC 800ma for 230 VAC UK and European operation Regulatory Approvals AVT 3400 FCC CE A...

Page 7: ...nd 1x Remote Control 1x HD 15 VGA Cable 1x 3 5 mm Stereo Audio Cable 1x AC Power Adapter 2x Remote Control Batteries 1x Operations Manual Note Please retain the original packing material should the need ever arise to return the unit If you find any items are missing contact your reseller or AV Toolbox immediately Have the Model Number Serial Number and Invoice available for reference when you call...

Page 8: ...he drawings below and become familiar with the inputs outputs and control locations on the AVT 3400 Front Panel Rear Panel POWER INPUT CH Volume Semi transparent cover Audio Input VIDEO Input S VIDEO Input RF In CATV or Antenna IR Extender Option Audio to PC Sound Card 12 VDC In ...

Page 9: ...le from the CRT or LCD display to the HD 15 VGA connector labeled to TO MONITOR on the back panel of the AVT 3400 NOTE Fasten the HD 15 screws It is very important to fasten the screws Loose connections can cause distortion of the Picture Take the 3 5mm connector from your Multimedia speaker and connect it to SPEAKER on the back panel of AVT 3400 Take the AC DC adaptor from the shipping carton and...

Page 10: ...the Power to the AVT 3400 and to the CRT or LCD Press the Input button on the AVT 3400 to select between TV and PC mode You now have the ability to route both television and computer video through the AVT 3400 4 3 Connecting the AVT 3400 to DVDs VCRs Camcorders or Games Once you have the basic connections made as explained above you can add additional connectivity to external devices such as DVDs ...

Page 11: ...T 3400 select S Video as the input type Press the Play or Start button on the external device and an image should appear on the previously attached monitor Camcorder VCR or DVD Video Game Video and Audio Connections for External Devices ...

Page 12: ...n and operation of the various buttons Volume Control Channel Selection Power TV PC Mode Input Selection Volume Control Exit From Menu Numeric Keypad RCL Last Channel Recall PIP Key Picture In Picture Sleep Timer 9 Channel Preview MTS Second Audio Program Audio Mute Channel Menu Select Menu Display Favorite Channel Scan Edit Favorite Ch OSD Display ...

Page 13: ...Pressing the channel buttons is rather intuitive since an up arrow will surely result in increasing the channel number and pressing the down arrow will likewise select a lower channel The use of the volume control buttons and the input selection button is also clear The main area of confusion with the remote control revolves around Menu Item selection and a few special function buttons We ll spend...

Page 14: ... the input button you can also select an input using the Menu function 1 Input 2 Picture 3 TV Function 4 Resolution 5 OSD Function 6 Language 7 Reset 1 TV 2 CVBS 3 S Video 4 PC 2 Use Up and Down Arrow Buttons to highlight the function you wish to adjust or change 3 Select Function to Adjust 1 Press the Menu Button to start the Process 4 Press the Left and Right Arrow Buttons to make the actual adj...

Page 15: ...rast 3 Color 4 Hue 5 Sharpness 1 Input 2 Picture 3 TV Function 4 Resolution 5 OSD Function 6 Language 7 Reset Once you have made the Picture selection from the new Menu use the Left and Right arrow buttons to make the change and then press the Exit Button to return to normal operations Note Use care when making these adjustments Since content changes from program to program as well as from channel...

Page 16: ...5 Full Scan 6 Channel Scan Item Choice TV System CATV or Off Air NTSC Channel Edit Add or Erase Channel Fine Tune Adjust the TV Tuner MTS Mono Stereo or SAP Audio Selection Full Scan Discover all TV Channels Present Channel Scan Scan only those Channels already known The same procedure as before is used for these functions The Up and Down arrow buttons allow the selection of a parameter and the Le...

Page 17: ...played by the AVT 3400 1 Input 2 Picture 3 TV Function 4 Resolution 5 OSD Function 6 Language 7 Reset 1 640 x 480 60 2 800 x 600 60 3 1024 x 768 60 4 1280 x 768 60 5 1280 x 1024 60 6 640 x 480 75 7 800 x 600 75 8 1024 x 768 60 9 1260 x 768 75 10 1280 x 1024 75 1 Input 2 Picture 3 TV Function 4 Resolution 5 OSD Function 6 Language 7 Reset 1 Input 2 Picture 3 TV Function 4 Resolution 5 OSD Function ...

Page 18: ...t be immediately clear The operation of those buttons is as follows MTS Button This button allows the selection of the Second Language Audio Channel if it is present and also it forces the AVT 3400 to provide audio in either the Mono or Stereo format It s a toggle button meaning it first goes to Mono when pressed and if pressed again it goes next to Stereo operation If pressed a third time it will...

Page 19: ...nel on the small image Use the Up Down Left Right arrow buttons to position the image on the screen To remove the PIP image press the PIP button until the image disappears 9 CHANNEL PREVIEW Button This function allows you to preview a group of channels all at the same time Pressing this button will result in 9 TV Channels being displayed one by one into nine numbered windows If you want to view on...

Page 20: ...not use the Resolution Function at all unless you completely understand what it does and also know for certain the maximum resolution possible on your monitor Other suggestions Determine that the AC outlet into which you have plugged the AC adapter is furnishing power properly and also make certain that all connections including the DC power lead from the AC adapter are fully plugged in to the AVT...

Page 21: ...r this warranty policy the original purchaser must obtain a Return Authorization Number from AV Toolbox and return the product to a location designated by AV Toolbox freight prepaid After repairs are complete the product will be returned freight prepaid LIMITATIONS All products sold are as is and the above Limited Warranty is in lieu of all other warranties for this product expressed or implied an...

Page 22: ...avtoolbox com AV Toolbox Latin America 6991 NW 82nd Avenue 8 Miami FL 33166 USA Tel 305 396 6275 Fax 305 418 9306 sales latinoamerica tvone com www tvonela com AV Toolbox Mercosur Av Diaz Velez 3965 PB 1200 Capital Federal Buenos Aires Argentina Tel 54 11 5917 2525 Fax 54 11 4032 0281 sales mercosur tvone com www tvonela com AV Toolbox Asia 16F 4 No 75 Sec 1 Hsin Tai Wu Rd Hsichih Taipei Hsien 221...

Reviews: