


Ethernet Communications Modules, 3rd Edition, Rev. D
3–12
Chapter 3: Configuring ECOMs Using NetEdit3
1
2
3
4
5
6
7
8
9
10
11
12
13
14
A
B
C
D
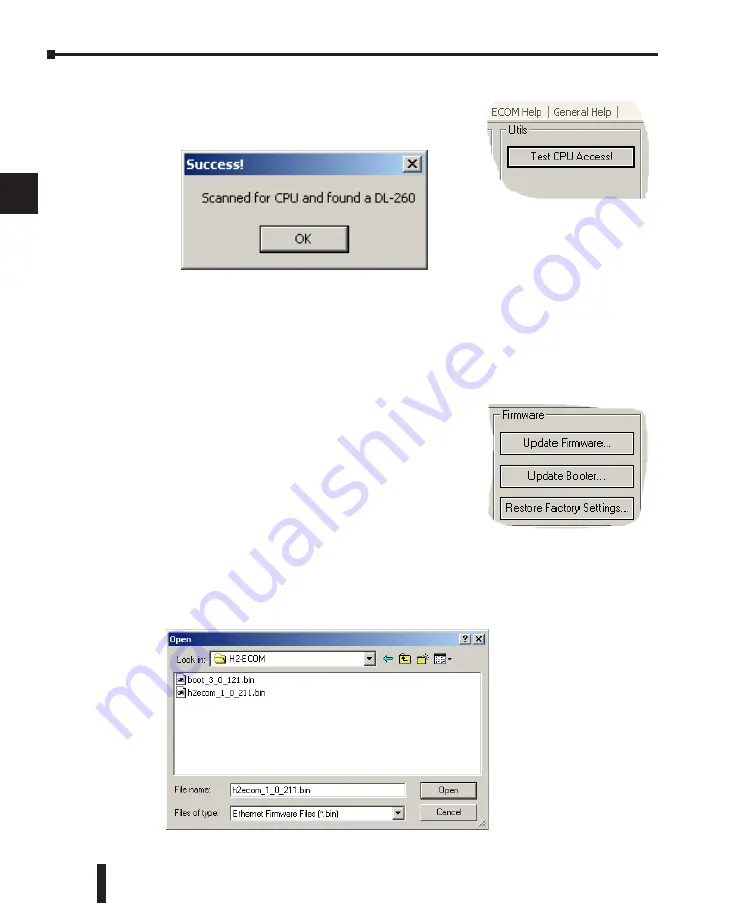
ECOM Settings> Utils>Test CPU Access
Clicking the Test CPU Access button in the ECOM
Settings>Utilities box brings up the window shown below.
The ECOM has two distinct “sides”, the network side, which contains the network
configuration settings, and the backplane side, which the ECOM uses to communicate with
the PLC CPU. It is possible that only one side could be operating correctly, while the other
side is not. The Test CPU Access function will test the connection from your PC to the ECOM
module through the network side, across the backplane to the PLC CPU and back to your PC.
ECOM Settings> Firmware
The functions in the Firmware box are used to update
the selected module’s Firmware and Booter versions. The
Restore Factory Settings buttons resets the selected module’s
IP address, ID, Name and Description to factory defaults.
Refer the sections on the next page to determine if updates
are necessary.
Clicking on the either of the Update buttons opens the
appropriate ECOM folder within the Images folder, which is created during the install of
NetEdit3. The Images folder is located in the same folder as NetEdit3.exe. Each module folder
contains the module’s firmware and boot loader files. The next section discusses keeping the
firmware files up to date.


