Autodesk Navisworks Workspaces
Workspaces are sets of toolbars and dockable windows that are grouped and organized so that you can work in
a custom, task-oriented design review environment.
Each workspace contains sets of toolbars and dockable windows with the tools required to perform a certain job,
making it easy to switch between design review layouts as necessary. For example, 'file aggregation', 'project
review', 'object animation' and 'interference detection' workspaces could be set up, saved and used as appropriate.
The workspaces can also be shared with other users. You could, for example, create separate workspaces for
occasional and power Navisworks users, or setup your own corporate standard.
Autodesk Navisworks comes with several pre-configured workspaces:
■
Safe Mode
- selects the design review layout with the minimum features.
■
Extended
- selects the design review layout recommended for advanced users.
■
Default
- selects the design review layout recommended for users new to the program.
■
Classic
- selects the design review layout used in Navisworks v5 and earlier.
You can use these workspaces as-is or modify them in accordance to your requirements. When you first start
Navisworks, the default workspace is used. You can choose a different workspace at any time by clicking View
➤
Workspaces, and then selecting the required workspace from the list.
Toolbar: Workspace
➤
Workspaces
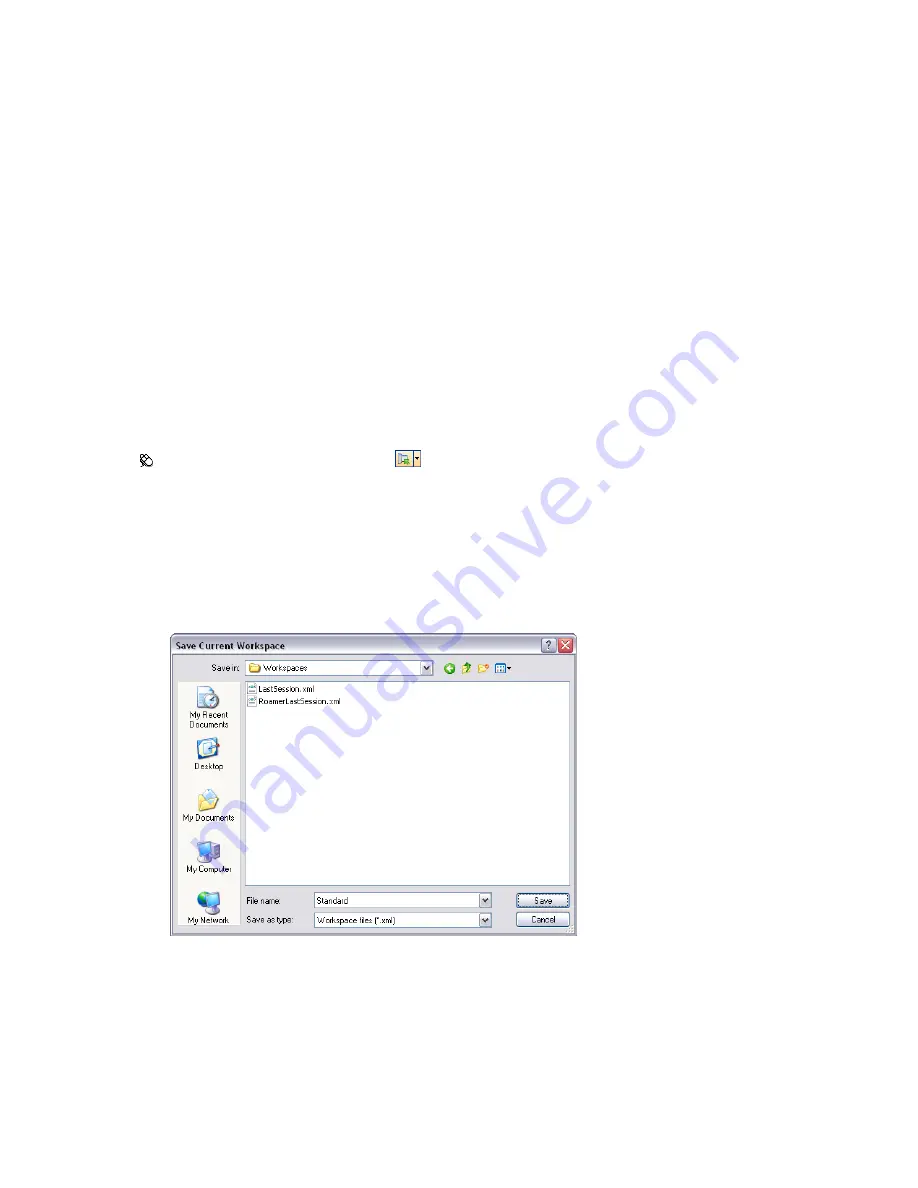
To save current layout to a new workspace
1
Set up your design review layout. For example, you can close all toolbars except the Standard, Selection
Tools, Navigation Mode, and Workspace.
2
On the View menu, click Workspaces
➤
Save Workspace.
3
In the Save Current Workspace dialog box, enter a name for the new workspace. You can also select the
name of an existing workspace to overwrite it with your modified configuration.
4
Click Save.
To load a saved workspace into Navisworks
1
On the View menu, click Workspaces
➤
Load Workspace.
2
In the Load Workspace dialog box, browse to the folder containing the desired workspace, and select it.
Autodesk Navisworks Workspaces | 73
Summary of Contents for 507B1-90A211-1301 - NavisWorks Manage 2010
Page 1: ...Autodesk Navisworks Manage 2010 User Guide March 2009 ...
Page 12: ...xii Contents ...
Page 14: ...2 Part 1 Welcome to Autodesk Navisworks Manage 2010 ...
Page 64: ...52 Chapter 3 Installation ...
Page 97: ...Get a Whole Project View 85 ...
Page 98: ...86 Part 2 Get a Whole Project View ...
Page 136: ...124 Chapter 5 Work with Files ...
Page 178: ...To toggle ViewCube Click View Head Up Display ViewCube 166 Chapter 6 Explore Your Model ...
Page 262: ...250 Chapter 9 Use Viewpoints and Sectioning Modes ...
Page 270: ...258 Chapter 11 Work Within a Team ...
Page 282: ...270 Chapter 12 Share Data ...
Page 346: ...334 Chapter 14 Create Photorealistic Visualizations ...
Page 460: ...448 Chapter 17 Autodesk Navisworks Reference ...
Page 466: ...454 Glossary ...


