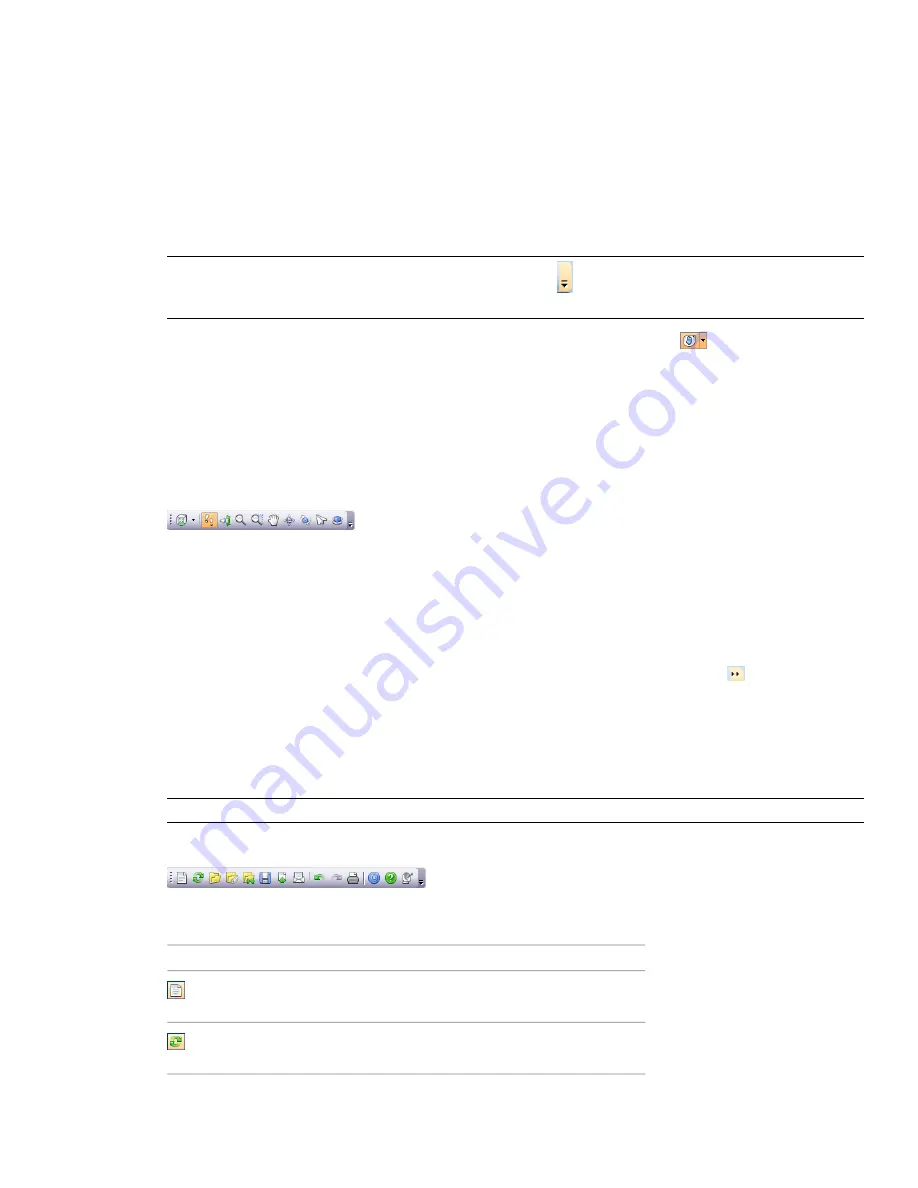
Every button on a toolbar includes a tooltip, which describes the function the button activates. Placing the
mouse over a button displays a brief instruction on how to use this feature in the Status bar.
You can rearrange, open and close toolbars:
■
To move a toolbar, click the dotted line at the edge of the toolbar, and drag it to a different location.
■
To open or close toolbars, right-click an empty area next to the last toolbar on the screen, and choose from
the list of available toolbars on the shortcut menu.
In addition to rearranging the existing Autodesk Navisworks toolbars, you can customize their appearance and
content, and create your own toolbars.
NOTE
To quickly personalize a toolbar, click the Toolbar Options
button on the right, and click Add or Remove
Buttons on the shortcut menu.
When a Autodesk Navisworks toolbar button has a down-pointing arrow, such as
, a submenu toolbar is
associated with that choice. Click the triangle to open the menu, and select a specific option. As you move
through the menu, additional help is displayed in the Status bar. When the option is selected, it becomes the
current command and is displayed as a button in the toolbar. To repeat the command, click the button in the
toolbar. To choose a different command, click the triangle again.
Some toolbar buttons enable you to choose a program mode. For example, to look around your model, you need
to be in look around mode. To rotate the model, you need to be in examine mode and so on. Autodesk Navisworks
remains in the selected mode until instructed otherwise. To identify the mode you are in, look at the buttons.
If a button is highlighted and has a dark blue boarder around it, the corresponding mode is currently active.
To leave the mode, either click the same button again or choose a different mode.
Some buttons are used to toggle the display of dialog boxes, and dockable windows (for example, the Presenter
window, the Animator window etc.). Again, if a button is highlighted and has a dark blue boarder around it, it
means that the corresponding display element is currently open.
As you open more toolbars on the screen, or resize the Autodesk Navisworks window, the toolbars may get
overlapped with each other to reduce the screen clutter. When this happens, some buttons will be hidden under
the overlaps. To quickly access the entire set of commands on a toolbar, click the chevron
button at the right
end of the toolbar. The remaining commands available for that toolbar will appear.
Quick Reference
In this section, you will find a complete list of Navisworks toolbars and associated buttons.
NOTE
The actual toolbar content can differ from this reference depending on the workspace you use.
Standard Toolbar
This toolbar provides quick access to file management commands. It also enables you to undo/redo your actions,
and open the Help system.
Description
Button
Resets the program, and closes the cur-
rently open Navisworks file.
Refreshes your scene with the latest ver-
sions of currently loaded model files.
62 | Chapter 4 Quick Start
Summary of Contents for 507B1-90A211-1301 - NavisWorks Manage 2010
Page 1: ...Autodesk Navisworks Manage 2010 User Guide March 2009 ...
Page 12: ...xii Contents ...
Page 14: ...2 Part 1 Welcome to Autodesk Navisworks Manage 2010 ...
Page 64: ...52 Chapter 3 Installation ...
Page 97: ...Get a Whole Project View 85 ...
Page 98: ...86 Part 2 Get a Whole Project View ...
Page 136: ...124 Chapter 5 Work with Files ...
Page 178: ...To toggle ViewCube Click View Head Up Display ViewCube 166 Chapter 6 Explore Your Model ...
Page 262: ...250 Chapter 9 Use Viewpoints and Sectioning Modes ...
Page 270: ...258 Chapter 11 Work Within a Team ...
Page 282: ...270 Chapter 12 Share Data ...
Page 346: ...334 Chapter 14 Create Photorealistic Visualizations ...
Page 460: ...448 Chapter 17 Autodesk Navisworks Reference ...
Page 466: ...454 Glossary ...


