6
Use the Dimming Transparency slider to specify the level of transparency of items not involved in clashes.
NOTE
This option is only applicable when both the Dim Other and Transparent Dimming check boxes are selected
on the Results tab of the Clash Detective window.
7
Click OK.
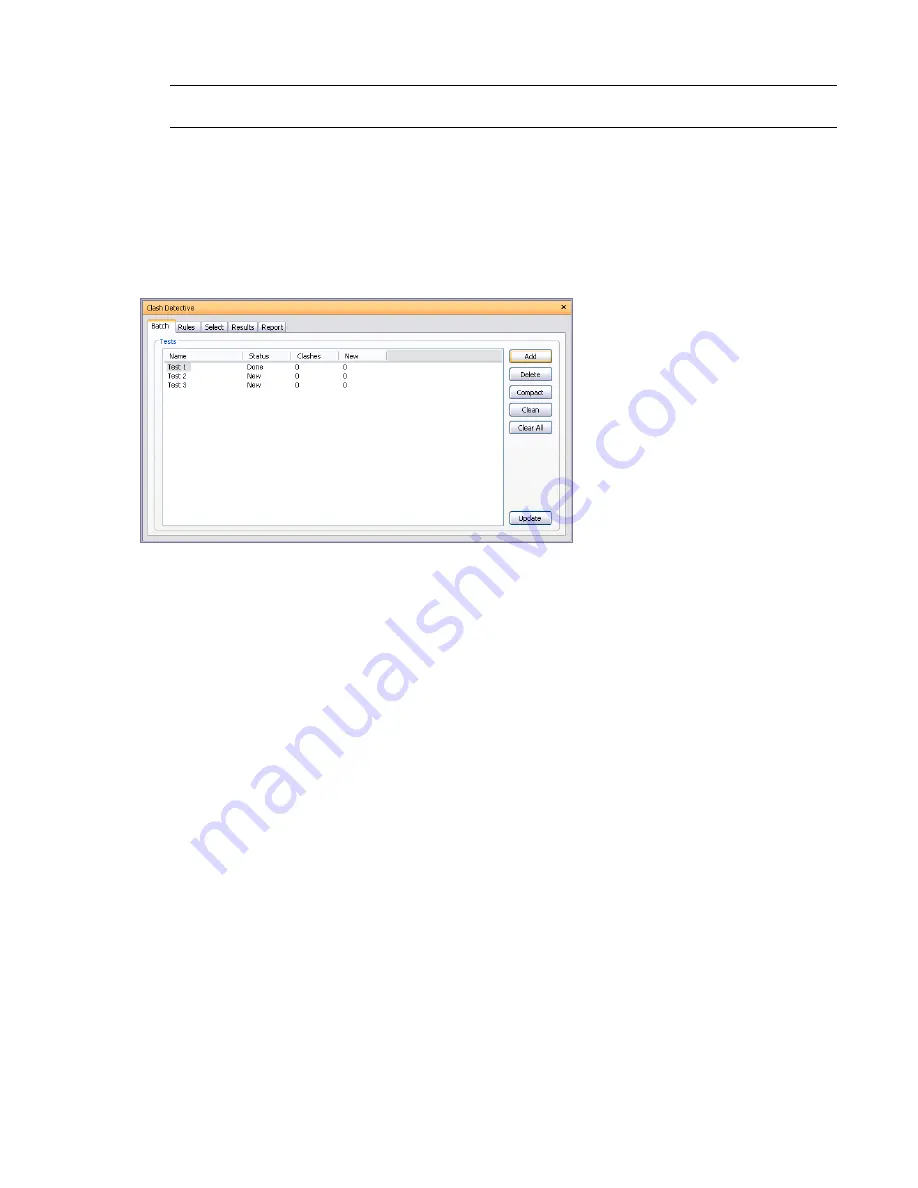
Batch Tab
The Batch tab enables you to manage your clash tests and results. It shows all of the clash tests currently set up,
listed in a table format. You can use the scroll bars at the right and at the bottom of the tab to move through
the clash tests.
You can also change the sort order of clash tests. To do this, click the heading of the desired column. This
alternates the sort order between ascending and descending.
Buttons
Use the buttons on the Batch tab to set up and manage batches of clash tests.
Add - adds a new clash test to the current batch.
Delete - deletes the selected test from the current batch.
Compact - deletes all resolved clashes in the selected test.
Clean - resets the status of each clash in the selected test to 'New'.
Clear All - deletes all clash tests in the batch, and displays a single empty clash test.
Update - runs all clash tests in the current batch.
Rules Tab
The Rules tab enables you to define and customize ignore rules to be applied to clash tests. It lists all currently
available rules. These can be used to make Clash Detective ignore certain model geometry during a clash test.
Each of the default rules can be edited and new rules may be added as necessary.
Clash Detective Window | 373
Summary of Contents for 507B1-90A211-1301 - NavisWorks Manage 2010
Page 1: ...Autodesk Navisworks Manage 2010 User Guide March 2009 ...
Page 12: ...xii Contents ...
Page 14: ...2 Part 1 Welcome to Autodesk Navisworks Manage 2010 ...
Page 64: ...52 Chapter 3 Installation ...
Page 97: ...Get a Whole Project View 85 ...
Page 98: ...86 Part 2 Get a Whole Project View ...
Page 136: ...124 Chapter 5 Work with Files ...
Page 178: ...To toggle ViewCube Click View Head Up Display ViewCube 166 Chapter 6 Explore Your Model ...
Page 262: ...250 Chapter 9 Use Viewpoints and Sectioning Modes ...
Page 270: ...258 Chapter 11 Work Within a Team ...
Page 282: ...270 Chapter 12 Share Data ...
Page 346: ...334 Chapter 14 Create Photorealistic Visualizations ...
Page 460: ...448 Chapter 17 Autodesk Navisworks Reference ...
Page 466: ...454 Glossary ...


