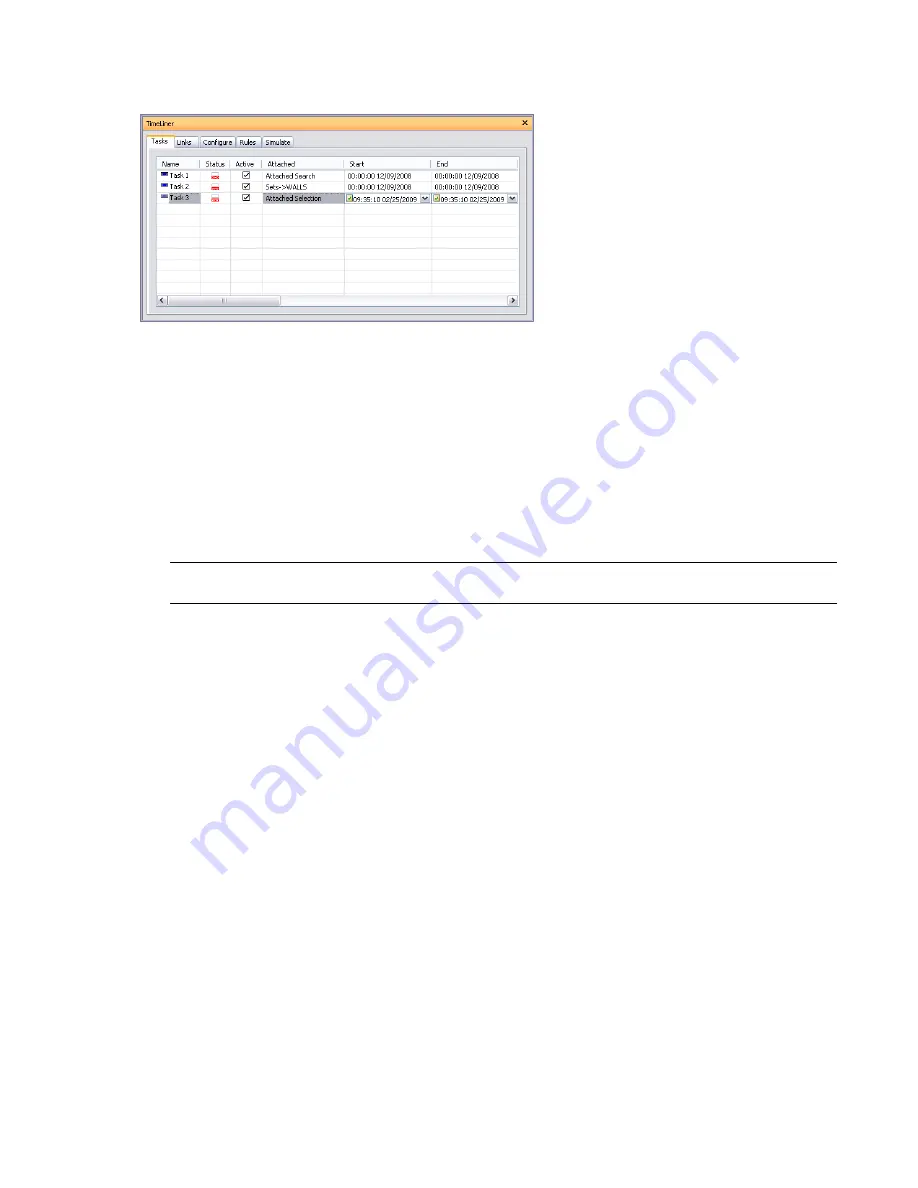
Tasks can be attached to the current selection in the Scene Area, or any of the selection sets, or any of the search
sets. You can view the type of attachments in the Attached column. By default, this column is located after Task
Type, but you can move it, for example, in front of the Start column.
Attach Tasks Manually
To attach a task to a current selection
1
If the TimeLiner window is not already open, click Tools
➤
TimeLiner.
2
Select the desired geometry objects in the Scene Area, or on the Selection Tree.
3
In the TimeLiner window, the Tasks tab, right-click the required task, and click Attach Selection on the
shortcut menu.
The task icon has changed indicating that this task now contains attached items. Look under the Attached
column to get information on the attachment type.
NOTE
If you need to add additional items to an already attached task, click the Append Selection option on the
shortcut menu, otherwise any previous task attachments will be overridden.
To attach a task to a selection set or a search set
1
If the TimeLiner window is not already open, click Tools
➤
TimeLiner.
2
In the TimeLiner window, the Tasks tab, right-click the required task, click Attach Selection Set, and click
the required selection set or a search set.
The task icon has changed indicating that this task now contains attached items. Look under the Attached
column to get information on the attachment type.
To attach a task to a current search
1
If the TimeLiner window is not already open, click Tools
➤
TimeLiner.
2
Run the desired search from the Find Items dockable window.
3
In the TimeLiner window, the Tasks tab, right-click the required task, and click Attach Search.
The task icon has changed indicating that this task now contains attached items. Look under the Attached
column to get information on the attachment type.
To attach multiple tasks to a selection set or a search set
1
If the TimeLiner window is not already open, click Tools
➤
TimeLiner.
2
In the TimeLiner window, the Tasks tab, hold the CTRL or SHIFT key to select all required tasks.
3
Right-click the task selection, click Attach Selection Set, and click the required selection set or a search set.
The task icons have changed indicating that the selected tasks now contain attached items. Look under the
Attached column to get information on the attachment type.
Attach Tasks to Geometry | 357
Summary of Contents for 507B1-90A211-1301 - NavisWorks Manage 2010
Page 1: ...Autodesk Navisworks Manage 2010 User Guide March 2009 ...
Page 12: ...xii Contents ...
Page 14: ...2 Part 1 Welcome to Autodesk Navisworks Manage 2010 ...
Page 64: ...52 Chapter 3 Installation ...
Page 97: ...Get a Whole Project View 85 ...
Page 98: ...86 Part 2 Get a Whole Project View ...
Page 136: ...124 Chapter 5 Work with Files ...
Page 178: ...To toggle ViewCube Click View Head Up Display ViewCube 166 Chapter 6 Explore Your Model ...
Page 262: ...250 Chapter 9 Use Viewpoints and Sectioning Modes ...
Page 270: ...258 Chapter 11 Work Within a Team ...
Page 282: ...270 Chapter 12 Share Data ...
Page 346: ...334 Chapter 14 Create Photorealistic Visualizations ...
Page 460: ...448 Chapter 17 Autodesk Navisworks Reference ...
Page 466: ...454 Glossary ...


